
How to Set up A Label Printer on Mac OS?
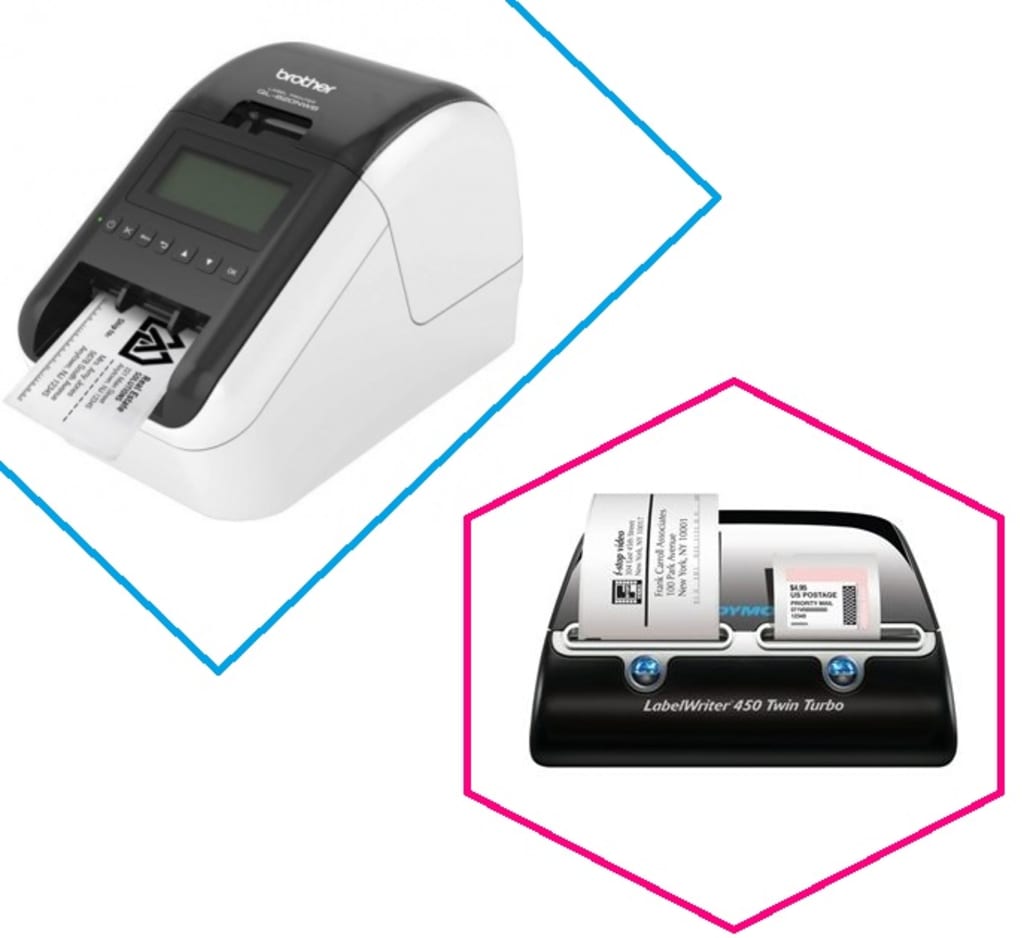
Label Printers

There's no denying that if you are a first-timer, you would measure the reasons and benefits of label printers very minutely. It is noteworthy that there are several critical benefits for having label printers in small and large businesses- however; the most significant advantage is that all tiny business outfits can successfully remain competitive on the market despite lacking adequate resources for printing quality prints.
Here's a detailed breakdown of how to set up a label printer on Mac OS
Step 1: Turn On the Common UNIX Printing System or CUPS on the OS
If you are a first-timer, it's only necessary to mention that the earlier version of the Mac operating system came with an already enabled web administration page by default. However, that's the situation anymore- with Mac OS X Mountain Lion – 10.8, the user can disable the web interface by default settings. Here's how you can enable it:
- Firstly, you must visit Go to Applications > Utilities > Terminal for opening it
- Then you must type: sudo cupsctl WebInterface=yes and then confirm the command by pressing "Enter."
- You must realise that the earlier step will only work if there are administrative privileges. Hence you must ensure that the user has access to administrative rights.
Step 2: Add the Printer to Mac and CUPS
It's now time to add the label printer so that the user can send a raw text- without any formatting.
- You must firstly click on the "Administration" tab on the CUPS web interface.
- Then hit the "Add Printer" under the Printers section.
- You must then select your printer name from the list of local printers. It's essential to mention that the operating system will show two instances of the same printer on the list- both variants will work. However, your best choice must always include the one that starts with a brand name.
- As soon as the user has chosen the printer, hit "Continue" to provide the information about the label printer; you don't need extensive details for the device- the description and name will be enough.
- Click on continue again. Depending on your OS version, you may or may not receive a prompt to choose the printer brand name. You are looking for any brand; hence you must search for "Raw" for raw text. In case you don't see it, the chances are that CUPS have automatically chosen another brand. Hence you must then follow the next step for changing it to "Raw" if that's the case.
- You must know that if CUPS identifies a brand prefix on the device name, it will pair to the server independently. However, that's not our intention, which is to use a "RAW" setting. It would help if you never chose any of the default models. Instead, you must settle on "Select another Make/Manufacturer" and then pick "raw" from the list.
- Once done, you will see a new model has appeared on the Model field- Raw Queue. You must ensure that the device name is selected before confirming "Add Printer" on the bottom.
- It would be best if you also hit the "Set Default Options" option on the banner screen by essentially choosing "none" on all fields.
- You will now see that the label printer is installing through the CUPS printing system, displaying a confirmation pop-up. If that's not the case, then you have committed some errors during the setup. You will have to redo the process for successful execution.
Takeaway
In conclusion, it only fits to mention that you must always choose top-rated label printers to get flawless digital prints. Your best choice must always include Aussie POS - they are well known for developing printers that can produce labels. You can learn more from their website online.
About the Creator
Rajeev Kumar
All Type of content writing and review.
Keep reading
More stories from writers in 01 and other communities.
Native vs Hybrid Mobile App Development 2026
The search economy has officially transitioned from a surface-level index to a deep-state Trust Graph. Google now prioritizes Entity Accountability over traditional keyword signals to determine which mobile applications earn a place in the user’s primary interface.
By Del Rosarioa day ago in 01
🅼🅸🅳🅽🅸🅶🅷🆃 🆂🅽🅰🅲🅺🆂
"It's 10 in Tuscon! We all know what that means... It's Time for Midnight Snacks with your man, Gerald Gee! Ready to spend the night together? Me too! I'm full of snacks and can't wait to regurgitate them all back into your hungry ears. Crack a brew! Pop some corn! Anything to get ready for one hell of a show where the talk maybe cheap but the words cut deep...
By Lamar Wigginsabout 23 hours ago in Fiction
Thoughts on Vocal and the way the world is
"Death cannot stop true love, only delay it." – Wesley in The Princess Bride. I decided to come back to Vocal on a very cold and dark night at the end of December. I had been, and still am, convalescing from a horrible staph infection that had gone misdiagnosed for months. This, paired with the increasing challenges of being healthy, making the best choices for my co-parented child, being a wife, and being a director at a new job, was a lot to manage.
By Jazzy 5 days ago in Confessions


Comments
There are no comments for this story
Be the first to respond and start the conversation.