
How to Make a Logo for Free Step by Step
Learn how to Make a Logo for Your Website for Free and Save Your Money for Something Else.

What you’re going to read in the following lines is probably what some designers do not want you to know, because designing for some designers today is more of knowing what to do than having the innate qualities of a designer.
Here’s what you are going to learn:
- Get ready for the design
- Download the right tools
- Draw and customize the logo
- Save it appropriately

Step 1: Get Ready
If we look at the well-known online brands, we can observe two categories of logos: those that are made with a special font and those that are made with a special font and a shape in front of them.
The shape can be used for many purposes and one of them is to make the name, the service, or the website content more expressive.
Here are some examples:
- A play button for YouTube
- A window next to Microsoft
- An apple representing the brand Apple
The question that needs to be answered now is how would you like your logo to look? Do you want it to be with or without a shape?
For illustration purposes, let’s make a logo for a virtual website called “Smarthousefuture“.
The goal of the website is to sell devices that turn an ordinary house into a smart house.
Also, let’s make a logo with a name and a shape that has meaning.
Something like a gable on top of it.

Step 2: Download the Right Tools
Here is a list of the tools needed:
- Adobe Photoshop
- Download Custom Shapes by Clicking Here
- If you don’t have Photoshop, you can use a similar application online for free called Photopea >
To make use of custom shapes, they must be installed into Photoshop as follows:
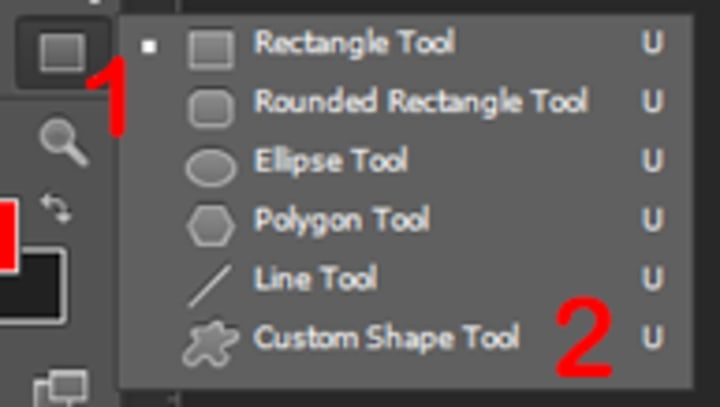
1. Open Photoshop. On the left side, click with your right mouse on the square shape and select Custom Shape Tool.
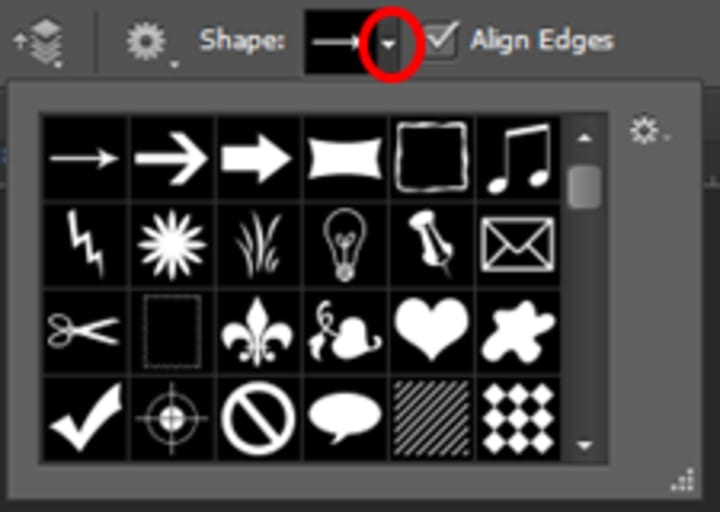
2. On the top, next to Shape, open the Custom Shape Picker.
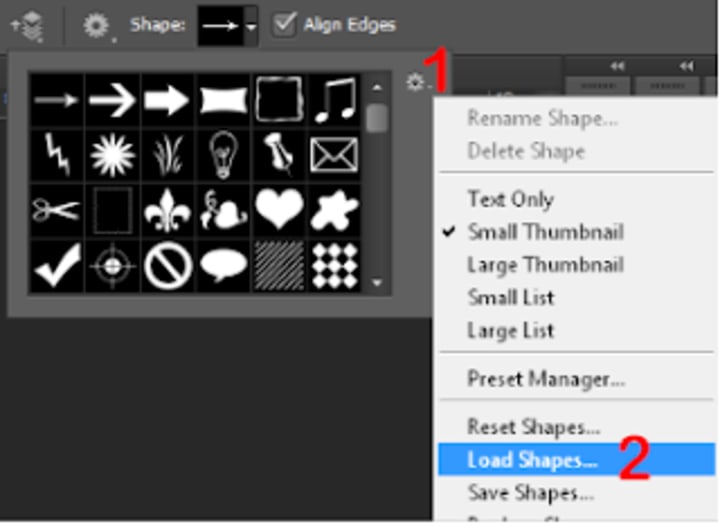
3. Click on the wheel, then Load Shapes.
4. Search where you downloaded the file, select it, and click Load.

Custom shapes have been successfully installed.

Step 3: Draw and Edit the Logo
1. Draw the Shape
Using the newly installed custom shapes, let’s draw a house, then edit it so as to keep the roof only.
1. Open Photoshop
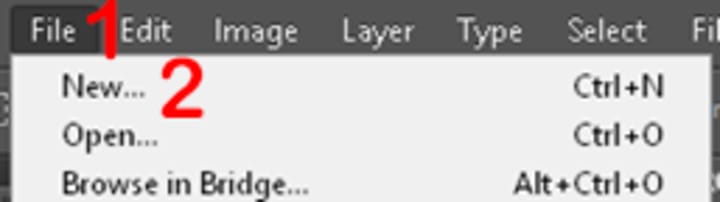
2. On the top left, click File and then New.
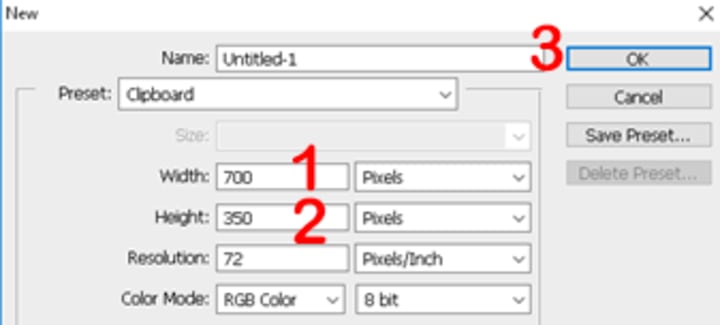
3. In the new window, set the width to 700 and the height to 350, then click OK.
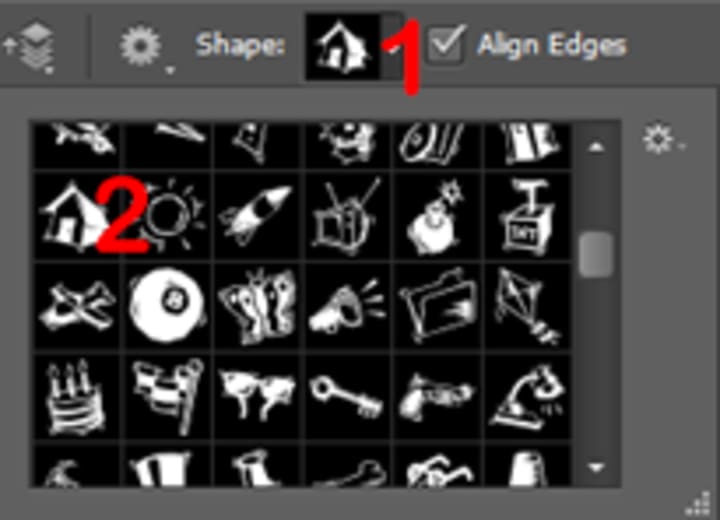
4. On the left side, click Custom Shape Tool, then on the top open the Custom Shape Picker, and find a shape that represents a house, and select it.
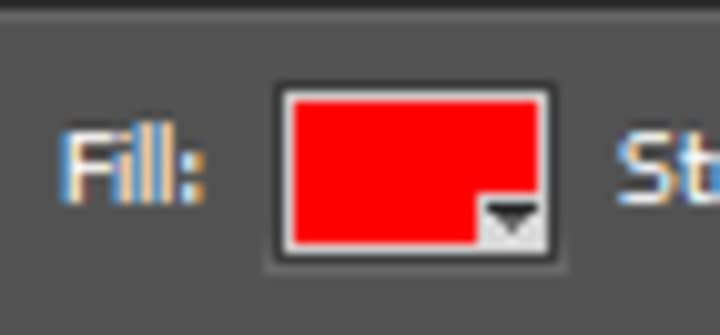
5. In the top, next to Fill, choose any color other than white.
6. To draw the shape, just click on shift + left button of your mouse, the more you drag the mouse, the more the shape gets bigger. Here’s the result.

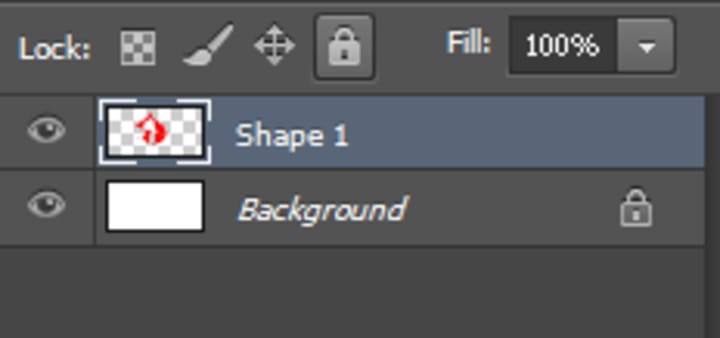
7. Now it’s time to delete everything except the roof. To do this, be sure that the layer of the created shape is selected.
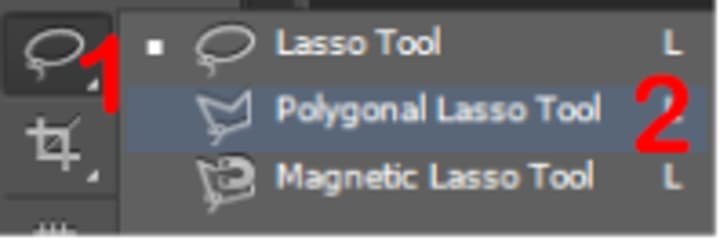
8. On the left side, with the right button of your mouse, click on Lasso Tool and select Polygonal Lasso Tool.
9. With Polygonal Lasso Tool select the house, except the roof just like in the picture below:

10. On your keyboard, Click Del to delete the selected part.

We have successfully edited the custom shape, the next step is to write the name of the website and adjust it under the roof.
2. Draw the Name
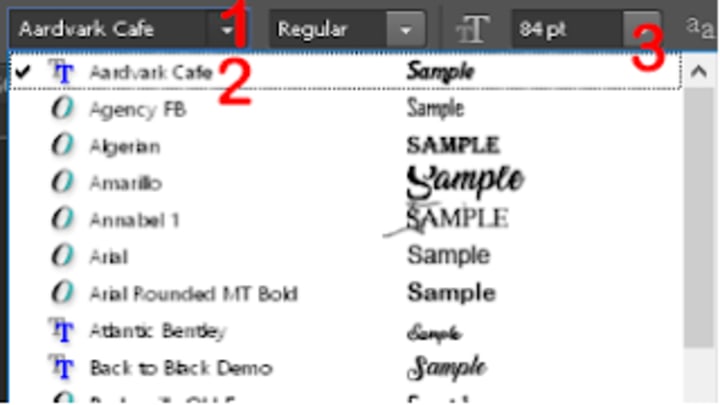
1. On the left side, click on Horizontal Type Tool, then on the top, select the font and its size.
2. Click on the white space under the roof and then type the name of the website.

3. You can also adjust the website name or the roof by clicking on them and displacing them with your mouse.
3. Change the colors
With gradient, colors will look great, here is how to do it in Photoshop.
On the right side, double-click the layer of the roof.
2. A new window will appear, activate Gradient Overlay, and click on the color next to Gradient. A new window will appear, select the third Preset and pick two varieties of the same color. The varieties should be very close to each other. See the following picture.
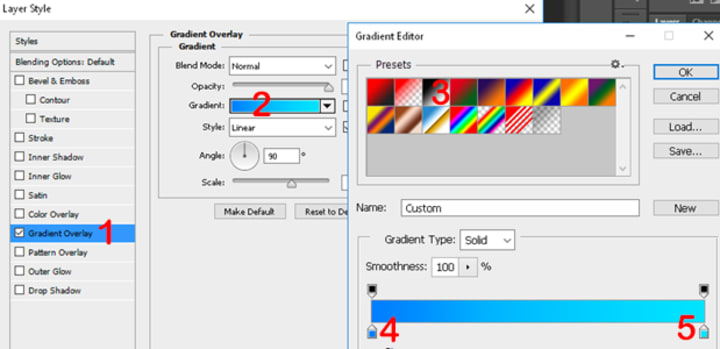
As you can see, I’ve chosen the Blue Ocean.
The color on the left side looks a little bit darker than that on the right side.
In this tutorial, I decided to use only one color for both the shape and the font.
Here’s the final result:


Step 4: Save the Logo

One of the characteristics of a professional logo is that it can fit any website’s background,
i.e. if the website’s background is gray, the logo’s background will be gray, if it is black, the logo’s background will be black, etc.
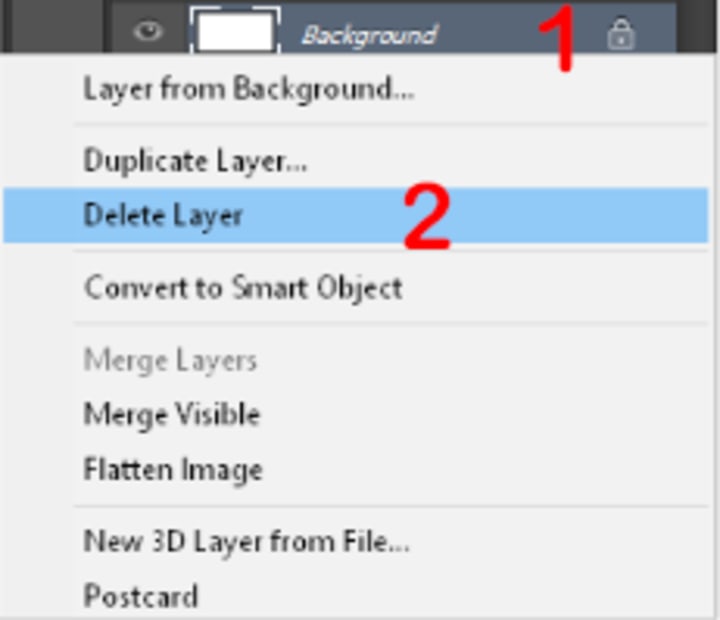
To do this, you should delete your logo’s background and save the file as a .png extension.
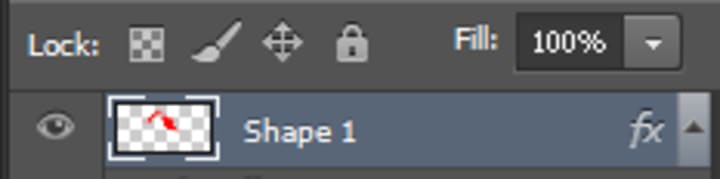
1. On the right side, with the right button of your mouse, click on the layer of the background, then with the left button, click on Delete Layer.
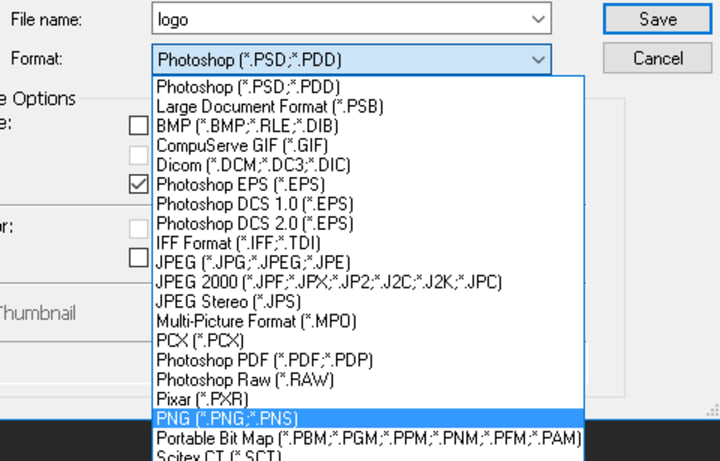
2. Click on File then Save.
3. Next to File Name type the name of your logo, in the drop-down next to Format, select PNG, and click Save.
The logo is now ready to be used!
You can now save many copies for many purposes with different sizes: for your website, Facebook profile, Twitter profile, etc.

Conclusion
Making a logo for your website without wasting time and money is possible.
With the method I shared with you, even if you were not a designer, you are still able to make your own logo for free.
All that is needed here is some planning and some research, some tools and some files, some trials, and some errors.
However, if for some reason you are unable to make your logo this way, I suggest that you use online tools that present you with hundreds of readily customizable logos for all types of websites such as DesignCrowd> or Canva >
Notice: This article is part of How to Make a Website: The Definitive Guide | 2021 by Sid Ahmed KHETTAB. If you have any questions or suggestions, don’t hesitate to contact me.
About the Creator
Ultimate Guide to Content Marketing Services and Pricing Trends
I remember the first time I tried to price content work for a client. I sat at my desk late at night, calculator open, coffee cold, scrolling through blog after blog that promised clear answers. What I found instead was confusion. One site said content was cheap and fast. Another treated it like a luxury product reserved for big brands. None of it matched what I was actually seeing in real projects.
By Jane Smith2 days ago in 01


Comments
There are no comments for this story
Be the first to respond and start the conversation.