
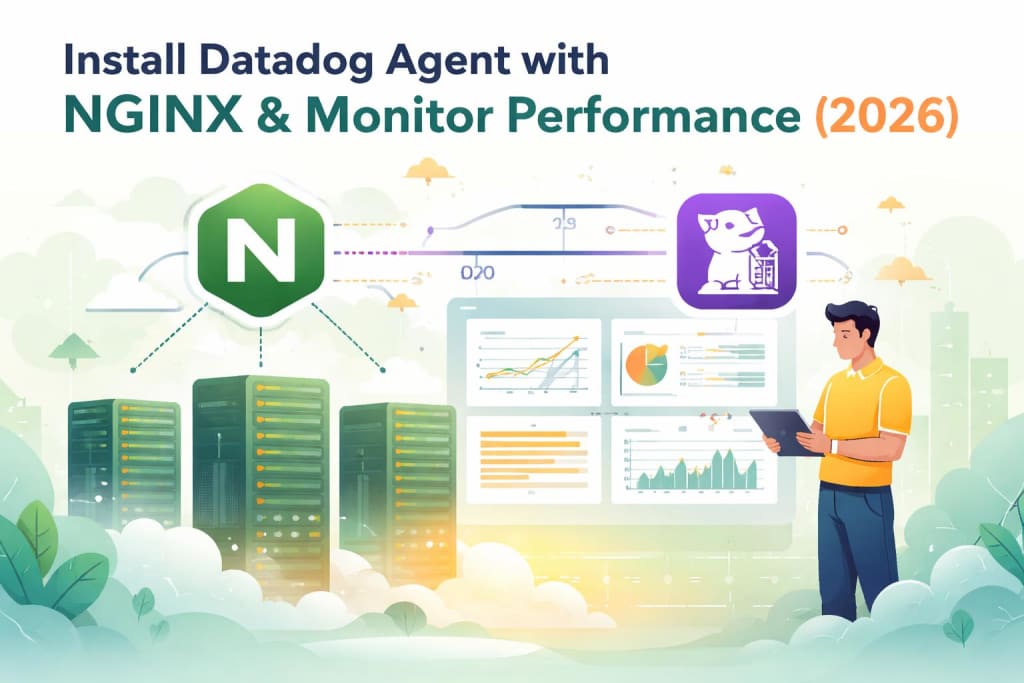
How to Install Datadog Agent for NGINX Without Losing Your Mind
Learn how to easily install the Datadog Agent for NGINX monitoring in 2026. Get expert steps to configure metrics, logs, and enhance server observability

Look, I've been messing with NGINX monitoring for a while now, and if there's one thing I reckon is true, it's this: you can't fix what you can't see.
NGINX sits at the front door of your infrastructure. When it slows down or crashes, your entire app basically vanishes for users. That's why monitoring isn't optional anymore, it's survival.
In 2026, observability has become mission-critical infrastructure. Recent surveys show 96% of IT leaders are maintaining or increasing their observability budgets, with 62% planning actual increases. This isn't tech hype, it's business reality.
Let me walk you through installing the Datadog Agent for NGINX monitoring. No fluff, just what actually works.
Why Datadog for NGINX Monitoring?
First off, why Datadog?
Datadog brings together metrics, logs, and traces in one place. You get real-time dashboards, automated alerts, and machine learning that actually helps predict issues before they blow up.
As Arthur de Magalhaes from IBM put it: systems run on infrastructure that can fail in various ways, and the intelligence required to keep these systems healthy grows in parallel with AI adoption.
Thing is, NGINX doesn't monitor itself. It exposes raw signals through metrics and logs, but you need something to capture and make sense of them. That's where Datadog comes in.
Prerequisites Before You Start
Here's what you'll need:
- NGINX web server running on Linux
- Administrative access to your server
- Active Datadog account
- NGINX compiled with http_stub_status_module
To check if you have the stub status module, run this:
- nginx -V 2>&1| grep -o http_stub_status_module
If you see http_stub_status_module in the output, you're good. If not, you'll need to install an NGINX package that includes it. Most modern Linux distributions provide alternative NGINX packages with these modules built in.
Step 1: Enable NGINX Status Module
Before installing anything, you need to enable NGINX's status endpoint.
Edit your NGINX configuration file (usually at /etc/nginx/nginx.conf or /etc/nginx/sites-available/default):
- location /nginx_status {
- stub_status;
- allow 127.0.0.1;
- deny all;
- }
This creates a status page at /nginx_status that only localhost can access. Security matters, yeah?
Restart NGINX:
- sudo systemctl restart nginx
- sudo systemctl status nginx
Test it works:
curl http://127.0.0.1/nginx_status
You should see output showing active connections, requests, and other metrics.
Step 2: Install the Datadog Agent
Here's the part that takes literally one command.
Log into your Datadog account, grab your API key, then run:
- DD_API_KEY=<YOUR_API_KEY> DD_SITE="datadoghq.com" bash -c "$(curl -L https://s3.amazonaws.com/dd-agent/scripts/install_script_agent7.sh)"
Replace <YOUR_API_KEY> with your actual key. If you're in Europe, use datadoghq.eu for the DD_SITE value.
The installation usually takes under a minute. Once it's done, your host should start reporting metrics to your Datadog account immediately.
Step 3: Configure NGINX Integration
Now you need to tell Datadog where to find NGINX metrics.
Navigate to the NGINX configuration directory:
- cd /etc/datadog-agent/conf.d/nginx.d
Copy the example config:
- sudo cp conf.yaml.example conf.yaml
Edit conf.yaml:
- init_config:
- instances:
- - nginx_status_url: http://localhost/nginx_status/
Make sure the URL matches what you configured in NGINX.
Step 4: Configure Log Collection
By default, log collection is disabled in the Datadog Agent. You'll want to enable it.
Edit the main Datadog config at /etc/datadog-agent/datadog.yaml:
- logs_enabled: true
Then add log configuration to your NGINX integration file (/etc/datadog-agent/conf.d/nginx.d/conf.yaml):
- logs:
- - type: file
- path: /var/log/nginx/access.log
- service: nginx
- source: nginx
- - type: file
- path: /var/log/nginx/error.log
- service: nginx
- source: nginx
Real talk: you might hit permission issues here.
The Datadog agent user (dd-agent) needs read access to NGINX logs:
- sudo usermod -a -G adm dd-agent
- sudo chmod 644 /var/log/nginx/*.log
- sudo chmod 755 /var/log/nginx
Step 5: Restart and Verify
Restart the Datadog Agent:
- sudo systemctl restart datadog-agent
Check the agent status:
- sudo datadog-agent status
Look for nginx under the "Running Checks" section. If it's there and showing no errors, you're golden.
What You Get Out of the Box
Once everything's running, Datadog automatically provides:
- Pre-built dashboards showing requests per second, error rates, active connections
- Real-time metrics for reading, writing, and waiting connections
- Log analysis with automatic parsing of NGINX logs
- Alerts you can customize based on thresholds that matter to you
The NGINX dashboard visualizes key metrics in a single view. You can clone it and customize it for your specific needs, adding things like host-level CPU usage or memory metrics.
Advanced Configuration Tips
Want to get more detailed? Hella options here.
You can configure custom log formats to include request processing time:
- log_format monitoring_format '$remote_addr - $remote_user [$time_local] '
- '"$request" $status $body_bytes_sent '
- '"$http_referer" "$http_user_agent" '
- 'rt=$request_time urt=$upstream_response_time';
- access_log /var/log/nginx/access.log monitoring_format;
This gives you latency metrics directly in your logs. Datadog will automatically parse these with its built-in pipeline.
Common Issues and Fixes
Agent can't connect to NGINX status endpoint
Check your firewall rules. Make sure localhost can access the status page. Test with curl first.
Logs not appearing in Datadog
Double-check permissions. The dd-agent user needs read access to log files. Run:
- sudo -u dd-agent cat /var/log/nginx/access.log
If that fails, your permissions are wrong.
Metrics showing but old data
Restart both NGINX and the Datadog agent. Sometimes they just need a kick.
The Future of NGINX Monitoring
Here's where things get interesting.
According to industry experts, we're hitting a major tipping point in 2026. Hone John Tito from Game Host Bros notes we're shifting from application-only monitoring to complete infrastructure linkage.
AI-powered observability is becoming the norm. Basudeba Mandal from SLB says observability is transforming from a diagnostic tool to an intelligent, predictive partner. Monitoring suites will predict problems and automate fixes before anyone notices.
OpenTelemetry is standardizing how we collect telemetry data. Sibasis Padhi from Walmart Global Tech points out that OTel's consistency across traces, metrics, and logs reduces integration pain. By 2026, it's becoming the default language for telemetry.
Organizations are reporting 2.6x average ROI from observability spending through improved developer productivity and operational efficiency. That's not a small number.
The trend is clear: monitoring is moving from reactive firefighting to proactive prevention. Florida-based development teams, like those at app development company florida, are already building observability into their applications from day one rather than bolting it on later.
Wrapping This Up
Installing the Datadog Agent for NGINX monitoring isn't rocket science. You enable the status module, install the agent with one command, configure the integration, and enable log collection.
The real value comes from what you do with the data. Set up alerts that matter. Build dashboards that show you what's actually breaking. Use the insights to prevent problems before they cost you money or users.
NGINX monitoring has evolved from nice-to-have to absolutely critical. Your infrastructure depends on it. Your users expect it. Your business needs it.
Now get out there and set it up properly.
About the Creator
Keep reading
More stories from Sherry Walker and writers in 01 and other communities.
Can AI Predict a Successful Brand Name? Let’s Find Out
Did you know that a staggering 9 out of 10 startups fail? While many factors contribute to this grim statistic, the strength and memorability of a brand name often play a surprisingly significant role in a business's initial traction and long-term success.
By Ecom Mediatech4 days ago in 01
The Tradeoffs Charlotte Teams Face During Mobile App Development
I used to believe good planning could eliminate tradeoffs. If we scoped carefully enough, aligned stakeholders early, and chose the right partners, we could move fast and build well. Charlotte felt like the right environment for that optimism—practical, disciplined, not driven by hype.
By Samantha Blakeabout 3 hours ago in 01
The Duelist
The rays of a dying red sun flashed against the onrushing blade. The grey beards say the key to dueling lies in size, speed, reach, righteous fury, whatever the person in front of them pays them to say. Matteo knew better than any it was none of these and had an undefeated record on these sands to prove it.
By Matthew J. Fromm3 days ago in Fiction


Comments
There are no comments for this story
Be the first to respond and start the conversation.