
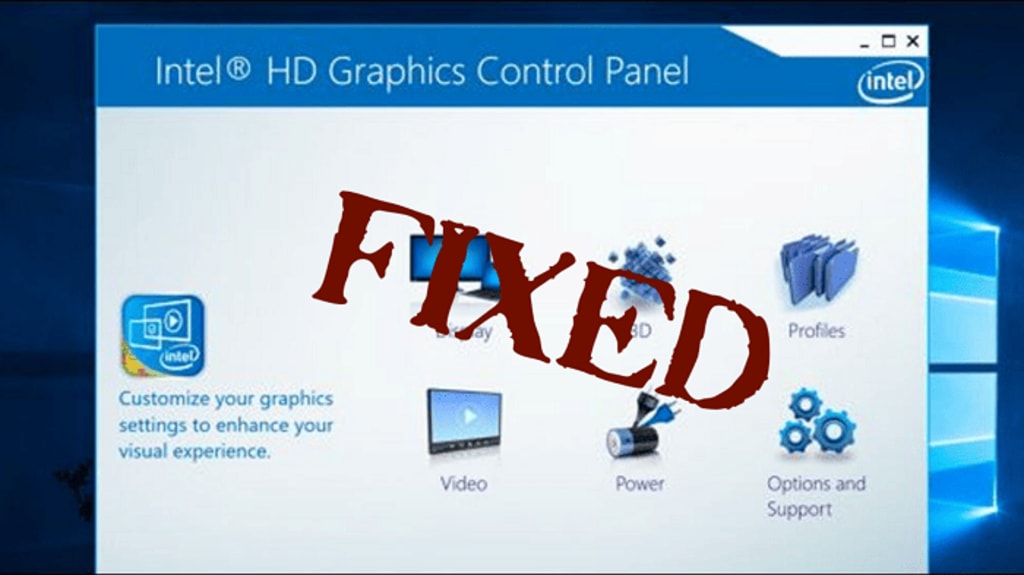
How to fix Intel Graphics Control Panel not opening
fix Intel Graphics Control Panel not opening
If your Intel Graphics Control Panel not opening, then you should go through this tutorial to fix it once and for all.
Gamers use graphic adapters while playing games on their PC. This adapter is used while gaming as well as in animated movies. Intel Control Panel helps to manage the settings of the Graphics adapter. However, it becomes a headache when the Intel Graphics Control Panel not opening. Read on the post to know about the fixes. Before that let us know the reasons why the intel graphics control panel is not working.
What are the Causes of Intel Graphics Control Panel not Opening?
Here are some of the common reasons why the intel graphics control panel not opening:
- Issues with UWP Intel Graphics App
- Outdated Intel GPU’s Driver
After knowing why the Intel Graphics Control Panel is not working on your Windows PC. Now, you must go through the fixes given below.
Quick Solutions to get rid of Intel Graphics Control Panel not Opening
The below methods will help you to fix the Intel Graphics Control Panel not opening issue.
Fix 1: Get Updated Intel GPU Driver
If your GPU driver is not compatible with your Windows, then you might get bugs in your PC. To ignore such kinds of issues, you can use Device Manager. Follow these steps to update your Intel GPU Driver:
- Open the Device Manager File.
- Click on Display Adapter, then extend it.
- Right-click on the Graphics Card.
- Expand it, and now choose to update driver software.
- Now select Search Automatically For Updated Driver Software.
- Reboot your PC to get the changes.
Fix 2: Install the Intel HD Graphics Control Panel on Windows PC
Here you can download and install the Intel HD Graphics Control Panel on Windows 10 and older versions. To do so:
- Press on Win + X keys together.
- Now, select Device Manager from the menu option.
- Right-click on the Intel Graphics Control Panel.
- Choose Update Driver software.
- Click on the Browse my computer for drivers option.
- Select Let me pick from a list of available drivers on my computer option.
- Now choose the Intel Graphics Control Panel and then select the Next button.
After reinstalling the driver, you need to reboot your computer to save the changes.
Fix 3: Use Other Methods to Open Intel Graphics Control Panel
Below are some other alternatives to launch Intel Graphics Control Panel:
- Press on Type here to search the taskbar button, and then write Intel in the search box.
- Now select the Intel Graphics Command Center (Control Panel) in the search bar to open that app.
If this method is no longer working, then you can try another alternative i.e. Ctrl + Alt + F12 to open the Intel Graphics Control Panel.
Fix 4: Repair and restore the UWP Intel Graphics App
If your Intel Graphics Control Panel is not working on Windows, then you need to repair and restore the UWP Intel Graphics App. The below measures explain how to restore and repair the app:
- Click on Win + I keys together, to open Settings.
- Launch Settings app by choosing Apps
- Now, click on the Intel Graphics App.
- To launch the buttons in the shot directly, you need to select Advanced Options.
- Choose the Repair option.
- In case the repair option is not working, then you can reset the button to clear the app's data.
Fix 5: Install your Intel Graphics App Again
You might face an issue that your Intel Graphics control panel not opening / working. To fix this issue, you need to reinstall your Intel Graphics App on your computer. Follow the steps mentioned below.
- Launch App & Features in Settings, to reinstall Intel Graphics App.
- Now, click on Intel Graphic App.
- Select the Uninstall button to remove the app.
- Launch the Intel Graphics Command Center Page in the browser.
- Click on Get Button.
- In case you find a pop-up message to open MS store, then choose an Open option.
- To reinstall Intel Graphics Command Center, you must press the Get button.
Fix 6: Troubleshoot Windows Store Apps
Troubleshoot option lies in Windows 10 which helps to fix Windows store apps issues. To resolve this problem, you need to follow the steps given below:
- Launch the Settings window.
- Select Update & Security from the Settings.
- From the left side of Settings, click on the troubleshoot option.
- To open the list, you need to choose Additional troubleshooters.
- Now click on Windows Store Apps and Run the Troubleshooter.
- After that have a look at the instructions provided by the troubleshooter to solve the issues.
Frequently Asked Questions
Here are some of the most commonly asked questions mentioned below to fix Intel Graphics control panel not opening:
Q1. How do I open the Intel graphics control panel?
Tap on Ctrl + Alt + F12 at the same time, to launch the Intel Graphics Control Panel.
Q2. How do I reset my Intel HD graphics control panel?
To restore my Intel HD graphics control panel, you need to follow the steps listed below:
- Right-click on your desktop, and then choose Graphics Properties.
- Press on the 3D option.
- Now choose Restore Defaults
Q3. How do I enable the Intel Graphics Control Panel in Windows 10?
Follow the directions to turn on the Intel Graphics Control Panel in Windows 10:
- Press on the Start button.
- Write Intel Graphics Control Panel in the start menu.
- Now you can open the Intel Graphics Control Panel.
Intel Graphics Control Panel Not Opening Issue: Successfully Solved
Hope you like our post. If you want to get rid of the Intel graphics control panel not working issue, then you need to use the above measures. In case you get a better solution than this, please notify us in the comment section. We will be back soon with new posts.
About the Creator
Keep reading
More stories from writers in 01 and other communities.
Global Security Market Size and Forecast 2025–2033: Protecting a Digitized World in an Era of Rising Threats
Global Security Market Overview The global security market is entering a decisive phase of expansion as governments, enterprises, and institutions confront an increasingly complex risk environment. According to Renub Research, the Security Market is expected to grow from US$ 142.66 billion in 2024 to US$ 264.71 billion by 2033, registering a strong CAGR of 7.11% from 2025 to 2033. This growth reflects the convergence of digital transformation, rising geopolitical tensions, urbanization, and escalating cyber and physical threats worldwide.
By Renub Research5 days ago in 01
Shadows Over Kyiv: Inside Ukraine’s Endless War for Survival
Prologue: The Winter That Would Not End The winter sky over Kyiv carried a strange silence. It was not the peaceful quiet that comes after a snowfall, nor the kind that signals rest. It was the silence of anticipation—an uneasy tension that had settled into the bones of a country waiting for the next strike, the next missile, the next message that would arrive in the form of fire.
By Muhammad Islam khan swati7 days ago in 01
The Summer I Was Chosen by a Northern Mockingbird
During the long, suspended days of the pandemic, a wild mockingbird began visiting my driveway and chose me, again and again. What started as a strange encounter became a brief, meaningful connection that I still carry with me.
By Erica Roberts 4 days ago in Petlife


Comments
There are no comments for this story
Be the first to respond and start the conversation.