
How to Convert DVD to USB: Multiple Methods Explained
In this guide, we’ll explore different methods to rip DVDs and save them onto a USB drive, including using professional software like DVDFab DVD Ripper, free tools, and manual copying techniques.


In today's digital age, DVDs are becoming less common as people prefer the convenience of USB drives for storing and playing movies. Whether you want to back up your DVD collection, create portable media, or play movies on devices without a DVD drive, converting DVD to USB is a practical solution.
Why Convert DVD to USB?
Before diving into the methods, let’s look at some benefits of transferring DVD content to a USB drive:
1. Portability – USB drives are small and can be used on multiple devices (smart TVs, laptops, tablets, etc.).
2. Longevity – DVDs degrade over time, while USB drives offer more reliable storage.
3. Convenience – No need for a DVD drive; modern laptops and smart TVs support USB playback.
4. Space-Saving – Store multiple movies on a single USB instead of carrying multiple discs.
Now, let's explore the different ways to convert DVD to USB.
Method 1: Using DVDFab DVD Ripper (Best for Quality & Speed)
DVDFab DVD Ripper is one of the best tools for ripping DVDs while maintaining high video quality. It supports various output formats (MP4, MKV, AVI, etc.) and removes DVD encryption (CSS, region codes, etc.).
Steps to Rip DVD to USB with DVDFab DVD Ripper:
1. Download & Install – Get DVDFab DVD Ripper from the official website and install it.
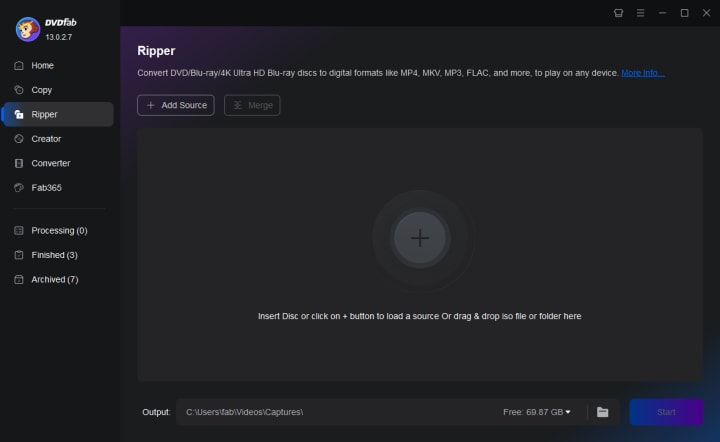
2. Insert a DVD, and place your DVD into the computer’s optical drive.
3. Load DVD – Open DVDFab, select DVD Ripper, and load the DVD.
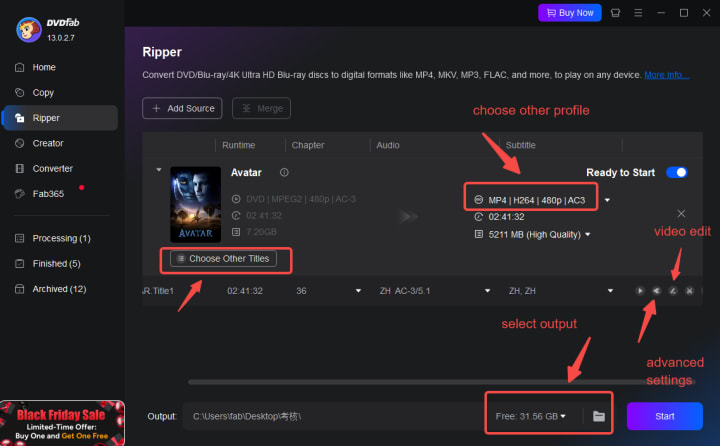
4. Choose Output Format. Such as selecting a format like MP4 (H.264) for compatibility.
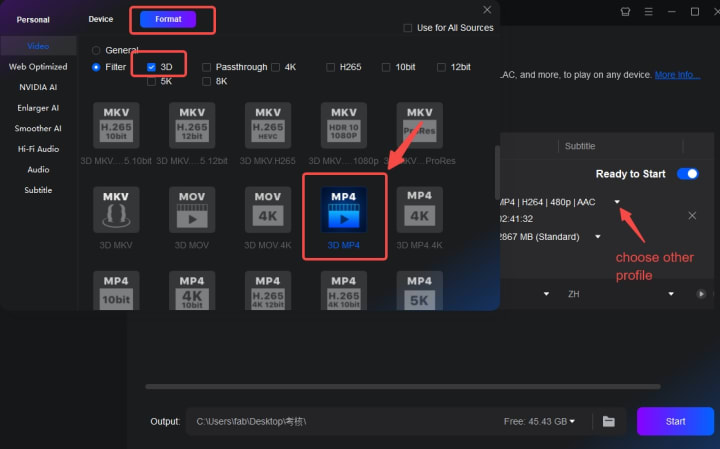
5. Customize Settings; Adjust resolution, bitrate, and subtitles if needed.
6. Select USB as Destination and start ripping – Click "Start" to convert the DVD; once done, safely eject the USB.
✅ Pros:
- High-quality output
- Fast conversion speed
- Removes DVD protections
- Batch conversion support
❌ Cons:
- Paid software (free trial available)
Method 2: Using Free DVD Rippers (HandBrake, MakeMKV)
If you prefer free solutions, tools like HandBrake and MakeMKV can rip DVDs, though they may not bypass all protections without additional tools.
A. Using HandBrake (Free & Open-Source)
1. Install HandBrake – Download from HandBrake's official website
2. Install LibDVDCSS (For encrypted DVDs) – Required to bypass DVD copy protection.
3. Load DVD – Insert DVD, open HandBrake, and select the DVD source.
4. Choose Preset – Select a preset like "Fast 1080p30" for MP4 output.
5. Set USB as Destination – Choose your USB drive as the save location.
6. Start Encoding – Click "Start" and wait for completion.
✅ Pros: Free, customizable settings.
❌ Cons: Requires extra steps for encrypted DVDs.
B. Using MakeMKV (Best for 1:1 DVD Copies)
1. Download MakeMKV – Available at MakeMKV's Official Website.
2. Insert DVD & Open MakeMKV – The software automatically detects the DVD.
3. Select Titles – Choose the main movie or extras you want to rip.
4. Set Output to USB – Select your USB drive as the destination.
5. Start Conversion – Click "Make MKV" to begin.
✅ Pros: Free while in beta, preserves original quality.
❌ Cons: Large file sizes (MKV format).
Method 3: Directly Copying DVD Files (No Conversion)
If you only need the DVD files (VIDEO_TS folder) on USB without converting, you can manually copy them:
1. Insert DVD – Place the disc in your computer.
2. Open File Explorer – Navigate to the DVD drive.
3. Copy VIDEO_TS Folder – Drag it to your USB drive.
4. Playback – Use a media player like VLC to open the files.
⚠ Note: This method keeps the DVD structure intact but doesn’t compress or convert files.
Method 4: Using Windows & macOS Built-in Tools
Some operating systems allow basic DVD copying:
Windows (File Explorer)
1. Open the DVD in File Explorer.
2. Copy all files (VIDEO_TS, AUDIO_TS) to the USB.
macOS (Disk Utility & Finder)
1. Insert DVD and open Disk Utility.
2. Create a disk image (.dmg) of the DVD.
3. Copy the .dmg file to your USB drive.
✅ Pros: No extra software needed.
❌ Cons: Doesn’t convert to standard video formats.
Final Thoughts
Converting DVDs to USB drives is a great way to preserve and access your movie collection without relying on physical discs. While free tools work, DVDFab DVD Ripper provides the best performance for removing encryption and maintaining quality. If you're looking for a hassle-free solution, it's worth the investment.
About the Creator
DVDLOVER
Sharing the latest on DVD & Blu-ray releases, E-book downloads, and trending TTS. Stay tuned for updates, tips, and exclusive content!


Comments
There are no comments for this story
Be the first to respond and start the conversation.