
3D Modeling and Animation in Jewelry - Everything You Need to Know
3d modeling and animation

The jewelry industry is one of the oldest and most traditional industries in the world. For centuries, jewelry has been made by hand, using simple tools and techniques. Today, however, the jewelry industry is one of the most technologically advanced industries in the world - from computer-aided design (CAD) to 3D modeling and animation.
The use of technology in the jewelry industry has revolutionized the way that jewelry is designed, manufactured, and sold. In the past, the jewelry industry was largely reliant on manual labor. Designers would sketch out their designs, and then artisans would craft the jewelry by hand. This process was time-consuming and often resulted in inconsistencies in the finished product.
Now, however, technologies like CAD make the jewelry-making process much faster and more accurate than the traditional methods. In addition, the use of 3D printing has made it possible to create jewelry that is truly one-of-a-kind.
3D Modeling and Animation in Jewelry
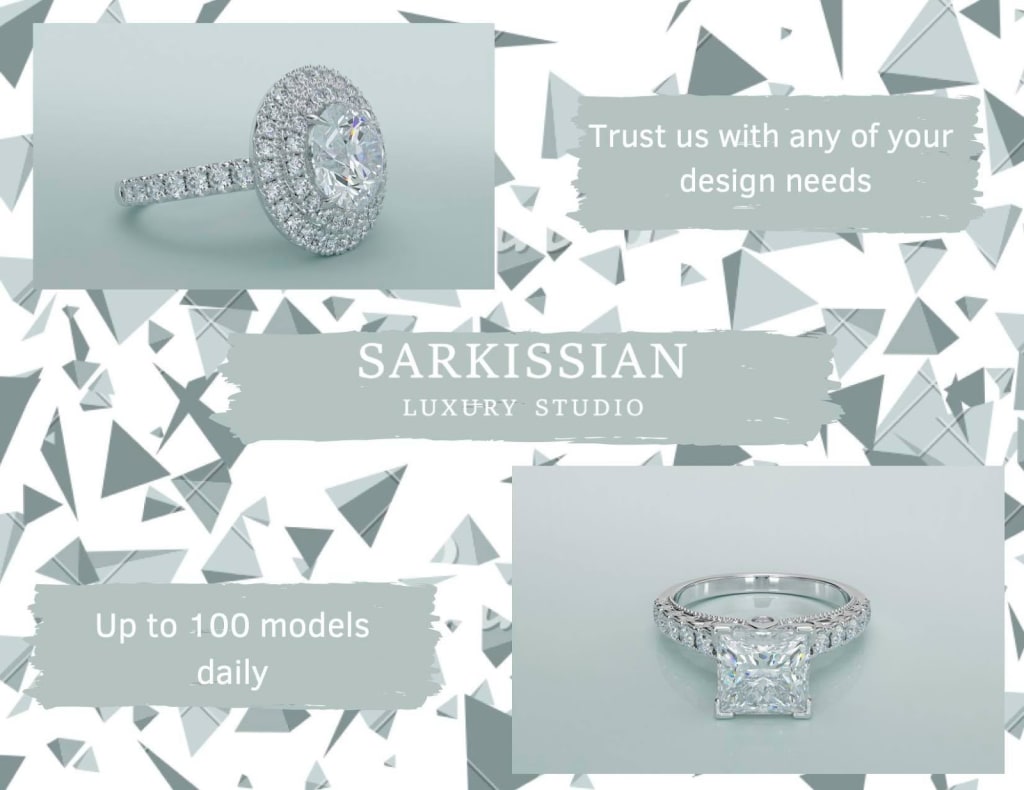
3D modeling and animation is a powerful tool that can be used in jewelry design. With it, you can create realistic models of your designs and see how they would look in real life. You can also animate your designs to create dynamic and realistic simulations.
3D modeling and animation can help you to visualize your designs, test different variations, and create stunning visuals for your portfolio or website. If you are a jewelry designer, then learning how to use these tools can take your business to the next level. Here are some tips on how to get started with 3D modeling and animation in jewelry design.
1. Use reference images
When you are creating a 3D model of a piece of jewelry, it is important to have reference images to work from. This will help you to create a more accurate model. You can find reference images online or in magazines.
2. Start with a simple model
If you are new to 3D modeling, then it is best to start with a simple jewelry sketch design. A complex model can be difficult to create and may take longer to render. Once you have mastered the basics, you can move on to more complex models.
3. Pay attention to detail
When you are creating a 3D model, it is important to pay attention to detail. This includes the textures, colors, and materials of the jewelry. You want your model to look as realistic as possible.
4. Use different software programs
There are many different software programs that you can use for 3D modeling and animation. Each program has its own strengths and weaknesses. It is important to experiment with different programs to find the one that works best for you.
5. Render your models
Once you have created your 3D model, you will need to render it. Rendering is the process of creating a realistic image from a 3D model. This can be done with software programs or online services.
6. Animate your models
Once you have rendered your 3D models, you can animate them. This can be done with software programs or online services. Animating your models will give them a realistic look and feel.
7. Use 3D printing
3D printing is a great way to create prototypes of your jewelry designs. With 3D printing, you can create exact replicas of your designs. This can be helpful for testing different variations of your designs.
8. Sell your designs
Once you have created your 3D modeling and animation, you can sell your designs. There are many online marketplaces that allow you to sell your 3D models and animations. You can also create your own website to sell your designs.
In the End
3D modeling and animation are powerful tools that can be used in jewelry design. With them, you can create realistic models of your designs, animate your designs, and create stunning visuals for your portfolio or website. If you are a jewelry designer, then learning how to use these tools can take your business to the next level.
About the Creator
Keep reading
More stories from James Corby and writers in 01 and other communities.
5 Characteristics of an Honest App Development Agency
The US alone has around 7000 mobile app development companies building business apps. Due to this massive count, when it comes to choosing an app development agency, there are a plethora of options out there to confuse you. It can seem like every company is promising the same thing: quality apps and communication throughout the process.
By James Corby4 years ago in 01
Top IT and Marketing Recruitment Agencies in Canada
IT recruitment agencies Canada play a crucial role in connecting businesses with skilled tech professionals. In the Canadian IT market, specialized recruiters have deep industry networks and technical expertise. For example, Insight Global is described as “specializing in delivering talent and technical solutions” to major companies, and Wexpand focuses on “staffing, headhunting, and talent acquisition” with a proactive, client-focused approach. Such agencies leverage local and global connections to speed up hiring for roles from software developers to network engineers. By maintaining large pools of vetted candidates and understanding Canadian tech trends, top IT recruiters help companies bridge talent gaps efficiently.
By Kashif Khanabout 12 hours ago in 01
Why Your 2025 Presentations Fail: The “Quiet Luxury” Hack Powered by PopAi & Morandi Aesthetics
Description Are you still pulling all-nighters fixing alignment and color palettes? The era of "ugly productivity" is over. As we approach the end of 2025, we analyzed why most corporate decks get ignored and uncovered a workflow shift top creatives are already using. This article explains how PopAi’s Morandi Color Scheme Minimalist Magazine slides transform complex data into refined visual narratives—and why this approach is becoming essential for modern presentations.
By charliesamuel3 days ago in 01


Comments
There are no comments for this story
Be the first to respond and start the conversation.