
How Do You Clean Walls at the End Of a Lease?
Bond Cleaning

When it’s time to move out of a rental property, one of the essential tasks is ensuring the walls are clean and in good condition. A thorough cleaning can help you secure your full security deposit and leave a good impression on the landlord. Here’s a step-by-step guide on how to clean walls effectively before handing over the keys.
1. Assess the Condition of the Walls
Before you start cleaning, examine the walls for stains, scuff marks, dust, and damage. Determine whether they need a light dusting, spot cleaning, or a more intensive wash. Take note of any holes or cracks that may require repair.
2. Gather Cleaning Supplies
Depending on the level of cleaning required, you’ll need the following items:
A soft sponge or microfiber cloth
Warm water
Mild dish soap or an all-purpose cleaner
Baking soda
White vinegar
Magic eraser (for tough scuff marks)
A bucket
Dry towels or rags
A ladder (for high walls and ceilings)
3. Dust the Walls
Dust accumulates over time, especially near vents, baseboards, and corners. Use a microfiber cloth or a duster to remove cobwebs and dust from the walls and ceiling. A vacuum with a brush attachment can also help with this step.
4. Spot Clean Stains and Scuff Marks
For minor stains and marks, use a damp microfiber cloth with a mild soap solution. Gently rub the area until the stain lifts. If the stain persists, try these methods:
Scuff Marks: Use a magic eraser or a mixture of baking soda and water.
Grease Stains: Mix dish soap with warm water and scrub gently.
Ink or Crayon Marks: Rubbing alcohol or a small amount of baking soda paste can help remove stubborn stains.
Mold or Mildew: A solution of equal parts water and white vinegar can remove mold spots effectively.
5. Wash the Entire Wall (If Necessary)
If the walls are visibly dirty, wash them using a sponge and a mild soap solution. Be careful not to oversaturate the walls, especially if they are painted with flat or matte finishes, as excess water can cause damage.
6. Rinse and Dry
After washing, rinse the walls with a clean damp cloth to remove any soap residue. Then, dry the surface with a dry towel or allow it to air dry to prevent water streaks.
7. Repair Any Damages
If there are small holes from nails or screws, fill them with spackle or putty, smooth it out, and touch up with matching paint if necessary. This step helps ensure that the walls look as close to their original state as possible.
8. Final Inspection
Walk through the rental property and inspect the walls under different lighting conditions to ensure they are clean and free from noticeable marks or damage. If any areas need additional touch-ups, address them before moving out.
Conclusion
Cleaning the walls at the end of a lease is an important step in leaving the rental in good condition. By dusting, spot cleaning, and repairing minor damages, you can improve the overall appearance of the space and increase your chances of receiving your full security deposit. A little effort can go a long way in maintaining a positive rental history and ensuring a smooth transition for the next tenant.
About the Creator
Keep reading
More stories from Swey Mario and writers in Writers and other communities.
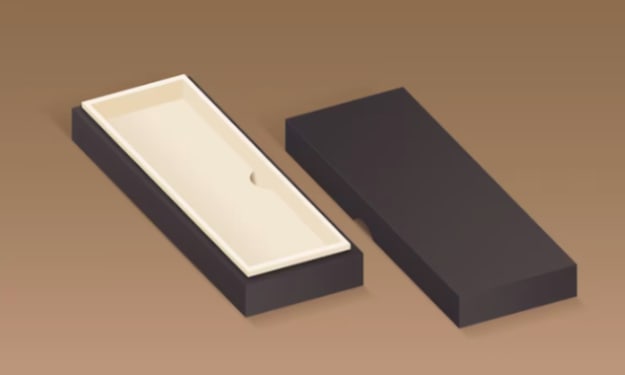
Boost your Sales with Custom Display Boxes
Custom display boxes have emerged as a powerful marketing tool that showcases products and enhances brand visibility. These visually appealing and customizable packaging solutions have the potential to grab attention and drive conversations, ultimately boosting sales. Here are the benefits of using custom display boxes and provide practical tips to leverage their full potential.
By Swey Mario3 years ago in Journal


Comments
There are no comments for this story
Be the first to respond and start the conversation.