
Petal Pockets Create Your Own Garden Apron
Leather Apron
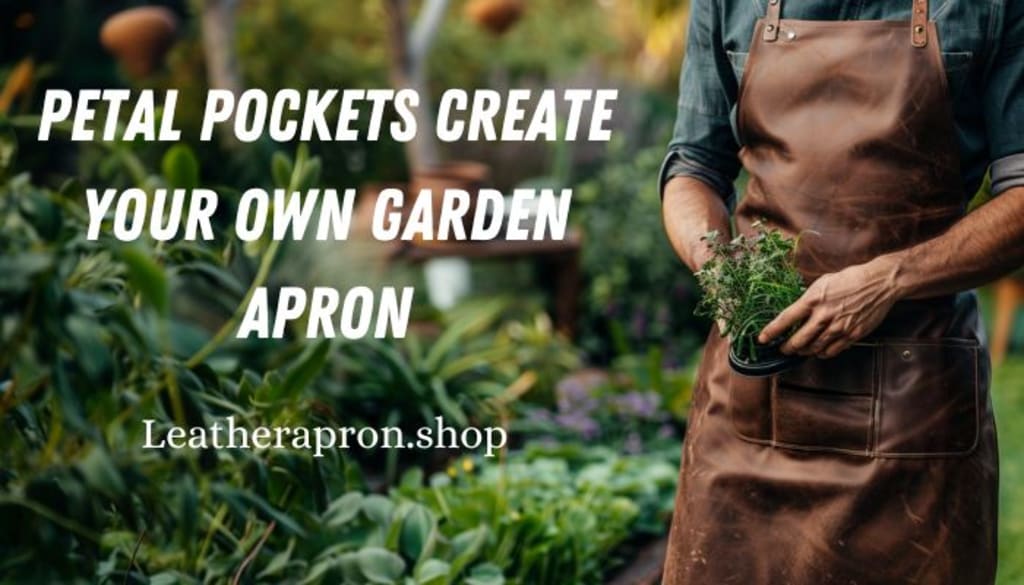
Garden Aprons are a practical and fashionable accessory for any avid gardener. They offer a convenient way to carry your gardening tools, seeds, and other supplies while keeping your hands free. One unique and personalized option is to create your own "Petal Pockets" garden apron. This article will guide you through the process of designing and sewing your very own custom garden apron.
Choosing Your Fabric and Pocket Design
The first step in creating your Petal Pockets garden apron is to select the fabric. Cotton and denim are popular choices as they are durable and easy to work with. Consider choosing a pattern or color that complements your garden's aesthetic. You may even opt for a floral or nature-inspired print to embrace the gardening theme.
Next, it's time to plan the pocket design. The classic apron style features a large central pocket, but you can get creative with additional side pockets or even pockets in the shape of flower petals. Sketch out your desired pocket layout and dimensions to ensure they will be proportional and practical for your needs.
Cutting and Sewing the Apron Body
Once you have your fabric and pocket design in mind, it's time to start the sewing process. Begin by cutting out the main apron body piece, following the measurements of your chosen design. Ensure that the fabric is laid out correctly, with the right side facing up.
Fold the fabric in half, aligning the edges, and sew along the sides to create the apron shape. Remember to leave an opening at the top for the neck strap. Finish the edges by either serving or using a zig-zag stitch to prevent fraying.
Constructing the Petal Pockets
Now, it's time to create the signature Petal Pockets. Start by cutting out the desired number of petal shapes from your fabric. You can experiment with different sizes and variations to achieve your desired look.
Fold each petal in half, right sides together, and sew along the curved edge, leaving the straight edge open. Trim the seam allowance and turn the petal right side out, pressing it flat. Repeat this process for all the petal pieces.
Arrange the petal pockets on the apron body, spacing them evenly and overlapping the straight edges. Secure them in place with pins or basting stitches, then topstitch around the edges to attach the pockets permanently.
Adding Finishing Touches
With the main body and pockets in place, it's time to add the finishing touches to your Petal Pockets garden apron. Start by creating the neck strap and waist ties. Cut two long strips of fabric, fold them in half lengthwise, and sew along the raw edges. Flip the straps right side out and press them flat.
Attach the neck strap by aligning the raw edges with the top of the apron body and sewing them in place. Repeat the process for the waist ties, securing them at the sides of the apron.
Finally, consider adding any optional embellishments, such as decorative topstitching, buttons, or appliqués to personalize your creation further.
Caring for Your Petal Pockets Apron
To ensure your Petal Pockets garden apron lasts, it's important to follow proper care instructions. Wash the apron in cold water and hang or lay flat to dry. Avoid putting it in the dryer, as the high heat can damage the fabric and pocket shapes.
When not in use, store the apron in a cool, dry place to prevent fading or damage from sunlight. With proper care, your custom garden apron will continue to be a practical and stylish companion in your gardening adventures for years to come.
Conclusion
Creating your own Petal Pockets Garden Apron is a fun and rewarding project that allows you to express your personal style while keeping your hands free for gardening tasks. By following the steps outlined in this article, you can design and sew a unique and functional apron that will become an essential part of your gardening toolkit. Embrace your creativity, get your hands dirty, and enjoy the process of making your own custom Petal Pockets garden apron.
FAQs
What materials do I need?
Fabric, thread, scissors, sewing machine or needle, measuring tape, pins, and optional embellishments.
How much fabric is required?
1 to 1.5 yards, depending on size and style.
Can I use a sewing machine?
Yes, it’s recommended for quicker and stronger seams.
Are these patterns beginner-friendly?
Yes, with clear steps and tips for ease.
Can I customize the design?
Absolutely! Add pockets, adjust length, and personalize as you like.
How long does it take?
About 2-3 hours, depending on skill level and customizations.
About the Creator
Keep reading
More stories from writers in Styled and other communities.
Winter Teaches Us Who We Really Are
Winter never announces itself loudly. It arrives quietly— in shorter days, longer nights, and a cold that slips under doors and into thoughts. And before we realize it, winter has changed the way we move, think, and feel. Winter Is Not Just a Season—It’s a State of Mind People often describe winter as cruel, harsh, or unforgiving. But winter is not heartless. Winter is honest. It strips life down to its essentials. Trees lose their leaves. Streets empty faster. Conversations become fewer but deeper. There is no excess warmth, no easy comfort. Everything unnecessary falls away. And in that bareness, we meet ourselves. Why Winter Feels So Personal There is a reason memories hit harder in winter. A cup of tea tastes warmer. Silence feels louder. Loneliness feels closer. Winter slows the world down enough for emotions to catch up. In summer, life distracts us. In winter, it confronts us. We remember old loves, unfinished conversations, people who once sat beside us during cold nights but are no longer there. Winter does not create pain—it simply refuses to hide it. The Beauty of Winter’s Quiet Winter is the season of quiet courage. The courage to wake up when the world is dark. The courage to keep moving when warmth feels far away. The courage to sit with thoughts we usually avoid. Snow muffles sound. Fog blurs distance. Cold keeps people indoors. And suddenly, silence becomes unavoidable. But silence is not emptiness. It is where clarity lives. Winter and the Art of Survival Survival looks different in winter. It is not about speed or ambition—it is about endurance. You don’t rush through winter. You layer up. You conserve energy. You wait. Winter teaches us patience in a world obsessed with urgency. It reminds us that rest is not weakness and stillness is not failure. Sometimes, surviving is enough. Not Everyone Experiences Winter the Same Way For some, winter is cozy. Warm rooms. Soft blankets. Hot meals. Shared laughter. For others, winter is brutal. Cold streets. Thin jackets. Empty nights. Winter exposes inequality more clearly than any other season. It asks uncomfortable questions: Who has shelter? Who has warmth? Who is forgotten? And it quietly challenges us to be kinder—to notice, to help, to care. Why Writers and Thinkers Love Winter There is a reason some of the most powerful ideas are born in winter. Long nights invite reflection. Cold air sharpens thought. Isolation encourages honesty. Winter does not demand productivity—it allows depth. This is why poets, writers, artists, and philosophers often create their best work when the world slows down. Winter gives permission to feel without rushing toward resolution. Winter and Love: A Complicated Relationship Love feels different in winter. It can feel warmer—hands held tighter, words spoken softer. Or colder—distance more noticeable, absence more painful. Winter does not create love or loss; it magnifies what already exists. Strong relationships grow closer. Weak ones feel fragile. Winter has no patience for pretense. The Lesson Hidden in the Cold Winter teaches us a lesson most seasons ignore: You are allowed to slow down. You don’t have to bloom all the time. You don’t have to be bright to be valuable. You don’t have to produce to be worthy. Sometimes, surviving the cold is growth enough. Just like nature rests before spring, humans need winters too. Why We Need Winter More Than We Admit Without winter, spring would mean nothing. Without cold, warmth would feel ordinary. Without silence, words would lose meaning. Without struggle, comfort would feel empty. Winter humbles us. It reminds us that we are not in control of everything—and that’s okay. There is strength in adapting. There is beauty in endurance. When Winter Ends, Something Inside Us Changes When winter finally loosens its grip, we notice the difference. Light feels brighter. Warmth feels earned. Life feels softer. But we are not the same people who entered the cold months. We are quieter. Stronger. More aware. Winter leaves marks—not scars, but lessons. Final Thoughts: Let Winter Teach You Don’t rush through winter. Listen to it. Let it teach you patience. Let it show you what truly matters. Let it reveal who stays, who fades, and who you become when comfort is stripped away. Winter is not here to punish you. It is here to prepare you. And when spring comes, you’ll understand why you needed the cold.
By Zahid Hussain3 days ago in Styled
The Path to Salvation
The late autumn evening air filled the monk's lungs, but it wasn't the season that chilled his bones. The heavy-handed presence of evil he had sensed upon entering the woods surrounding this mountain village had not bothered to conceal itself from him.
By Made in DNA7 days ago in Fiction


Comments
There are no comments for this story
Be the first to respond and start the conversation.