
How To Dye A Wig?
Wig Dyeing 101: How to Switch Up Your Look Without the Salon Drama
Hey Sis! So you saw that fire honey-blonde balayage on TikTok, or maybe you’re feeling that midnight blue fantasy, but the thought of bleaching your own curls colored wigs has you saying, “Absolutely not.” I get it—our hair is our crown, and sometimes you don’t want to risk the throne.
That’s where wigs come in! They’re the ultimate cheat code for a vibe shift. But let me keep it real with you: dyeing a wig ain’t like dyeing your own hair. I learned this the hard way when I turned my first synthetic unit into a crispy, patchy mess trying to use box dye. Tragedy! Consider this your friendly, no-BS guide to getting it right the first time.
Step 1: Know Your Wig’s DNA (This is Non-Negotiable!)
Before you even open a dye bottle, you gotta know what your wig is made of. This isn’t just advice—it’s the law.
The Real Deal (100% Human Hair): This is your sister-from-another-mister. It can handle most permanent or semi-permanent dyes, just like your natural hair. It’s forgiving and can be bleached (with care!). If the price made you gasp a little, it’s probably human hair.
The Synthetic Baddie (Kanekalon, Toyokalon, etc.): This is your budget-friendly, color-pop queen. BUT—and listen close—you CANNOT use regular hair dye on this. I don’t care what the internet says. That dye will just sit on top of the plastic fibers, making them gummy, sticky, and dull. It’s a wrap. You need a different approach (I’ll hook you up below).
The Heat-Friendly Flexer: A fancy synthetic that can take low heat from curling irons. Still tricky to dye all over, but we can play with it for highlights.
Step 2: Dyeing Human Hair Wigs (The “Go Head, Sis” Method)
This is straightforward. Think of it like doing a friend’s hair.
You’ll Need: Your dye of choice (I’m a fan of Adore for vibrant colors or a good demi-permanent for richer browns/reds), a wig stand (a tall bottle works in a pinch!), clips, Vaseline, conditioner, and some patience.
My Pro-Tips from the Battlefield:
Wash It First: Always start with a clean, dry wig. Product build-up can block the color.
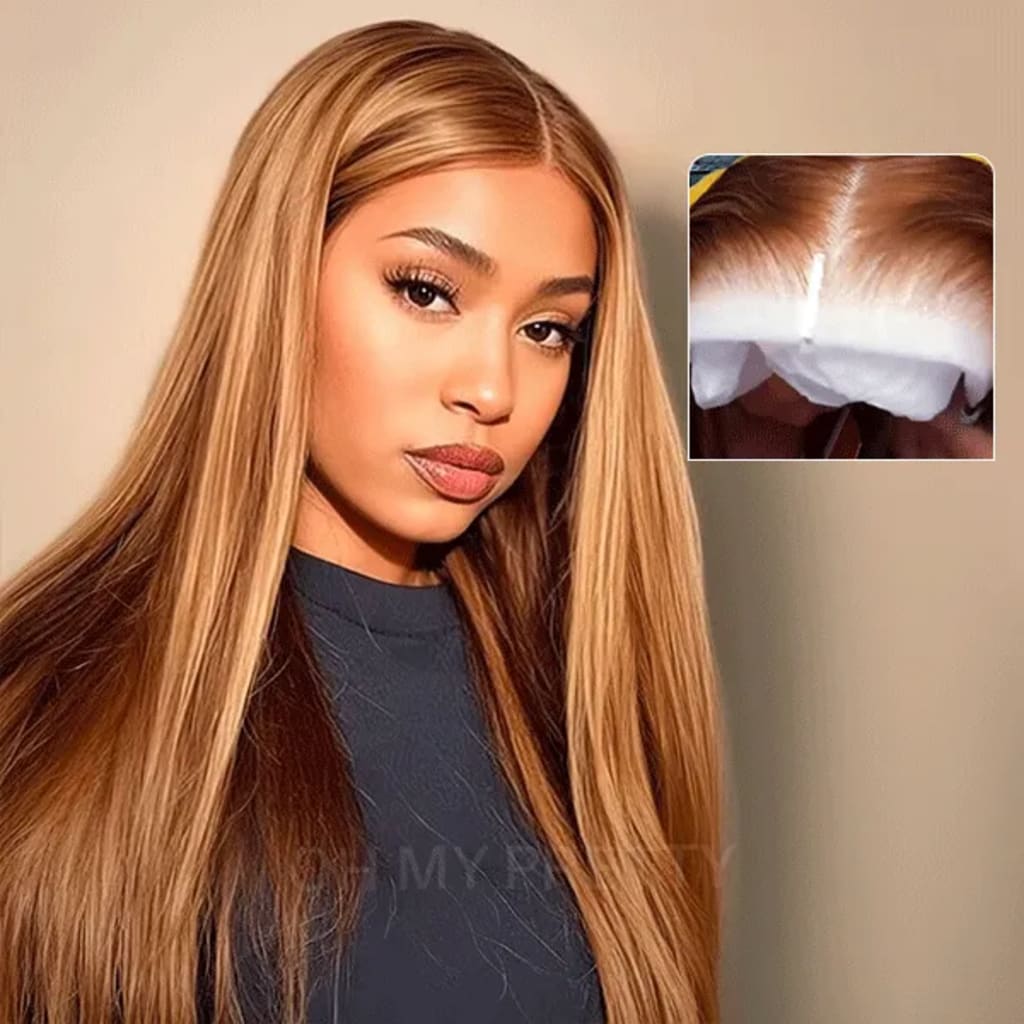
Protect the Baby Hair (and Your Edges): Slap a little Vaseline around the hairline of the wig cap, especially if it’s a lace front. You do NOT want to stain that lace. Trust me.
Section Like You Mean It: Clip that wig up into four parts. Start applying dye from the ends to the roots (roots process faster). Get every strand slick and saturated.
Bag It & Chill: Once it’s fully coated, slip a plastic grocery bag over it and let it process. Check on it like you check your notifications—frequently.
The Cold Water Rinse is Key: Rinse with cool water until it runs clear. This seals the cuticle and locks in that color, making it last longer and shine brighter.
Condition, Condition, Condition: Follow up with a deep conditioner. Let it sit, then rinse. Your wig will thank you with soft, swing-worthy hair.
Step 3: Transforming Synthetic Wigs (The “Get Creative” Hack)
This is where we get clever. Since box dye is the enemy, here are two proven methods:
For Going DARKER (Jet Black, Espresso, True Red):
Use Rit DyeMore or iDye Poly. This is a fabric dye made for plastic.
Get a cheap pot from the dollar store (you won’t use it for food again).
Simmer water, add the dye, and stir.
DIP, DON’T DROWN: Submerge your clean, dry wig for literally 1-3 minutes, moving it constantly with tongs. The color takes FAST. Check it every 30 seconds. Rinse immediately in cold water. Done!
For Fashion Colors & Fantasy (Pastels, Mermaid Vibes, Tips):
This is my personal favorite—the Rubbing Alcohol & Ink Method.
Grab: 91% rubbing alcohol, a spray bottle, and alcohol-based ink (like from Sharpie markers or fabric ink).
The Process: Mix the ink with alcohol in the spray bottle. Lay your wig flat, section it, and spritz or paint the color on. The magic? The alcohol makes the color bleed and blend beautifully, giving you that perfect, diffused ombre or peek-a-boo highlight effect. It dries fast and doesn’t run after. I’ve done killer sunset tips (orange to pink) this way. Just work in a ventilated area—the fumes are no joke.
Final Word from a Sis Who’s Been There:
Test, Don’t Guess: Always cut a tiny piece from the underside wefts to test your color and method.
Deep to Light is a Fight: It’s easy to go darker on any wig. Trying to lift a dark synthetic to blonde is nearly impossible. Choose a wig that’s already light if you want pastel magic.
Embrace the Practice Wig: Grab a $20 unit from the beauty supply store to experiment on. Then you can dye on the high-quality wear and go wigs or half wig. The confidence you gain is worth every penny.
At the end of the day, wigs are about expression, protection, and having fun with your style without the commitment. So take your time, follow these steps, and get ready to slay a whole new look. You got this, Queen! Now go turn that wig into a masterpiece.
About the Creator
Keep reading
More stories from manman zhai and writers in Styled and other communities.
Why Do Burmese Curly Bob Wigs Get A Hit?
Let me holler at my sistas real quick: If you’ve been in the wig game for a minute, you know not all units are created equal. I’ve cycled through synthetic wigs that tangled after two wears, Brazilian hair that shed like crazy, and lace fronts that gave me a headache from all the glue. But then I tried a Burmese curly bob wig—and honey, it was a game-changer. These days, every time I link up with my girls, half of us are rocking Burmese curly wig styles, and for good reason. Let’s break down why so many of us are obsessed with Burmese curly bob wigs, straight from someone who’s made them my go-to for work, dates, and everything in between.
By manman zhai2 months ago in Styled


Comments
There are no comments for this story
Be the first to respond and start the conversation.