
Git Installation Guide
A Quick and Easy Setup Process


Git Installation Guide: A Quick and Easy Setup Process
Introduction:
Git is a widely used distributed version control system that allows developers to track changes in their code, collaborate with others, and manage different versions of their projects efficiently. Installing Git on your system is the first step towards utilizing its powerful features. In this article, we will provide a simple and concise installation guide for Git.


Step 1: Check System Requirements:
Before installing Git, ensure that your system meets the necessary requirements. Git is compatible with major operating systems, including Windows, macOS, and Linux. Visit the official Git website (https://git-scm.com/) to verify if your system is compatible and review any specific requirements for your operating system.
Step 2: Download Git Installer:
Once you have confirmed compatibility, navigate to the official Git website's download page. On this page, you will find the appropriate installer for your operating system. Click on the download link to initiate the download process.
Step 3: Run the Installer:
Once the download is complete, locate the downloaded installer file and run it. The installer will guide you through the installation process with a series of prompts.
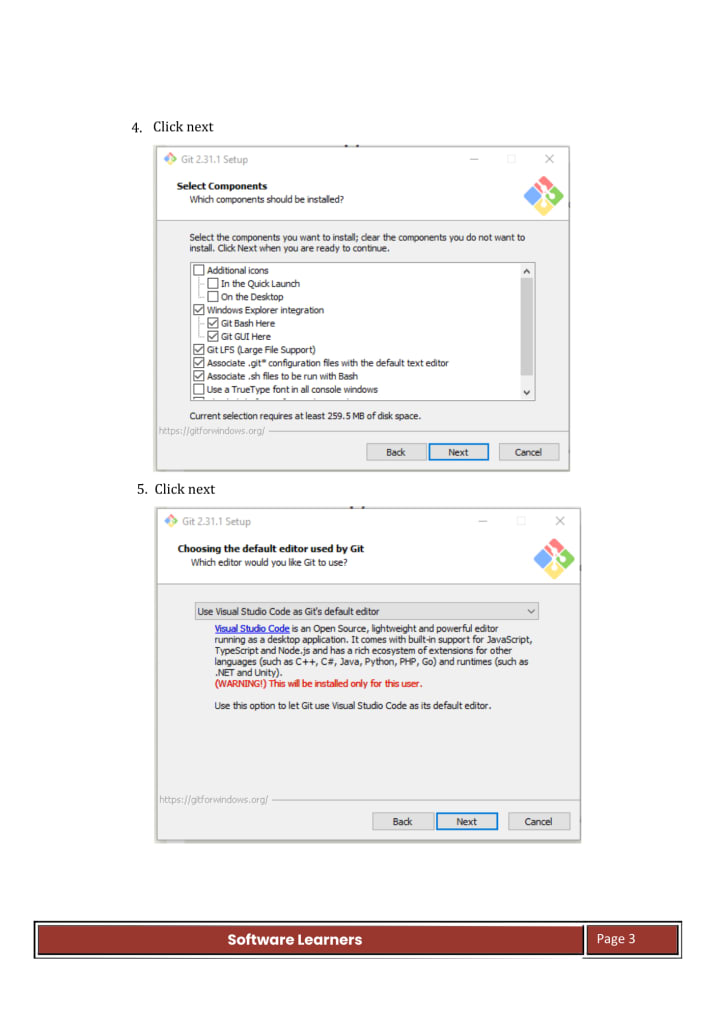
Step 4: Choose Installation Options:
During the installation process, you will be presented with various options to customize the Git installation. While the default settings are suitable for most users, you can choose to modify the installation path or select specific components according to your preferences.
Step 5: Configure Environment Variables (Windows Users Only):
If you are installing Git on a Windows system, you will be prompted to choose the default behavior for adjusting your system's PATH environment variable. It is recommended to select the option "Use Git from the Windows Command Prompt" to ensure that Git is accessible from any command prompt or terminal window.
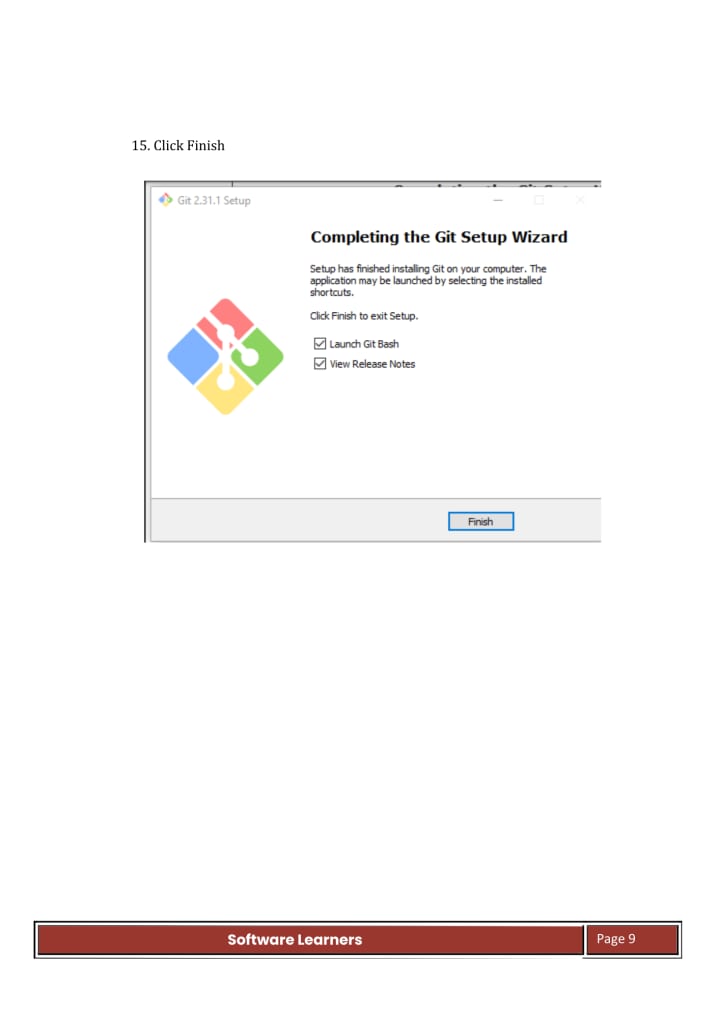
Step 6: Complete the Installation:
Once you have configured the necessary options, proceed with the installation process. The installer will copy the required files to your system and set up Git accordingly. Once the installation is complete, you will receive a confirmation message.
Step 7: Verify the Installation:
To ensure that Git has been successfully installed, open a command prompt or terminal window and enter the command "git --version." If Git is installed correctly, the command will display the installed version of Git.
Conclusion:
Installing Git on your system is a straightforward process that allows you to leverage the benefits of version control for your projects. By following this installation guide, you can quickly set up Git and begin managing your code efficiently. Remember to regularly update Git to benefit from the latest features and security enhancements. With Git installed, you can enjoy the benefits of collaborative development and version control in your software projects.
About the Creator
Jeevanantham S
Hi Friends !!!.
Keep reading
More stories from Jeevanantham S and writers in Poets and other communities.
Chief Keef
Chief Keef: A Pioneering Figure in the World of Drill Music Chief Keef is a rapper, producer, and songwriter who has been making waves in the music industry since his breakout single "I Don't Like" in 2012. Known for his unique style and raw, unapologetic lyrics, Chief Keef has become a pioneering figure in the world of drill music. In this article, we'll take a closer look at his career, his impact on the music industry, and his continued success.
By Jeevanantham S3 years ago in Poets
Trickle Them Down, But Not Out
The thing about smart people is that they should know better, but alas, intelligence is not the same as wisdom. Not only do the mistakes of experts too short on vision—when they are not corrected—have the potential to do great and far-reaching damage, but they also undermine public confidence in the very notion of expertise. This is particularly so when expertise is wielded in defence of the rich and powerful as a cudgel against those laid low. As an academic, this lack of faith in “so-called experts” is painful to see as it plays out in the spread of dis-/misinformation, conspiracy theories, and anti-intellectualism writ large. But it is also an understandable impulse given the catastrophic failure of an economic ideology pushed by certain economic experts. Supply-side economics has shaped a broken system for the last half-century and has arguably done more to undermine the fabric of the American Dream than any policy framework of the past century.
By Cory Wright-Maley6 days ago in Humans


Comments
There are no comments for this story
Be the first to respond and start the conversation.