
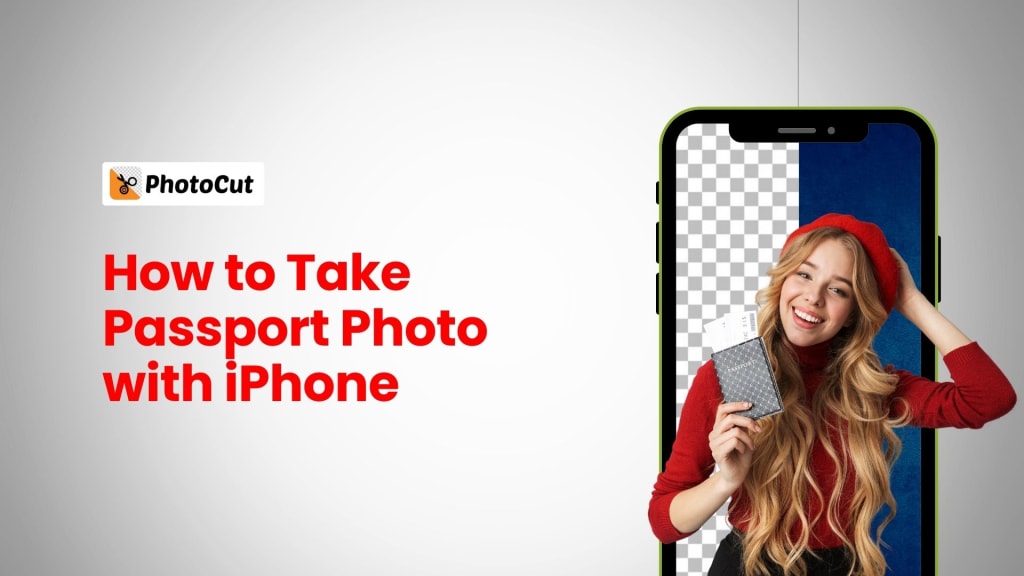
Step-by-Step Guide for Taking Passport Photos with an iPhone
Step-by-Step Guide for Taking Passport Photos with an iPhone

Having to travel to a professional photo studio or kiosk to take your passport photo can sometimes be a hassle. But due to advances in smartphone cameras, you can now take a quality passport photo from your home using your iPhone. Adhering to some guidelines will ensure that your photo will meet all of the criteria listed for passport applications, even though it might seem somewhat tricky at first. You can change hairstyles using PhotoCut’s Hairstyle Changer for a formal look.
This thorough tutorial will walk you through the process of using an iPhone to take a passport photo and offer practical advice to make sure your image satisfies all the standards. You will obtain all the information needed to effortlessly snap the ideal passport photo, from getting ready for it to the final editing step.
Passport Photo Requirements
There is a prerequisite for passport photographs before moving on to the detailed procedure. Although each country has its own set of regulations, most countries follow a very similar overall framework. Here are the general standards for passport photos:
Photo Size: The picture is 2 x 2 inches (51 x 51 millimeters) in size.
Head Size: Measure from the chin to the crown. Your head should be 1-1.4 inches in size or 25-35 mm.
Recent Photograph: The picture taken shall be recent, and of within six months prior. If you can’t click new pictures, restore your old photos with PhotoCut’s Photo Restoration Tool and bring them to their highest potential.
Neutral Face: Your face should be neutral, and you should look straight at the camera.
No Smiles or Frowning: If you are smiling or frowning, your lips should be closed and your teeth hidden.
White or Light Gray Background: The background needs to be light-colored without anything visible around you.
No Head Gear Except for Medical Conditions: Headgear is not allowed except for medical or religious conditions. This includes hats, caps, and other headgear.
Using an iPhone, here is how to take a step-by-step passport photo based on those instructions.
How to Take Passport Photos with an iPhone
One simple step to take a passport photograph of the body using an iPhone is detailed ahead. You can now stand at home and be confident that your photo will qualify for submission.
1. Prepare Your Face and Clothing
The first step of the way to a great passport photo is prep.
Clear Face: Your face should be well visible. Take off any face-obscuring items, such as scarves, hats, or spectacles. Take off your glasses if you wear them unless you have a medical condition that demands it. This is because they may induce distortions or reflections.
Natural Makeup: It is okay to wear natural makeup but avoid heavy or excessive makeup. Ensure your face appears natural so that your photograph will accurately represent you.
Avoid Extreme Hairstyles: Steer clear of really costly haircuts that cover your face. Your hair should be styled such that it doesn't conceal your face or eyes.
Neutral Facial Expression: Keep your mouth closed and your eyes open. This is probably the most important aspect of a passport photo.
Clothing: Use plain, everyday clothes. Avoid uniforms or clothes that are too similar to the background (such as white). Medium or dark colors would be a better option as they would provide a clear contrast against the light-colored background.
2. Choose the Right Background and Lighting
The background and lighting play a significant role in ensuring your photo meets the requirements. Here’s how to handle both:
Background: Choose a plain, light-colored background. A white or light gray wall is ideal, but light blue or beige is also fine. Avoid a busy or patterned background that may distract from your face.
Lighting: The lighting will greatly determine the quality of the captured photo. Natural lighting is the best because it will be even and soft. Stand near a window when daylighting to get perfect illumination. The light source must be from the front but not above or at your back so that shadows aren't too harsh. Use a ring light or softbox in case you're using artificial light to soften the light even out. Avoid direct overhead lighting that can create some unwanted shadows.
Avoid Shadows: The lighting must balance on your face. The problems that may be created by shadows or overexposure will be avoided. Make sure that your face has an even amount of light on it and no harsh shadows.
3. Set Up Your iPhone Camera
You have now prepared the space, it’s now time to set up your iPhone:
Use the Rear Camera: Always use the back camera of the iPhone for maximum resolution, which is always better than using the front camera.
Set the Timer or Use a Tripod: This will ensure that if you're taking the picture yourself there won't be any camera shakes. Alternatively, you might use a tripod so the camera will not move around or shift during the shot. Using the tripod will position you aptly and there won't be any distortion in your photo.
No Filters or Effects: Avoid all filters and effects in your picture. The passport picture must reflect a natural clear shot of you. If you have black and white photos in a formal look, colorize them with PhotoCut’s AI Photo Colorizer and use them as passport photos.
4. Frame Your Pose
Position yourself properly to ensure that your photo meets the head and shoulder requirements.
Take a straight stance, turn your shoulders back, and face the camera. In the picture, make sure your head and shoulders are completely visible.
Avoid tilting your head or looking to the side. Your face should be centered and fully visible in the shot. A test shot can help you check that everything is aligned properly.
Keep a minimum of 1.5 meters (5 feet) from the camera. With a small gap above it, your head should be in the middle of the picture.
5. Take Multiple Shots
Take several photos to ensure you have a selection to choose from. Make sure to:
Keep a neutral expression in all the photos.
Align your face with the camera, do not blink.
If using the self-timer use the continuous shot to get several photos. Choose a few, see which is good enough, and fulfill all criteria.
Once you’ve taken several photos, review them and select the one that best meets all the requirements. You can also create a collage with PhotoCut’s Free Collage Maker to compare which photo is the most suitable to use.
6. Edit and Crop Your Passport Photo
Once you have selected the best photo, the editing comes next. Most iPhones usually have inbuilt editing tools that can help crop and edit the photo. Follow these steps:
Crop: Crop the image to 2 x 2 inches. Make sure your face occupies the center of the frame and your head is between 1 and 1.4 inches from the chin to the crown.
Brightness and Contrast: The overall illumination should be even for all the lighting, with no sharp shadows. Brightness could be adjusted if needed, too.
Remove Background: To create an image with a cleaner look, you can use an application that removes the background, and replaces it with a plain white or light-colored one.
7. Save and Use Your Passport Photo
After making the necessary adjustments, save the edited photo and make sure it meets the passport photo requirements. You can also sharpen your images with PhotoCut’s Image Sharpener. You can now use the photo for your passport application, or you can print it out for submission.
Tips for Taking a Great Passport Photo with an iPhone
To have a perfectly shot passport photo, there are several things that you ought to know:
Posture: Maintain the posture straight up and avoid slouching. Sit in a position where your shoulders are back and your chin just raised so that you won't get a double chin.
Camera Distance: The camera must be positioned around 3 feet from your person for best-quality photographs.
Lighting: The video ought to have soft lighting throughout so that the extreme lights and shadows are covered.
Facial Expression: Maintain a neutral face, with a slight natural smile, and avoid smiling in a way that showcases the teeth. Avoid being too dramatic in your expression.
Conclusion
Passport photos can be taken via iPhone at an economical fee as opposed to going to professional studios. Using these guidelines, you'll get the best picture for your passport. Be careful about lighting and background in your passport photos and make sure you hold a posture to ensure the final picture will be clear, well-lit, and perfectly cropped. And after minimal practice and attention to detail, you will end up with a fantastic passport photo that follows all the rules!
FAQs
Q1. Can I take my own passport photo with my iPhone?
Ans. Yes! Provided you have sufficient lighting, a neutral background, and positioned carefully, you can have a passport photo taken by your iPhone that meets the requirements.
Q2. What’s the best lighting for a passport photo?
Ans. Natural light is ideal because it offers broad, soft lighting. Position oneself near a window for the best result. If artificial lighting will be used, a ring light or softbox can mimic soft, broad light.
Q3. Can I use the front-facing camera on my iPhone?
Ans. You can use the frontal camera, but it will be better to use your rear camera because the output will be more high quality and resolution.
Q4. Do I need to edit my passport photo?
Ans. You might even need to crop it sometimes to fit the size specification and also to balance some brightness and contrast. Please do not apply any effect to the picture.
Q5. Can I wear glasses in my passport photo?
Ans. Generally, glasses are not accepted unless you must wear glasses for medical reasons. Make sure there's no glare and your eyes are clear if you do wear glasses.
About the Creator
PhotoCut
AI Photo Editing Tool - Remove or Change your Background & Enhance Product Photos
Keep reading
More stories from PhotoCut and writers in Photography and other communities.
Ultimate Facebook Profile Picture Size Guide
Your Facebook profile picture forms a significant part of how people perceive you online. The digital "ID card" represents you or your brand. The first thing people see about you is probably your profile image, whether you are a company trying to establish a professional online presence or an individual trying to show off your individuality. Your trustworthiness, interactions, and following count may all be increased with a strong profile image. You can restore your old photos with PhotoCut’s Photo Restoration tool and use it as your profile photo.
By PhotoCutabout a year ago in Photography
The Photographer's Code
You decide to visit your local park. You have become a close confidant to the homeless people who gather there most days. While talking to Cleo and Reed, you notice a new face in the crowd. It belongs to a stick-thin, middle-aged woman. She has her hand on her forehead as if taking her temperature.
By Paul Aaron Domenick7 days ago in Photography
The Gold Tone (Orotone) Technique
She picked it up from a dusty shelf at an estate sale, thinking it was just an old frame. Then the light caught it. The image glowed, not like a print, not like a painting, but like something that seemed to carry its own inner warmth. That was her first encounter with an Orotone, and she bought it without asking the price.
By CurlsAndCommas3 days ago in Photography


Comments
There are no comments for this story
Be the first to respond and start the conversation.