
Photo Retouching Right - 4 Tips for Perfect Results
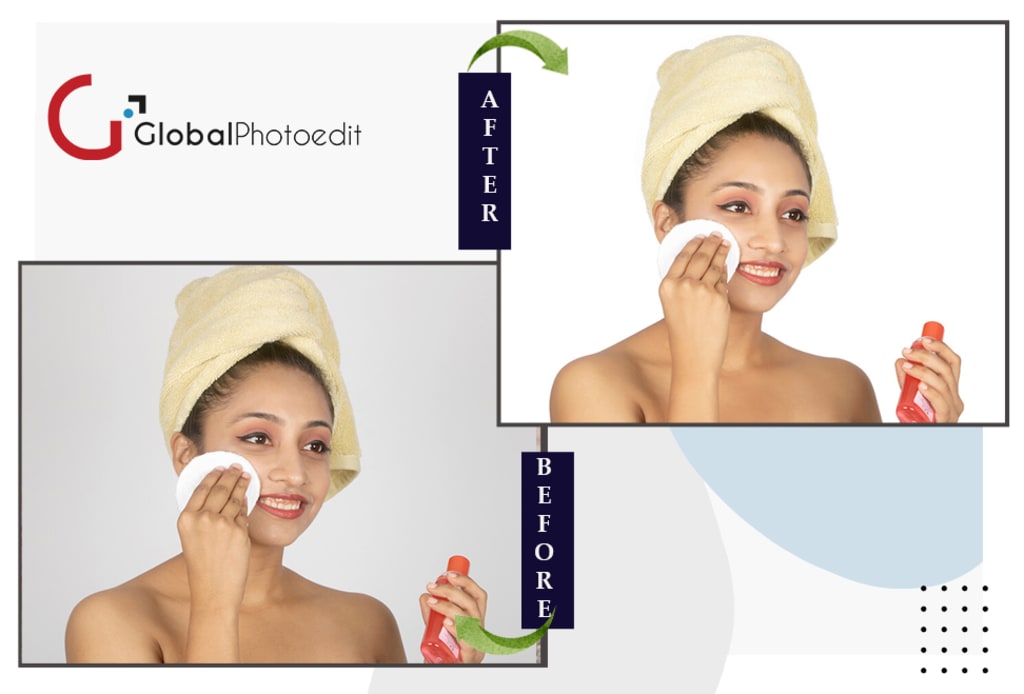
Photo Retouching Service

In today’s digital world, images play a critical role in visual communication, be it for social media, advertising, or product presentations. High-quality images grab attention, convey messages effectively, and create lasting impressions. However, not every image is picture-perfect straight out of the camera. This is where Image Retouching comes into play. Retouching is the process of enhancing and refining an image to bring out the best version of it.
Whether you're a photographer, graphic designer, or simply looking to improve your personal or business images, mastering the art of image retouching is key. Getting retouching right involves an eye for detail, precision, and creativity. But how can you ensure that your retouching efforts yield the best possible results? Below, we’ll explore four essential tips for perfect image retouching results.
1. Start with High-Quality Images
The foundation of great image retouching lies in the quality of the original photo. If you start with a poorly captured image, no amount of retouching can make it look professional. Retouching enhances what’s already there, so the better the image quality, the better your final result.
To get high-quality images, make sure you:
• Use proper lighting: Good lighting can significantly reduce the amount of retouching required later. Harsh shadows or overexposed areas are difficult to fix even with advanced tools.
• Shoot in high resolution: A higher resolution gives you more pixels to work with, allowing for greater detail and more flexibility during the retouching process.
• Get the right angles and framing: Ensure the subject is framed well, the composition is appealing, and the image isn’t overly cluttered. A well-composed shot requires minimal editing later.
Once you’ve got a good base image, retouching can help you polish it to perfection. Remember, retouching is all about subtle improvements, so starting with a strong image makes the process much smoother and more effective.
2. Know Your Tools: Use Non-Destructive Editing Techniques
When working on image retouching, especially if you’re new to the field, it's crucial to understand the tools at your disposal. Photoshop and other image editing software offer a vast array of features, but not all of them should be used without careful consideration. Non-destructive editing techniques ensure that your original image remains untouched, giving you flexibility to tweak your edits without permanently altering the photo.
Some key non-destructive techniques include:
• Layer-based editing: Layers allow you to apply edits to an image without directly affecting the original pixels. You can add multiple adjustments (e.g., brightness, contrast, color balance) on different layers and modify them independently. If an edit doesn’t work, simply hide or delete the layer.
• Adjustment layers: Instead of making permanent changes to your image, use adjustment layers for things like brightness, saturation, and contrast. These layers are editable at any point in the process, allowing you to fine-tune your image without losing the original details.
• Smart objects: Convert your image to a smart object before applying any filters. This way, you can apply filters non-destructively and revisit them later for adjustments. It gives you the ability to scale, rotate, or warp the image without losing quality.
Non-destructive editing techniques offer a safety net that encourages experimentation. You can always go back and make changes or undo a step, which is essential for achieving the best results.
3. Focus on Natural Enhancements
When it comes to retouching, less is often more. Over-editing is one of the most common mistakes made by beginners. The goal of retouching should be to enhance the image in a way that looks natural, rather than making it look overly polished or fake. Here are some tips for achieving a balanced retouching approach:
• Skin retouching: One of the most frequent areas of focus in portrait retouching is the skin. While it's tempting to remove every blemish and smooth the skin entirely, be cautious. Over-smoothing skin can result in an unnatural, plastic look. Instead, aim for a balance by removing distractions like blemishes or redness while retaining skin texture.
• Color correction: Subtle color adjustments can drastically improve the overall quality of an image. Pay attention to skin tones and make sure they look natural. Avoid heavy-handed saturation adjustments that make colors look unnatural. Keep an eye on white balance as well, ensuring the colors are true to life.
• Retain texture and detail: When retouching elements like hair, skin, or fabric, avoid losing the texture. Overuse of blurring tools can strip away fine details, making the image appear flat. Use tools like the healing brush or clone stamp with care to preserve the natural texture.
By focusing on natural enhancements, you can elevate your image while maintaining authenticity. This approach is particularly important for fashion photography, product images, and portraits where the goal is to highlight the subject’s natural beauty.
4. Refine the Details with Precision
Image retouching is all about the fine details. Whether it's removing small distractions, sharpening key areas, or ensuring that colors are perfectly balanced, paying attention to the little things is what will make your image stand out. Here are some ways to refine the details:
• Spot healing and clone stamping: Use the spot healing brush or clone stamp tool to remove minor blemishes, dust spots, or other distractions. Zoom in to catch small imperfections that may not be visible at first glance.
• Sharpen key areas: To add a little extra impact to your image, sharpen important areas such as the eyes in a portrait or the product edges in e-commerce photos. Be careful not to over-sharpen, as this can create unwanted noise or artifacts.
• Dodge and burn: Dodging and burning involve lightening or darkening specific areas of your image to create depth and emphasize certain features. This technique is great for enhancing shadows and highlights, sculpting faces in portraits, or adding dimension to products.
• Color grading: Once you’ve corrected the basic colors, you can use color grading to create a mood or enhance the overall feel of the image. Subtle tonal adjustments can make the image warmer, cooler, or more dramatic depending on your creative vision.
Retouching is about precision. By refining each aspect of the image, you ensure that every detail is working toward a cohesive, polished result.
Conclusion
Perfect Image Retouching is a blend of skill, creativity, and precision. By starting with high-quality images, using non-destructive techniques, focusing on natural enhancements, and refining the details with care, you can achieve professional-level results. Whether you're editing a portrait, product shot, or landscape, mastering these four essential tips will help you take your image retouching to the next level.
About the Creator
Robert Charles
Robert Charles is a skilled photo editor with a decade of experience turning images into visual masterpieces. Specializing in color correction, retouching, and creative manipulation, he works closely with clients to enhance their vision.
Keep reading
More stories from Robert Charles and writers in Photography and other communities.
Top 10 Photo Editing Companies in the USA: Elevating Visual Excellence
In today’s digital world, visuals speak louder than words. From e-commerce platforms to social media, from advertisements to personal photo collections, the demand for professional-quality images is growing. Behind these stunning visuals, often lies the meticulous work of photo editing companies that refine and enhance images to perfection.
By Robert Charlesabout a year ago in Photography
My Year, in Prattling and Photos
It's been a year since... last year. Ironically, it seems I've found myself a new tradition of getting sick during the New Year holidays. At least, this year (that is, this inter-year period remarkable for its shiny decorations in the streets and houses, and closed supermarkets and pretty much everything), I'm doubtlessly doing better: I've managed to come visit my friends in Germany for Christmas (which I failed to do last year) and—after having some good quality time eating machanka, playing Munchkin and swinging machetes (the last one obviously crept into this checklist only for the sake of the phonological form)—I came back home via proverbial Deutche Bahn and probably less known Schweizerische Bundesbahnen, my body hosting a family of viruses, virions and who knows what other tiny critters somewhere inside my chest.
By Andrei Z.17 days ago in Photography
The People We Meet on Vacation: Moments, Connections, and Lasting Impressions
The People We Meet on Vacation: Moments, Connections, and Lasting Impressions Vacations are more than a break from daily routines. They are a unique social experience where people from different backgrounds cross paths in unexpected ways. The people we meet during a holiday often leave strong impressions, even if the interaction lasts only a few minutes. These encounters can shape memories, influence perspectives, and sometimes turn into lifelong friendships. Understanding who we meet on vacation helps explain why travel feels so meaningful to many people.
By America today 6 days ago in Photography
Wild Card Weekend Recap: What Happens Now?
I think I figured out why I love Wild Card Weekend so much. It's because it's the first playoff anything of the calendar year. The NFL season starts in the fall, and once upon a time, the champion was crowned either on or slightly before New Year's. The evolution of the NFL schedule has resulted in the playoffs starting just into the New Year, and currently, the final week of the season falls on the first weekend of the New Year, with Wild Card Weekend coming a week after that. So yes, chronologically, the NFL's Wild Card Weekend serves as the first playoff anything of the calendar year.
By Clyde E. Dawkins5 days ago in Unbalanced


Comments
There are no comments for this story
Be the first to respond and start the conversation.