
Melina's Before & After
A Photo Modification


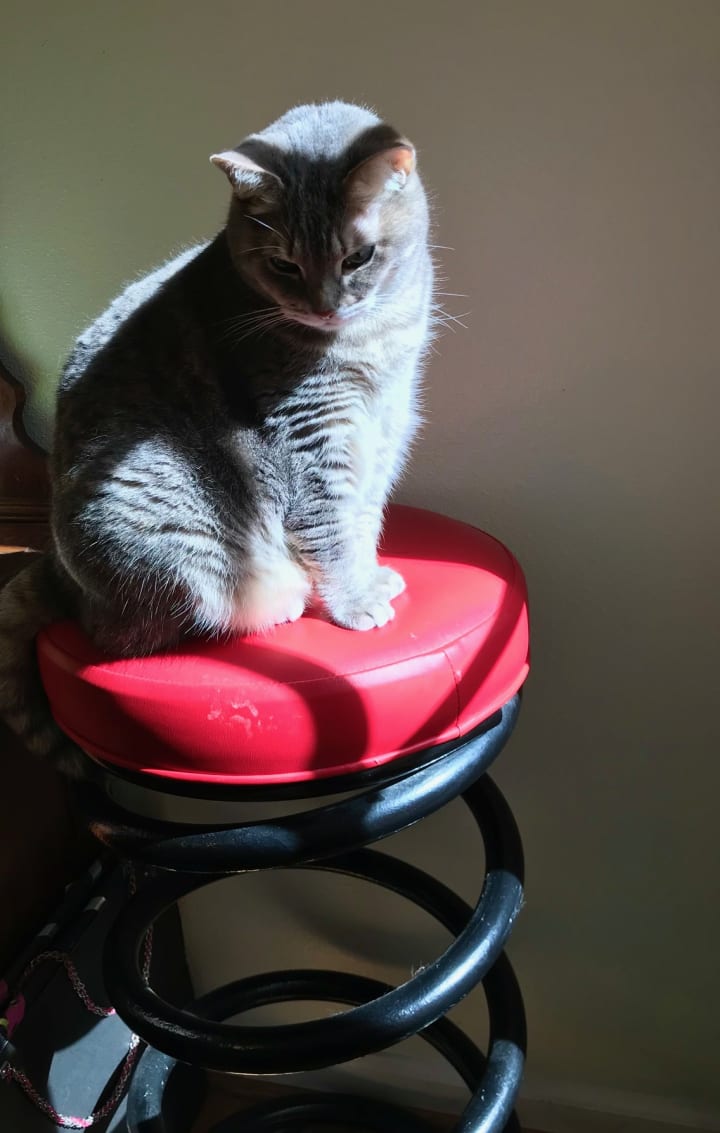
Melina’s Before & After
An Easy 8-Step Guide to Photo Modification
1. Pick a subject that either tells a story, tells no story (so the viewer has the freedom to make up her own story) or simply makes your heart sing or at least smile.
2. Be sure to capture extra space, creating a frame around the subject of your picture. At this stage, more is more. You don’t want to have the perfect shot of an animal and then realize that you didn’t get the whole ear. You can always crop out (step 7) what you don’t want later.
3. Take more than one photo, different angles, especially ones that you aren’t sure about, dislike or make you feel uncomfortable. Take risks!
4. Review your batch, note the lighting, the depth of field and saturation or any feature that strikes you in some way.
5. Feel where your eyes are pulled. Left to, right? In a circle? Where do they pause or stop to digest the image? What are you thinking about?
6. Take more shots if you want to try a different approach/angle or if you want to try to manipulate your viewer’s eye. Always review your batch of pictures before you stop shooting to see what options you have to work with.
7. Using an editing tool, even an I-Phone, start experimenting with cropping. Pay attention to placement. Is your subject straight or will the viewer feel compelled to tilt her head? Is that what you want? (It’s a choice.) Does the subject (if living) look directly at the viewer, or if not, where? A subject looking away will make the viewer follow the gaze of the subject. Is that what you want? One rule worth following, never center your subject. Another is to offset the subject with more margin at the top or at the bottom of the image. This pulls or pushes your viewer’s eyes towards the area with the most space. The third, is known as the “power of three”; if you can, have three of something. *Two-dimensional painters doing still life often have three subjects. The most important crop is the one that deletes what you don’t want. Consider a good crop to be like a good piece of writing whereby the author deletes unnecessary words that detract from the story. Now, less is more. Give your viewer credit and assume she is capable of filling in information and allow her to put herself into the picture or story. Take away superfluous information that doesn’t support the story.
8. I don’t use filters often, except perhaps if the image is under-exposed (too dark), but there are options to consider such as: brilliance, shadowing, vibrance, tinting, warmth etc. Ask yourself, will any of these filters help to tell the story or help to reveal something important.
Like any work of art, the creating process and the final product are for the artist. Create photographs for yourself first, then if anyone else enjoys it, frosting on the cake! Also, I mentioned “rules” above. I use that term lightly, they are merely guidelines, something to consider. Using previous knowledge, like an understanding of the physiology of the eye, is helpful too since viewing a photograph is a visceral activity.
Frankie Before: Notice the glue and paint...superfluous information. Also initially I hated the shadow across her face, later I decided it added to the story. Lights and darks....mood....what is she thinking?
Frankie After: I deleted information that detracted from the story. I made the shot tighter; I want y0u to keep your eye on the cat. I took Frankie off center and pulled the image tight at the top so your eye would be drawn downwards, following Frankie's gaze off the page. What is she looking at?
Now go grab your phone or your camera and go play! Enjoy!
---Melina
About the Creator
Marilyn Lewis-Hampton
The written word is Marilyn's favorite means of communication. Songs, short stories, academic research (Go Bears!) and most recently a collection of missives & memoirs in the style of her idol David Sedaris. Enjoy what she shares here!
Keep reading
More stories from Marilyn Lewis-Hampton and writers in Photography and other communities.
Here Kitty Kitty
Here Kitty Kitty She woke up in a coma. Mind slow, face hot, lips burning as the rest of her nervous system, a bit behind, worked to catch up in reaction to the unwelcome command of her irrational cerebral cortex. Looking to either side to make sure that the pressure and bulk she felt were cats, Meggie had a moment of relief, though it wasn’t enough to ward off what was coming. She wanted to yank back the covers, but forced herself to peel them away carefully so as not to dispatch anyone.
By Marilyn Lewis-Hampton5 years ago in Horror
Curious Photography Tips Every Beginner Should Try
Have you ever wondered why two people using the same camera can produce completely different photos? The answer often lies in how well the photographer understands the camera itself. For beginners, cameras can seem filled with confusing buttons, dials, and settings. But what if those settings are actually the key to better photos?
By Craig Spiesmanabout an hour ago in Photography
Leavie Scott
ORDER HERE Chicago – A Radiant Urban Masterpiece by Leavie Scott Arts & Culture Review – Feature Story In his striking new work Chicago, photographer Leavie Scott captures the soul of the Windy City with a level of vibrancy and emotional resonance that is impossible to ignore. The image immerses viewers in a dazzling skyline bathed in mesmerizing tones of purple, pink, and gold—a palette rarely seen in traditional urban photography and one that instantly distinguishes Scott’s artistic voice.
By Organic Products 2 days ago in Photography
Tatt~Master
— Assembly Line Tatt Machine ~ Impressions to Impress — As I begin to understand more about the Tattoo Phenomenon. I've written silly, yet verbatim, dating site anecdotes in 'Frazzled.' So let me ask you: Would you be More attracted to someone slathered with tattoos, or Less?
By Jay Kantor4 days ago in Humor


Comments
There are no comments for this story
Be the first to respond and start the conversation.