
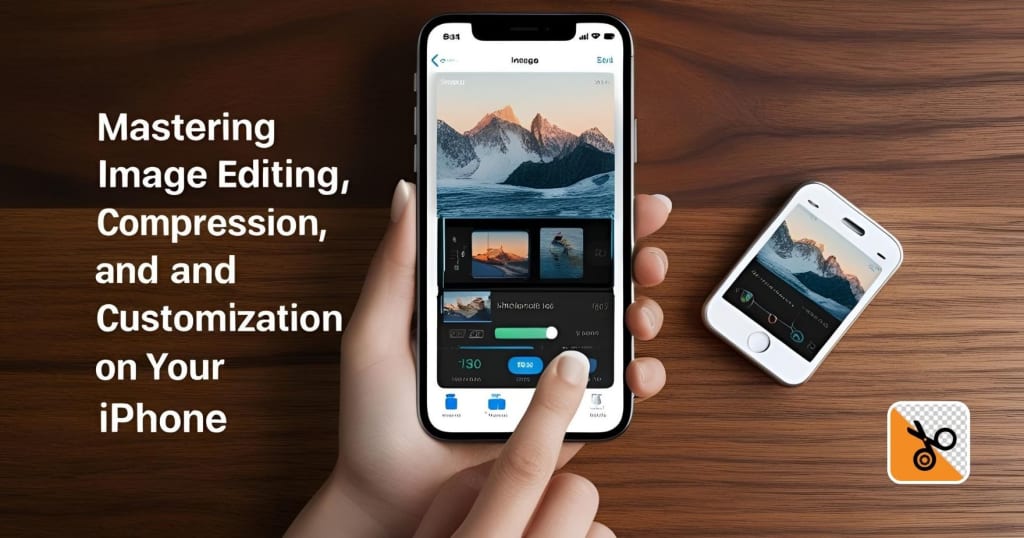
Mastering Image Editing, Compression, and Customization on Your iPhone
Mastering Image Editing, Compression, and Customization on Your iPhone

Today, images are a vital part of everyday life in a digital structure. Social media posts are filled with images or even personal memories that often talk about them, all of which depend on images. However, effective management and personalization become inevitable with the diverse content that continues to be created, edited, and stored. Whether converting an image file to JPEG format, creating fantastic collages, compressing an image without losing quality, or changing your Google background, available tools and techniques are up to the task. This article will discuss these topics in detail, providing practical solutions, tips, and recommendations.
Let's get into specifics of accomplishing these tasks, especially with tools like PhotoCut, the best app for simplifying the photo editing and collage-making process for iPhone users.
Create hilarious caricature images with PhotoCut’s Caricature Maker.
1. Ways to Convert Images to JPEG Format
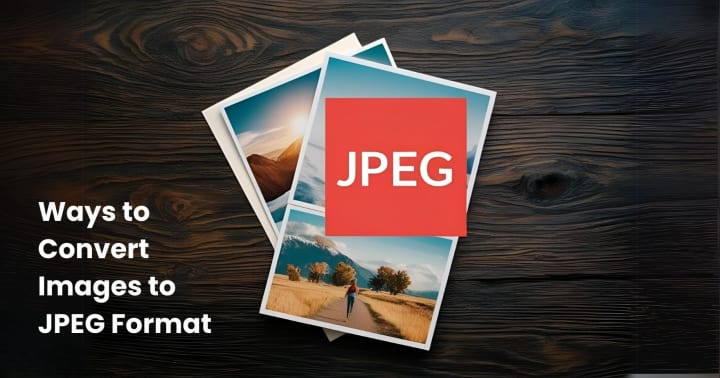
Converting images to JPEG is one of the simplest things anyone can do. The basic aim of this is to save file space, facilitate web sharing, or keep the file size minimal. Of all available formats, one usually chooses JPEG for conversion into a smaller file size. It has become one of the popular file formats because of its quality-file size balance.
Methods to Convert Images to JPEG
1.Using Built-in iPhone Features.
- If you have a photo on the iPhone that is in a different format, like PNG or TIFF, the easiest way to convert it to JPEG is simply to open the built-in Photos app. When sharing an image, either via email, messages, or any other applications, the iPhone converts automatically most formats into JPEG at the time of sending.
- Open the photo, tap the share icon, and select a destination like "Mail" or "Messages." The photo will automatically be converted to JPEG.
Using Third-Party Apps
- Many apps on the App Store convert images to JPEG format. Such applications include PhotoCut, JPEG/PNG Image File Converter, and The Image Converter. With PhotoCut, for instance, converting your images to JPEG is a walk in the park thanks to its user-friendly interface and the quality it gives during transformation.
Online Conversion Tools
- Several websites enable you to upload and turn your images into JPEGs. Consider iLoveIMG, Online Convert, and Convertio; this is a useful option if you have a computer and require a fast format change.
Using Editing Software (PC or Mac)
- For very controlled image conversions, you can use Adobe Photoshop or GIMP on your computer. Open the image in the software and then select "Save As" or "Export" and choose JPEG as the output format.
2. Ways to Make Collages on an iPhone
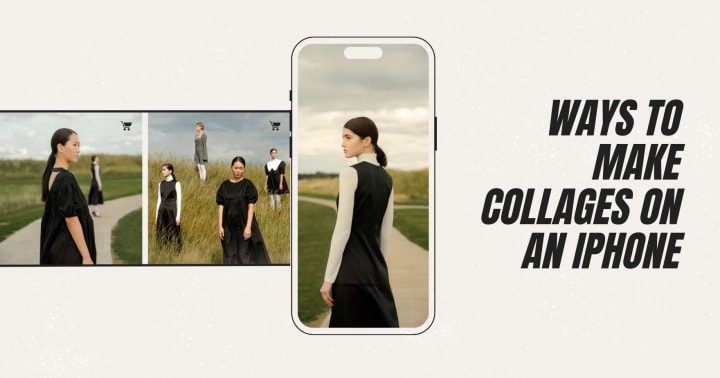
Collages are a brilliant way to use many photos to make a piece of art for sharing on social media, sending invitations, or personal projects. If you want to make impressive collages on your iPhone, here are some ways to do it:
Methods to Create Collages
Using PhotoCut for Collages
PhotoCut is a great tool for collage-making, making collages very easy for users. With advanced features, it allows you to cut out parts of images, combine several pictures at once, and add any text and stickers. Making a collage would entail:
Open the PhotoCut app; choose a layout or template that suits your design.
Choose your desired photos, including them on the canvas.
Resize, rotate, or crop images when necessary.
Anything else to finalise: text, background, etc.
Save or share through social media.
Using Canva
Another beautiful app to make different kinds of collage templates. The drag-and-drop feature lets you quickly upload pictures, apply filters, and arrange them to either a grid layout or a custom design.
Using Adobe Spark Post
Adobe Spark Post features templates as well as design elements to create fantastic collages. You can customize layouts, add text, and change colors. The app also has lots of stock photos and graphics to enhance your collage.
Using Pic Collage
Pic Collage is yet another super-easy, cool collage-making app. It lets you add stickers, text, and backgrounds, either in freeform collage creation or pre-made templates.
Edit your name on birthday cake photos with PhotoCut’s Birthday Cake Name Generator.
3. Ways to Compress Images Without Quality Loss
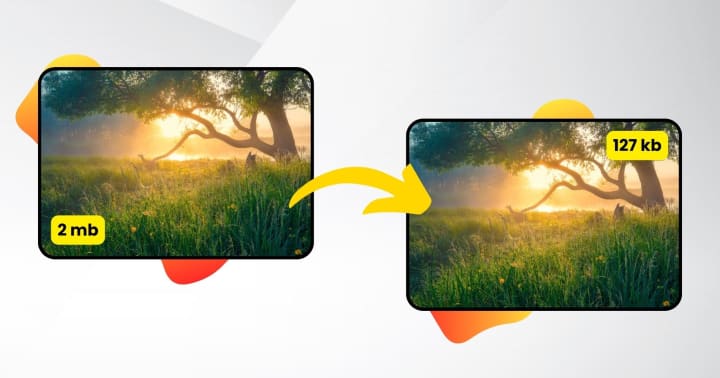
Compression of images is a very important step in reducing the size of the file for ease of upload or saving storage space. Just as importantly, lossless image compression is important for professional or personal photos that need to maintain high clarity.
Methods to Compress Images Without Losing Quality
Using PhotoCut for Compression
- PhotoCut not only lets you convert and edit images but also provides an option to reduce image size without compromising on quality. With the inbuilt optimization feature, choose from a list of output quality levels and leave the app to automatically compress the photo.
- Just open the image, adjust the compression level, and then save it in any format of your liking.
Using Image Optimization Apps
- Apps to compress images directly on the iPhone include JPEG Optimizer, Image Size, and Compress Photos & Pictures. They generally provide sliders or preset options that help reach the goal of managing file size with acceptable image quality.
- JPEG Optimizer, for instance, enables you to choose various levels of quality while saving; this helps you in cutting down the file size considerably without sacrificing too much detail.
Online Compression Tools
- Before uploading to Twitter, before sending over Email, websites like TinyPNG and Compressor.io are great for just uploading images and downloading compressed versions. This is suitable for users wanting to compress images before uploading them to websites or sending them by Email.
Manual Compression in Photoshop or Lightroom
Photo editing programs such as Adobe Photoshop or Lightroom provide more control over the compression process. Both solutions have export options to limit images to a predetermined size and apply the compression method that will cause the least possible loss of visual quality.
See yourself as the opposite gender for fun with PhotoCut’s AI Gender Swapper.
4. Ways to Add Multiple Photos to Your Instagram Story
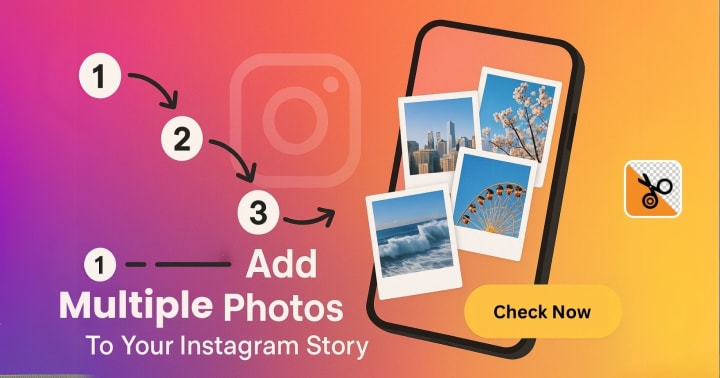
Instagram Stories can also be used in the real-time sharing of moments. Adding multiple photos into a single Instagram Story can boost the engagement level of the content, especially during specific events, products, or even personal experiences.
Methods to Add Multiple Photos to Your Instagram Story
1.Using Instagram's Built-In Features
- Open Instagram and swipe right into the Stories interface.
- Click on the photo icon to upload a picture.
- Then, on the same Story, tap the "Sticker" icon (the square smiley face) and open up the "Gallery" sticker to add more photos to one Story. This allows you to choose several photos and add them to the same Story.
- You can move, resize, or rotate each image to fit the Story layout.
Using PhotoCut for Creating Collages
- Another simple procedure to use multiple images on an Instagram Story is by creating a collage with PhotoCut. Once you have placed your preferred pictures into one template or freeform style, save that collage and upload that to your story as one post.
Using Layout by Instagram
- This application by Instagram needs no introduction. Layout is an independent app from the company that allows you to create collages and post them directly to your Stories. You will find multiple grid options that let you arrange as many as 9 images in a single post.
Using Canva or Adobe Spark
- Both Canva and Adobe Spark provide templates specially designed for Instagram Stories. Upload your photos, arrange them the way they should be laid out, and customize their design. Once you are done, export your collage and post it directly to Instagram.
Turn your photos into line drawings using PhotoCut’s AI Image Outliner.
5. Ways to Change Your Google Background
Google offers a simple yet effective way to give an individual touch to your life, changing the background images on your Google homepage. Personal touches and matching the present theme would be a simple, enjoyable process as you change the entire Google background.
Methods to Change Your Google Background
Using the Google Home Page Customization Feature
- In the bottom right corner, you can find a link that says, "Change Background Image."
- This is a selection from Google among many images offered for you to select as your picture to upload.
- You can either select a file from your computer or select a background from your Google Photos account.
Using Google Themes
- Google Chrome offers several themes that take personalization a step further since they change the look of not just the Google homepage but also that of the entire Chrome browser interface. The Chrome Web Store is loaded with countless themes that you may find, select, and apply directly to your browser.
Using Google Photos
- If you would prefer your background image derived from a photo that suits your stylistic fancy, you would probably upload it by using Google Photos. You can use one of your best photos and upload it to your Google homepage to give it that personal touch.
Conclusion
There are many ways to improve and inspire the digital persona, whether converting images into JPEGs, making collages, compressing images, sharing multiple photos on Instagram Stories, or changing the appearance of Google backgrounds. Tools such as PhotoCut, Canva, Layout, and others never fail to help users efficiently do these tasks without wasting precious time while getting better results. This way, one can express creativity and personalize images or the digital surroundings to suit one's taste.
Frame your photos online using PhotoCut’s vast collections of gorgeous borders and frames.
FAQs
Q1. What is "lossy" compression, and how does it relate to JPEG?
Ans. Lossy compression is an algorithm that eliminates data in the compression phase, thus causing smaller file sizes to be created, but can also cause some image quality loss. The effect is more pronounced at higher compression levels. JPEG uses lossy compression.
Q2. How do I control the quality of the JPEG conversion?
Ans. When saving as JPEG, most programs offer a "quality" setting (usually a slider or percentage). Higher quality settings result in less compression and better image quality, but larger file sizes. Experiment to find a balance between acceptable quality and desired file size.
Q3. What features should I look for in a collage app?
Ans. Consider these features:
Framework: Different frameworks exist for different arrangements for different images.
Basic Editing Tools: Basic editing capabilities such as cropping, adjusting brightness-contrast, and applying filters.
Customization Options: Change background, borders, and add text or stickers.
User Friendly: You will find an easy-to-navigate interface that makes collage designing simple and intuitive.
Resolution: Inquire about the output resolution so that your collages turn out sharp. High Resolution will do.
Q4. Are there any good free collage apps?
Ans. Yes! Canva, PicCollage, and Instagram's Layout app are good free options that provide quite a list of features. Do note that a watermark or some limitations may apply, which could be removed by upgrading to a paid version.
Q5. Is it possible to compress images without any quality loss?
Ans. Yes, using lossless compression techniques. However, keep in mind that lossless compression typically results in smaller file size reductions compared to lossy methods (like JPEG).
Q6. What image formats use lossless compression?
Ans. Common lossless includes:
PNG (Portable Network Graphics): Best for hard-edged images, text, and graphics; most used for screenshots and logos.
GIF (Graphics Interchange Format): Supports animations, while being lossless for images with a limited palette (256 colors).
TIFF (Tagged Image File Format): Highly versatile format, sometimes in archival or professional photography settings; can also be lossy.
Q7. Can I add videos along with photos in the same Story slide?
Ans. Yes, you can typically combine photos and videos using the sticker or collage methods described above.
Q8. How do I change the background color or image behind my photos in the Story?
Ans. One does so by solid-drawing the background in the Instagram Story editor. Alternatively, set a background photo or video first, after which additional photos are added as stickers on top.
Q9. How do I change the background in Gmail?
Ans. Follow the steps:
Open Gmail: Type gmail.com in the web browser.
Log In (if necessary): Ensure you log into your Google account.
Click Gear Icon: Find the gear "Settings" icon on the top right half of the screen.
Click See all settings: Options will show in the Settings window; select that.
Select Theme Tab: Locate and select theming options.
Select a preset theme: Either select among Gmail's preset theme options, or upload your image.
For Themes: Select a theme and click "Save".
For Custom Image: Click on the "My Photos" box to upload your picture and follow the prompts to adjust your image.
Save: Click "Save" to apply your selected theme or image.
Q10. The "Change Background" option is not appearing on my Google homepage. Why?
Ans. Several reasons:
You are not signed in: To personalize the homepage, you need to be signed in to your Google account.
Browser extensions: Some browser extensions tend to affect the Google Functions. Please try to switch off all your extensions gradually, and see if that solves the problem.
Google Workspace account: The administrator may restrict you from changing the Google homepage background if you are using a Google Workspace (formerly G Suite) account for work or school.
Outdated browser: Update your web browser to the latest version.
About the Creator
PhotoCut
AI Photo Editing Tool - Remove or Change your Background & Enhance Product Photos
Keep reading
More stories from PhotoCut and writers in Photography and other communities.
Understanding and Utilizing Colors with PhotoCut
Colors are significant in almost every design since they transform the visual mood and the emotions evoked by the design itself. Knowing the right things about how colors work and how they can be deployed into one's digital design work is very important to creating compelling and beautiful content. Invariably, it applies to personal, business, or social media running, as the colors you choose have the power to create or destroy your design.
By PhotoCut11 months ago in Photography
The Photographer's Code
You decide to visit your local park. You have become a close confidant to the homeless people who gather there most days. While talking to Cleo and Reed, you notice a new face in the crowd. It belongs to a stick-thin, middle-aged woman. She has her hand on her forehead as if taking her temperature.
By Paul Aaron Domenick7 days ago in Photography
The Gold Tone (Orotone) Technique
She picked it up from a dusty shelf at an estate sale, thinking it was just an old frame. Then the light caught it. The image glowed, not like a print, not like a painting, but like something that seemed to carry its own inner warmth. That was her first encounter with an Orotone, and she bought it without asking the price.
By CurlsAndCommas3 days ago in Photography


Comments
There are no comments for this story
Be the first to respond and start the conversation.