
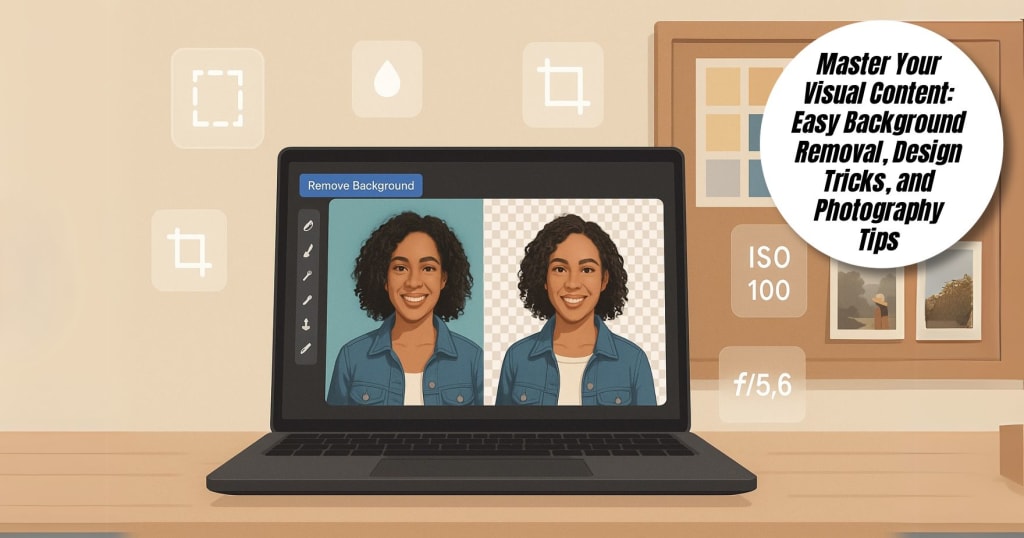
Master Your Visual Content: Easy Background Removal, Design Tricks, and Photography Tips
Master Your Visual Content: Easy Background Removal, Design Tricks, and Photography Tips

In this digital world, creating eye-catching visual content is something all content creators, business owners of small enterprises, and digital artists do. This guide will run you through several ways of removing background images with Photoshop and Illustrator, discuss product photography tips for beginners, brainstorm the best free clipart sites, and share some creative ideas on how to design captivating YouTube thumbnails. We'll also show how PhotoCut, a versatile and user-friendly app, can help you accomplish these tasks quickly and efficiently.
Learn how to easily blur photo parts.
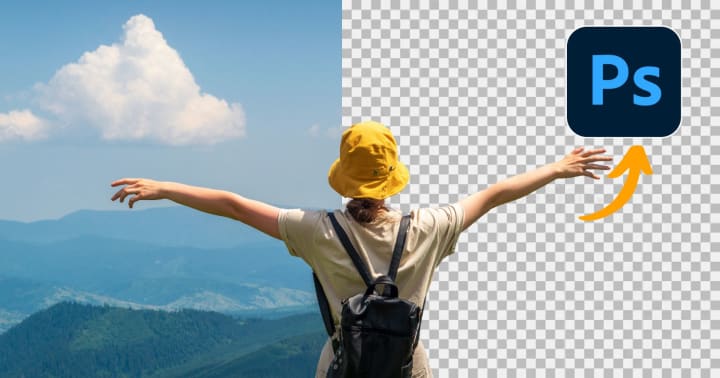
Ways to Remove Background in Photoshop

Photoshop remains one of the most powerful tools for background removal. Here are the most effective methods:
1. Remove Background with the Quick Action Tool
Photoshop now has a one-click option in the "Properties" panel (for images with a layer unlocked). Simply go to Window > Properties and click Remove Background.
2. Use the Select Subject + Mask
- Go to Select>Subject to automatically isolate the main subject.
- Then click Select and Mask to refine the edges and output the selection to a new layer.
3. Pen Tool for Precise Cuts
This is a manual method:
- Use the Pen Tool (P) to create a path around your subject.
- Right-click and choose Make Selection>Layer via Cut.
4. Use Channels for Complex Backgrounds
Ideal for hair or transparent objects.
- Use the Channels Panel, duplicate the one with the highest contrast, and adjust levels to isolate.
- Use Load Selection and mask accordingly.
Ways to Remove Background in Illustrator
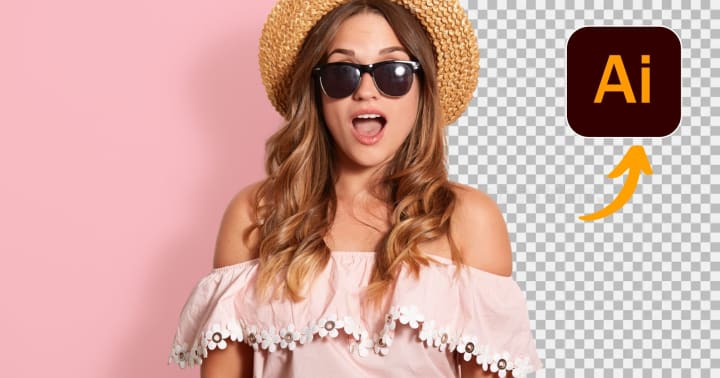
Illustrator is ideal for vector-based images. Here’s how to remove backgrounds in Illustrator.
1. Use Image Trace + Expand
- Place your image.
- Go to Window>Image Trace and choose a preset like "High Fidelity Photo."
- Click Expand to convert to vector.
- Use the Direct Selection Tool (A) to remove the background paths.
2. Clipping Mask Method
- Create a shape that fits around your subject.
- Select both the image and the shape.
- Right-click>Make Clipping Mask.
3. Opacity Mask for Transparent Backgrounds
This method requires grayscale mask images:
- Open the Transparency panel.
- Select the image and the mask and apply using "Make Mask."
PhotoCut can be used before importing into Illustrator. Extract the subject using Auto Cut, then import it into Illustrator for vector editing.
Using PhotoCut for Background Removal
For beginners or mobile users, PhotoCut is a great option:
- Once you select your picture, tap on the Auto Cut button to remove the subject from the background instantly.
- For more precision and clean cut-outs, manually refine the edges with the help of the Magic Brush, for instance, hair or other special details.
- Saving in PNG with a transparent background enables you to use it elsewhere or entirely change the background with the help of other in-built templates, be it skies, gradients, or solid colors.
The simple process ultimately makes PhotoCut an effective and robust tool, providing quick background elimination that is good for all social media posts, product shots, or creative edits when on the go.
Add emojis to your photos to make them look aesthetic.
Product Photography Tips for Beginners
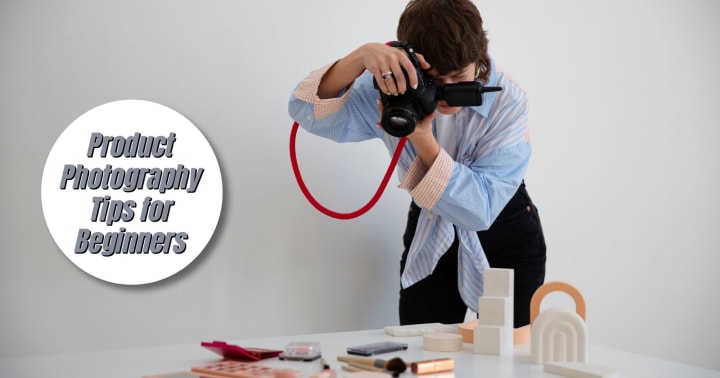
Good product photography boosts sales and clicks. Here are some easy tips:
- Use Natural Light: A window will help you achieve soft natural lighting. Avoid direct sunlight, which can be harsh and create unflattering shadows.
- Use a Plain Background: White or neutral backgrounds keep the focus on the product. PhotoCut can help replace or blur distracting backgrounds.
- Use a Tripod or Phone Stand: Stable shots mean professional results. Avoid shaky hands.
- Shoot Multiple Angles: Show the front, back, sides, and close-ups.
- Edit for Polish: Use PhotoCut to enhance contrast, remove background, or adjust lighting. Add shadows or reflections using built-in tools.
Best Free Clipart Sites
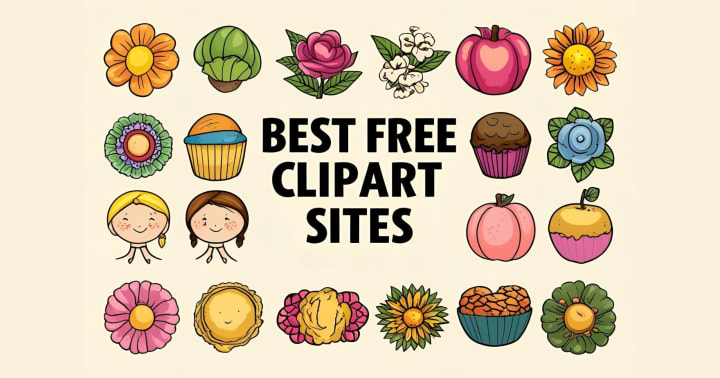
Looking for royalty-free clipart to use in your designs? Here are the top sites:
- OpenClipart: A go-to source for 100% public domain clipart. No signup or attribution required, just download and use freely in any project.
- Pixabay: Has free vectors, illustrations, and high-res images. It's easy to navigate, so you can find and download what you need fast.
- Freepik: Known for its massive selection of free and premium clipart resources. Free assets require attribution, but premium access unlocks even more options without credit.
- Vecteezy: Specializes in vector graphics with free and pro versions available. You’ll find professionally designed, editable clipart ideal for commercial or personal use.
- SVG Repo: Perfect for web designers and creators looking for clean, scalable icons or illustrations. All resources are in SVG format, ideal for web and app use.
You can easily import clipart from any of these sites into PhotoCut to create custom collages, social media posts, or marketing creatives.
Learn how to blur photo backgrounds on an iPhone.
YouTube Thumbnail Design Ideas

A great YouTube thumbnail can dramatically increase video clicks. Here are creative ideas:
- Use Big, Bold Text: Keep your thumbnail text short and impactful. Choose large, bold fonts and use contrasting colors to make it pop, even on small screens.
- Add Emojis or Icons: Emojis instantly communicate emotion and context. With PhotoCut’s sticker library, you can easily add expressive elements to make your thumbnail stand out.
- Use a Close-Up Face Shot: Faces with strong emotions catch attention fast. Use PhotoCut to cut yourself out and place your image over eye-catching or dramatic backgrounds.
- Use a Color Overlay: A subtle color overlay can help unify your thumbnail style. PhotoCut allows you to add transparent color layers to match your channel’s branding.
- Include a Preview of the Video’s Best Moment: This gives viewers a taste of what they will see. Choose a moment of action, transformation, or surprise to stir viewer curiosity and entice them to click.
Save time by creating a reusable thumbnail template using PhotoCut. Swap out text and images to keep branding consistent.
Discover the easiest ways to compress image sizes without quality loss.
Conclusion
Editing, product shots, content design, and YouTube visual making must go hand in hand with the right tools. Removal of background images is made easy with PhotoCut, a mobile-friendly application that gives simple background removal, adding of effects, and cleaning of visuals without the hassle of having to learn complicated software. Along with other software like Photoshop or Illustrator and using some top free clipart sites, your path will be endless as far as the creation of wonderful content is concerned.
Need help creating your first thumbnail or removing a background? Open PhotoCut and start exploring—it's that easy!
Learn how to change the image color in Photoshop.
FAQs
Q1. Which Photoshop method is best for removing a background with hair or fur?
Ans. The Select and Mask Workspace (formerly Refine Edge) is the most effective. It allows you to refine the selection, detect edges, and address tricky areas like hair strands.
Q2. Is background removal in Photoshop destructive?
Ans. It can be if you directly erase pixels on the original layer. It's recommended to use layer masks to non-destructively hide the background. This allows you to adjust the mask later if needed.
Q3. Can I directly remove a raster background from an image in Illustrator like in Photoshop?
Ans. Not really in the same way. Illustrator excels with vector graphics. To effectively remove a background from a raster image (like a JPG) in Illustrator, you usually need to trace/vectorize the image first.
Q4. How do I remove a background in Illustrator after vectorizing?
Ans. After vectorizing (using Image Trace), you can:
- Ungroup the elements: Ungroup the traced image to separate the subject from the background.
- Direct Selection Tool (White Arrow): Use this tool to select and delete the background elements.
- Clipping Masks: Create a shape (like a rectangle) to cover the subject, then select both the shape and the vectorized image and create a clipping mask (Object > Clipping Mask > Make). This hides everything outside the shape.
- Pathfinder Panel: Use Pathfinder tools (like "Minus Front") to subtract the background shapes from the subject.
Q5. What's the best background for product photography?
Ans. A seamless white or light gray background is generally preferred because it's neutral, doesn't distract from the product, and makes editing easier. You can use a white sweep (a curved background that eliminates the horizon line).
Q6. What kind of lighting should I use for product photography?
Ans. Soft, diffused lighting is key. You can achieve this with:
- Natural Light: Diffused natural light from a window is great. Avoid direct sunlight, which can create harsh shadows.
- Artificial Light: Softboxes, light umbrellas, or studio strobes can provide controlled and consistent lighting. You need at least two lights: one as your main light and another as a fill.
Q7. Where can I find free clipart for commercial use?
Ans. Always double-check the licensing terms before using any clipart for commercial projects. Here are some options:
- Pixabay: An amazing resource for any kind of free images, including clipart, under quite forgiving licensing (so be sure it is almost always free for commercial use, but always verify before you use it).
- Unsplash: Primarily a stock photo site, now and then features some clipart.
- Pexels: Another excellent source for free stock photos and vector graphics.
- Openclipart: A large collection of public domain clipart.
- Vecteezy (Free Section): Provides free vector graphics, including icons and illustrations, with attribution required for some licenses.
- The Noun Project (Basic Plan): Offers a vast library of icons, but the free plan requires attribution.
- Freepik (Free Section): Includes a variety of free vectors, stock photos, and PSD files, usually requiring attribution.
Q8. What should I look for in a clipart license?
Ans. Pay attention to these terms:
- Commercial Use: Does the license allow you to use the clipart for commercial purposes (e.g., things like selling products, advertising)?
- Attribution: Does the license require crediting the artist or website?
- Modification: Are you allowed to alter the clipart (e.g., change colors, size it down/up)?
- Redistribution: Are you allowed to redistribute the clipart as a component of your product?
Q9. What are some YouTube thumbnail design ideas?
Ans. Here are some ideas:
- Face + Text: A close-up of your face with a clear title.
- Product Showcase: Highlight the product or topic of your video.
- Before & After: Great for tutorials or transformation videos.
- Text overlay: Screenshot gets a moment from the video, which allows instant adding of text.
- Collage: Several images merged into a dynamic thumbnail.
- Arrows and shapes: Visually guide the viewer to the most important elements.
- Emphasis: Bright, bold fonts and colors for keywords only.
Q10. What size should my YouTube thumbnail be?
Ans. It should be 1280 by 720 pixels; the minimum width is 640 pixels. Aspect ratio is 16:9.
About the Creator
PhotoCut
AI Photo Editing Tool - Remove or Change your Background & Enhance Product Photos
Keep reading
More stories from PhotoCut and writers in Photography and other communities.
Simple Photo Tricks You Can Try Today
In a world of images, when it comes to clean, fun, and shareable photos, these would turn out to be important for social media, but for communication, branding, and creativity. For snapping pics on your iPhone or editing them at the desktop, you don't need to be daunted by heavy editing tools. Even beginners can use PhotoCut to easily edit photos.
By PhotoCut10 months ago in Photography
The Photographer's Code
You decide to visit your local park. You have become a close confidant to the homeless people who gather there most days. While talking to Cleo and Reed, you notice a new face in the crowd. It belongs to a stick-thin, middle-aged woman. She has her hand on her forehead as if taking her temperature.
By Paul Aaron Domenick7 days ago in Photography
The Gold Tone (Orotone) Technique
She picked it up from a dusty shelf at an estate sale, thinking it was just an old frame. Then the light caught it. The image glowed, not like a print, not like a painting, but like something that seemed to carry its own inner warmth. That was her first encounter with an Orotone, and she bought it without asking the price.
By CurlsAndCommas3 days ago in Photography
Why Didn't Anyone Tell Us
Men, move along. This is not for you. This is for the women. I was forty-five when I began menopause. It is pretty young for that to be going on in a woman’s life, but I had undiagnosed PCOS, my entire life. Thank you to all the gynecologists I had seen my entire life. That in itself should encourage women to keep seeking second opinions, especially when you are not getting correct answers or any at all.
By Alexandra Grant5 days ago in Humans


Comments
There are no comments for this story
Be the first to respond and start the conversation.