
How to do high key lighting using natural light.
Any easy guide to nailing a high key look with a silver reflector, a DIY diffuser and the sun.


Introduction:
High key lighting is a highly versatile form of lighting and one of the fundamental building blocks in any pro photographer's bag of tricks.
What is it though? Simple - it's a very bright photography style where the background is usually pure white. There is low contrast and almost no dark areas in the image.
It's a great lighting style to use for commercial photography as it's bright, graphic and clean and fairly simple to achieve. It's used a lot in eCommerce as it's very clean and puts the emphasis on the products.
High key has a dark twin - low key lighting. Low key is exactly what it sounds like - dark and moody. The subject is surrounded by black or near black.
What you need:
1. A home made or professional scrim. What's a scrim? It's fabric to diffuse light attached to a frame. If you've got a small budget you can DIY one cheap with some plumbing tubes and cheap white nylon fabric. Learn how here: DIY scrim. You'll need a lighting stand to attach the scrim to, or a few willing friends to hold it.
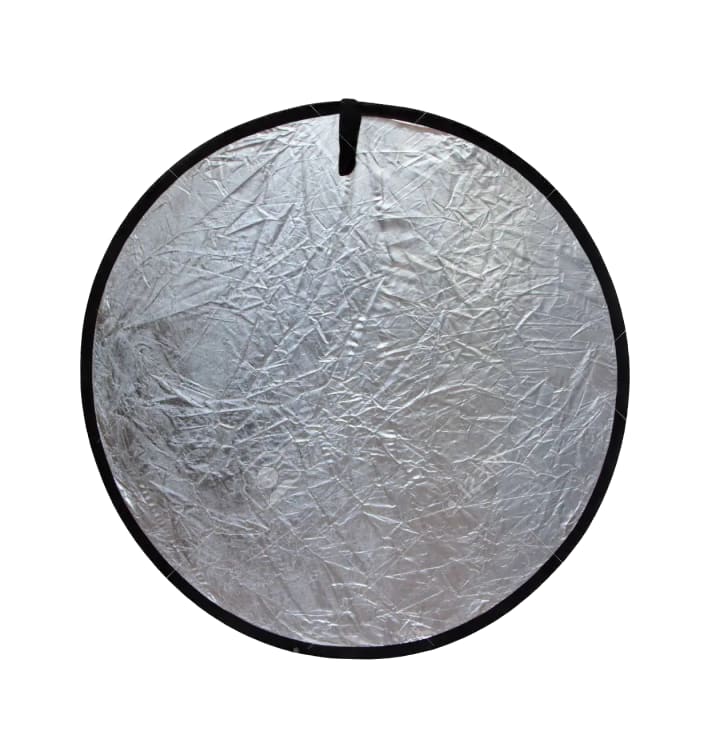
2. A silver reflector. You can buy one pretty cheap on ebay or any photography equipment store. It doesn't need to be very big. Buy a reflective silver one, not the silver white type as you want a hardish light to reflect onto your subject.
3. A subject and someone to hold the reflector (or a reflector holder).
How to do the high key look:
It's really so simple. Set up your DIY scrim with the sun behind it. If you've got 2 friends to hold the scrim great, if not attach it to a light stand. Place your subject directly in front of the scrim.
Be careful! Don't reflect hard sunlight into your subject's eyes, you don't want to blind them.
The best way to do it is get your subject to turn their face to the left and bounce some light with the reflector into their right cheek. You can see in the photo above the highlight on his right cheek.
Make sure you expose for the subject. You can use spot metering to meter. Or if you use average metering you will need to compensate your exposure by 1+ stop.
Why? Because camera meters look at the scene as if it's average grey. Take a deep dive into the subject here: Photographing snow.

Ideally you want the sun directly behind the scrim. Why? So that the scrim is lit and blows out to pure white like the example image above. Don't worry if it's not completely pure white, it's easy these days to select a subject in Photoshop then make the background pure white.
You might need to experiment to get the right position where you are catching the sun, and reflecting it into the right spot on the subject's face. Keep moving the reflector back and forth until you see the bright reflection passing across the face of your subject. Again be careful not to reflect bright sunlight directly into your subject's eyes. Ain't nobody got time for that!
Now I know you want to know my settings. The image above was shot on a Canon 5D Mk iii. The lens I used was an EF 85mm f/1.8 USM. My ISO was 100 and aperture was f5.6 and shutter speed about 1/100th of a second.
And that's it. Now you have a new technique in your photographic bag of tricks. You can see some of my work over at Photoform*, go check it out! I'm based in Melbourne, Australia and photograph mainly headshots and personal branding photography but have worked in many photographic genres in my career.
About the Creator
Photoform*
Photoform* has been a photographer for over 15 years. I'm obsessed with all things photography.
This is the place to come to for all things photography and photography post production tips.
Check out our home on the web: Photoform*
Keep reading
More stories from writers in Photography and other communities.
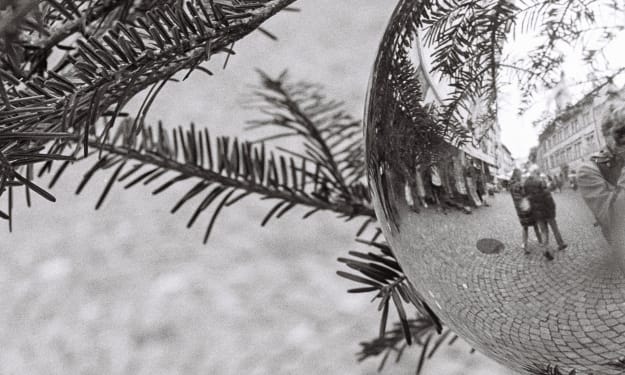
My Year, in Prattling and Photos
It's been a year since... last year. Ironically, it seems I've found myself a new tradition of getting sick during the New Year holidays. At least, this year (that is, this inter-year period remarkable for its shiny decorations in the streets and houses, and closed supermarkets and pretty much everything), I'm doubtlessly doing better: I've managed to come visit my friends in Germany for Christmas (which I failed to do last year) and—after having some good quality time eating machanka, playing Munchkin and swinging machetes (the last one obviously crept into this checklist only for the sake of the phonological form)—I came back home via proverbial Deutche Bahn and probably less known Schweizerische Bundesbahnen, my body hosting a family of viruses, virions and who knows what other tiny critters somewhere inside my chest.
By Andrei Z.23 days ago in Photography
Smartphone Photography Tips for Stunning Shots in 2026
Smartphone cameras have evolved at lightning speed. What once were simple point-and-shoot tools have become powerful imaging devices capable of rivaling dedicated cameras. Whether you’re capturing landscapes, portraits, street scenes, food, or low-light moments, mastering smartphone photography, as highlighted by Stories Today, means understanding both creative fundamentals and modern techniques that take advantage of current technology.
By Stories Todayabout 19 hours ago in Photography
📢 Raise Your Voice Thread: 01/22/2026
Our “Raise Your Voice Threads” are hosted most alternating Thursdays at 12PM ET to offer creators more avenues to uncover exceptional stories on Vocal. As we are continuously searching for fresh creators and inspiring stories, this thread provides an opportunity to exchange and discuss the stories that have moved and motivated us on Vocal.
By Raise Your Voice by Vocala day ago in Resources


Comments
There are no comments for this story
Be the first to respond and start the conversation.