
Developing Film at Home – A Beginner’s Guide to DIY Film Processing
A Step-by-Step Guide with Insights from Nick Karagiannis Photography
The journey begins in darkness—a silent space where unseen images wait to emerge. The first time you develop film at home, it may feel like magic. The chemicals, the precise timing, the transformation of negatives into tangible memories—every step is an alchemy of patience and creativity.
If you’ve ever considered home film development but weren’t sure where to start, don’t worry! The process is simpler than it seems. You don’t need a professional darkroom or expensive gear—just a few basic tools and a bit of practice. This guide will walk you through the essentials, helping you bring your photos to life with confidence.
The Unique Charm of Film Photography
Film photography offers an aesthetic and depth that digital images often lack. The grain, color variations, and organic textures of film create images with timeless appeal. Beyond visual qualities, shooting on film fosters a more intentional approach to photography—each frame counts, encouraging thoughtful composition.
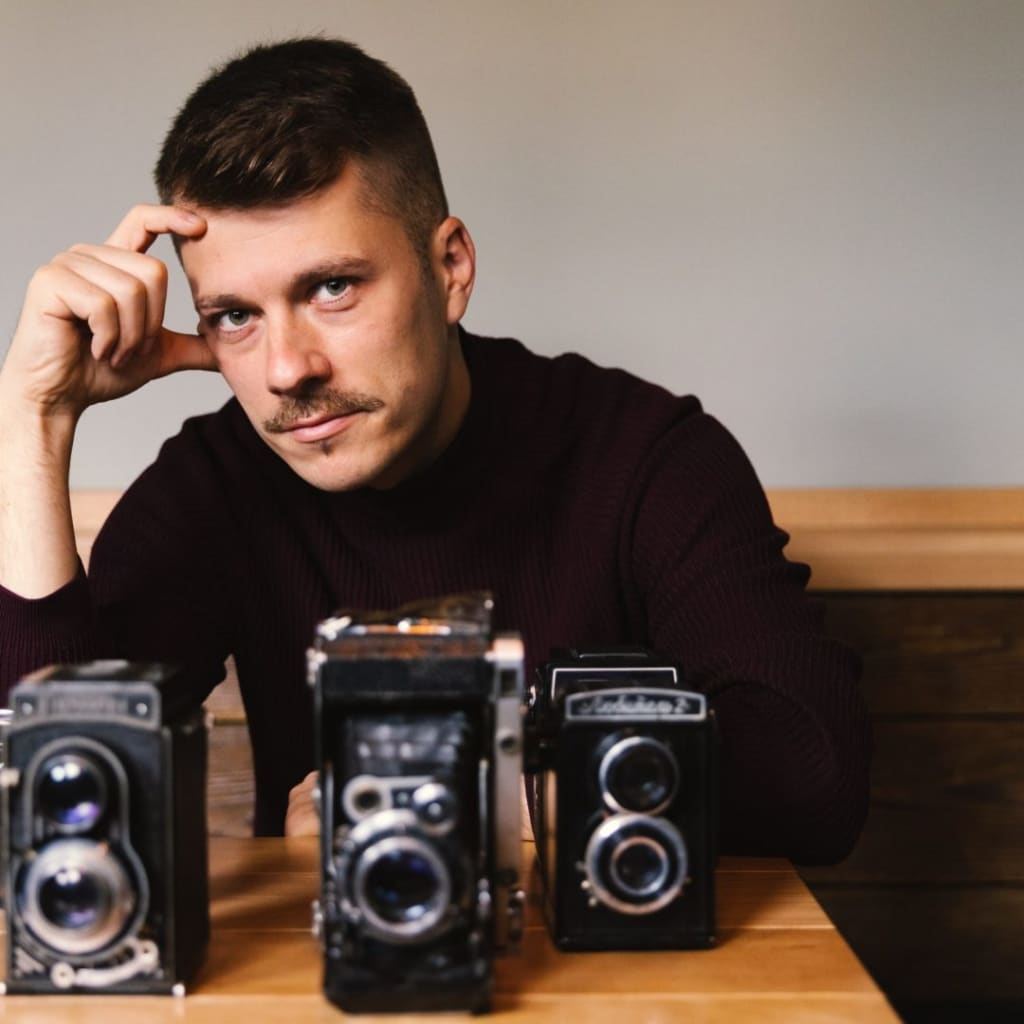
Developing film at home adds another layer of control and creativity. By overseeing every step of the process, from exposure to final prints, you shape the outcome to match your artistic vision. Many photographers, including Nick Karagiannis, appreciate this hands-on approach for its ability to create truly unique images.
Essential Equipment for Home Film Development
Before diving in, it’s important to gather the right tools. While the initial setup requires an investment, many items can be sourced affordably from photography shops or second-hand markets.
Film Developing Kit:
Developing Tank: A light-tight container for processing film.
Reels: Securely hold the film inside the tank.
Measuring Cylinders: Ensure precise chemical measurement.
Thermometer: Maintain correct temperatures for consistency.
Required Chemicals:
The chemicals you need depend on the type of film. For black and white film, you’ll require:
Developer (activates the image)
Stop Bath (halts the developing process)
Fixer (stabilizes the image, making it permanent)
For color film, additional chemicals such as color developer and bleach are necessary. Always follow manufacturer guidelines for correct mixing and usage.
Setting Up Your Development Space
A dedicated darkroom isn’t required—many photographers, including Nick Karagiannis, use compact setups such as a changing bag or a completely dark closet to load film onto reels. Organizing your workspace and ensuring proper ventilation are key to a smooth development process.
Step-by-Step Guide to Developing FilmStep 1: Loading the Film
In complete darkness, remove the film from its canister and load it onto the reel. This step can be tricky for beginners, but practice makes perfect. Once secured, place the reel inside the developing tank and seal it to keep light out.
Step 2: Mixing Chemicals
Follow the chemical instructions carefully, measuring precise amounts and maintaining proper temperatures. Even slight variations can impact your final results, so accuracy is crucial.
Step 3: Developing the Film
Pour the developer into the tank and start your timer. Agitate the tank at regular intervals to ensure even exposure. Once development time is complete, drain the developer and proceed with the stop bath and fixer, each requiring careful timing and agitation.
Step 4: Washing and Drying
After fixing, wash the film thoroughly to remove any lingering chemicals. Rinse under running water for several minutes, then carefully remove the negatives and hang them in a dust-free environment to dry.
Troubleshooting Common Development Issues Light Leaks:
If your images show unwanted exposure, check that your tank is properly sealed before development begins. Even a small light leak can ruin an entire roll of film.
Uneven Development:
If some areas of your negatives appear blotchy or faded, you may need to refine your agitation technique. Gentle, consistent movement helps distribute chemicals evenly across the film surface.
The Artistic Journey of Film Development
Developing film at home is a learning process, but it’s one that deepens your connection to photography. With each roll, you gain insight into how subtle adjustments influence your final images. Nick Karagiannis Photography, known for its dedication to craftsmanship, embraces the beauty of film’s unpredictability—where imperfections become part of the story.
So, set up your workspace, gather your tools, and enjoy the process. Watching your photos materialize is a rewarding experience, turning a simple hobby into an art form you can truly call your own.
Nick Karagiannis is a passionate photographer and film development enthusiast, known for his hands-on approach to capturing moments through the lens of vintage film cameras. With a focus on craftsmanship and artistic expression, Nick Karagiannis Photography emphasizes the beauty of film's organic textures and timeless appeal. He shares his knowledge of home film development, helping fellow photographers connect more deeply with their craft, one roll at a time. When he's not experimenting in the darkroom, Nick enjoys teaching others how to bring their photographs to life through the art of film development.
About the Creator
Keep reading
More stories from Afifa Irshad and writers in Photography and other communities.
English Cream Golden Retriever Hunting Tips
Do You Want to Know English Cream Golden Retriever Hunting? You are in the Right Place. In most cases, the English Cream Golden Retriever is prized for its looks as well as for its friendly nature. But, hidden under a full fluffy coat of white fur and diplomatic behavior, there is a dog of high intelligence and great hunting abilities. When you decide to go hunting with your English Cream Golden Retriever, there are certain measures and approaches that will enable you to get the best out of the venture.
By Afifa Irshadabout a year ago in Petlife
My Year, in Prattling and Photos
It's been a year since... last year. Ironically, it seems I've found myself a new tradition of getting sick during the New Year holidays. At least, this year (that is, this inter-year period remarkable for its shiny decorations in the streets and houses, and closed supermarkets and pretty much everything), I'm doubtlessly doing better: I've managed to come visit my friends in Germany for Christmas (which I failed to do last year) and—after having some good quality time eating machanka, playing Munchkin and swinging machetes (the last one obviously crept into this checklist only for the sake of the phonological form)—I came back home via proverbial Deutche Bahn and probably less known Schweizerische Bundesbahnen, my body hosting a family of viruses, virions and who knows what other tiny critters somewhere inside my chest.
By Andrei Z.19 days ago in Photography
Wild Card Weekend Recap: What Happens Now?
I think I figured out why I love Wild Card Weekend so much. It's because it's the first playoff anything of the calendar year. The NFL season starts in the fall, and once upon a time, the champion was crowned either on or slightly before New Year's. The evolution of the NFL schedule has resulted in the playoffs starting just into the New Year, and currently, the final week of the season falls on the first weekend of the New Year, with Wild Card Weekend coming a week after that. So yes, chronologically, the NFL's Wild Card Weekend serves as the first playoff anything of the calendar year.
By Clyde E. Dawkins7 days ago in Unbalanced


Comments
There are no comments for this story
Be the first to respond and start the conversation.