
Smart Use of Interior Primer Paint for Best Results
Discover why local house painters stress the smart use of interior primer paint for flawless walls, lasting finishes, and beautiful, durable home interiors.

Introduction:
When you talk to expert local house painters in Corpus Christi, one thing they’ll always emphasize is that the secret to a flawless finish isn’t just in the color you pick, it's in how well you prepare the surface. And that’s where primer comes in.
Too often, homeowners rush to roll on paint, only to end up with patchy walls, stains bleeding through, or colors that don’t look quite right. Primer may not be glamorous, but it’s the quiet workhorse that makes your walls, ceilings, and trim look like they were done by a professional.
Used smartly, it saves time, money, and frustration while ensuring your topcoat actually lives up to its potential.
Why Primer Matters
Interior surfaces come in all kinds, fresh drywall, patched gypsum, old glossy trim, stained wood, smoke-damaged walls, even slick laminates, and each one behaves differently when painted. Primer is engineered to control three critical variables:
- Porosity: Bare drywall, joint compound, and raw wood absorb paint unevenly. Primer equalizes absorption so your topcoat dries uniformly, preventing flashing (dull, patchy sheen) and roller tracking.
- Adhesion: Glossy or non-porous surfaces (old oil enamel, melamine, some plastics) reject standard wall paint. A bonding primer creates microscopic “teeth” so finish paint actually grabs.
- Stain Blocking: Tannins from wood, water rings, nicotine, crayon, marker, and grease will bleed straight through paint. Stain-blocking primer traps them so they don’t ghost back.
Match the Primer to the Problem
Not all primers are created equal. Pick the chemistry that solves your specific surface issues.
- PVA (polyvinyl acetate) drywall primer
- Best for: New drywall and joint compound.
- Why: It seals high porosity inexpensively, preventing the “drywall drink” that steals your sheen.
- Caveat: Not a great stain blocker and not ideal on glossy or previously painted surfaces.
- Acrylic/latex multi-surface primer
- Best for: Previous latex-painted walls, light stains, bare drywall, masonry, and lightly chalky surfaces (after washing).
- Why: Fast dry, soap-and-water cleanup, good flexibility.
- Tip: Look for “bonding acrylic” if you’re going over satin/semi-gloss, vinyl wallpaper (test first), or lightly slick surfaces.
- Alkyd (oil-based) primer
- Best for: Knots/tannins in wood, smoke damage, crayon/grease stains that keep bleeding.
- Why: Excellent stain and odor blocking, strong adhesion, levels well on trim.
- Caveat: Longer dry time and solvent cleanup. Ventilation is a must.
- Shellac-based primer
- Best for: Severe stains and odors (fire, nicotine), knots that won’t stop bleeding, marker/ink.
- Why: Near-instant blocking and super-fast dry.
- Caveat: Strong odor; use in spot-priming or when conditions allow.
- Specialty bonding primers (for tile, laminate, glass, PVC)
- Best for: Ultra-slick, hard-to-paint surfaces.
- Tip: Always degrease and scuff first; these primers help but aren’t magic if prep is ignored.
When to Spot-Prime vs. Prime the Whole Wall
Not every project needs a full coat of primer everywhere.
- Spot-prime when you only have small patches, nail holes, or one or two stains to cover. Sand the edges so the primer blends in.
- Full-prime when you’re painting new drywall, changing colors drastically, or working on walls with a mix of materials (like patched drywall plus wood trim). This gives you an even base so your finish looks smooth.
How Much Primer Do You Need?
- One gallon usually covers 300–400 sq ft on already painted walls.
- For new drywall or bare wood, it’s less about 200–300 sq ft.
- Drying time: Acrylic primer dries in 1–2 hours. Oil-based may take 12–24 hours. Shellac dries in under an hour. Always check the label before recoating.
Prepping Your Walls the Right Way
Prep might feel like the dull part of painting, but it’s what ensures your walls stay beautiful long after the brush is washed. Starting with a deep clean dust, grease, and smoke residue are enemies of adhesion and can cause primers to peel or streak.
Glossy walls need a light sanding with 220-grit paper so the primer can grip instead of sliding off. Any holes or cracks should be filled with spackle (or wood filler on trim), then sanded smooth.
After that, wipe away dust with a damp cloth or vacuum the edges of your walls and baseboards. Skipping this step is like painting over crumbs no matter how many coats you add, the bumps will show, which is why professional interior painters never underestimate the importance of proper preparation.
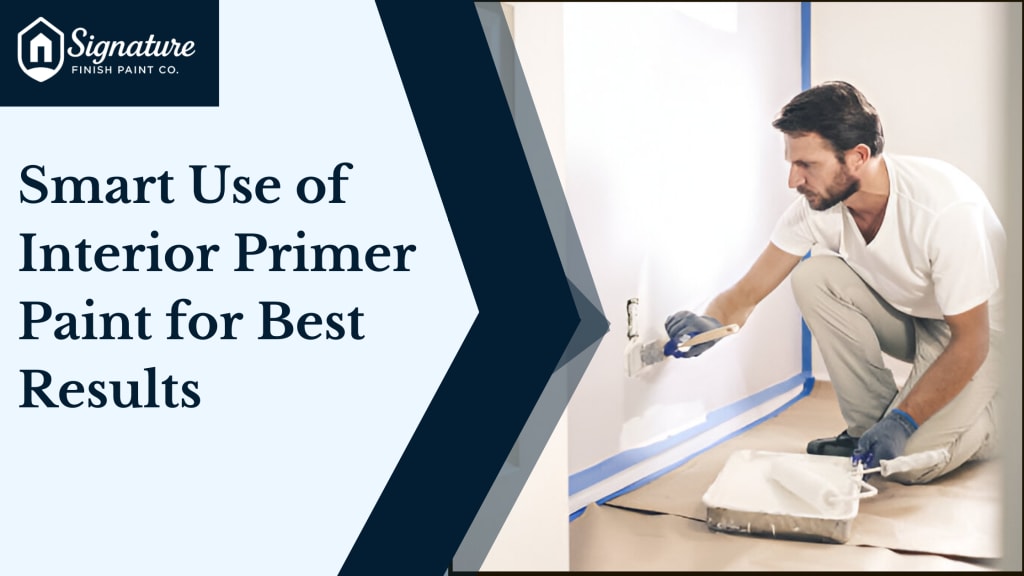
Tools That Actually Help
Interior painters swear by the right tools because they save effort and give cleaner results. A roller with a 3/8-inch nap is perfect for smooth walls, while 1/2-inch works better on lightly textured surfaces.
Pair that with a 2–2.5-inch angled brush for cutting clean lines around trim and corners. Lighting is another underrated tool. Shining a lamp at an angle across the wall can reveal spots you might miss before the paint dries, so you don’t end up with streaks or thin patches later.
Smooth Walls Start with Smart Priming
New drywall acts like a sponge, soaking up paint unevenly and leaving behind blotches and seams if not treated correctly. The secret to a smooth, lasting finish is proper priming, start with a drywall (PVA) or strong acrylic primer, lightly sand and dust your walls, apply one coat, let it dry, then sand again before adding two topcoats.
This extra care delivers the seamless look that professional interior painters aim for. Many homeowners now choose low-VOC or zero-VOC primers, especially for bedrooms and living areas, since they’re safer for kids, pets, and indoor air quality. Just don’t forget to keep windows open for ventilation.
Once dry, give the primer a gentle sanding with 220-grit paper so your topcoat glides on with a silky, even finish. Avoid common mistakes like using drywall primer on glossy trim, skipping stain-blocking primers, rolling too fast, or applying heavy coats, which can all lead to peeling or streaks. With the right prep and patience, your walls will stay beautiful for years, proving why summer is the best-time for home interior painting projects to be done right.
Tackling Glossy and Problem Surfaces
One of the biggest mistakes DIY painters make is trying to paint directly over shiny or oil-based finishes. Without proper prep, your fresh paint will peel, chip, or fail to bond. The fix is simple but essential: clean thoroughly, dull the surface with sanding, and use a bonding or oil-based primer. This gives your new paint something solid to hold onto.
Stains are another issue where primer really proves its worth. Water rings, smoke, and even stubborn crayon or marker marks can bleed right through regular paint. A stain-blocking primer, often shellac- or oil-based, is the go-to solution.
For wood knots that can leak resin, sealing them with shellac before priming prevents yellowish stains from ruining your finish. It may sound like an extra step, but it saves you from frustration later.
Transform Your Walls with the Help of Local House Painters
At the end of the day, a smooth, professional-looking paint job isn’t just about picking the right color, it's about starting with the right base. Interior primer paint makes your walls look flawless, helps colors pop, and ensures the finish lasts longer without peeling or blotching.
If you’ve been searching for a painter near me in Corpus Christi, it’s the perfect time to reach out to skilled local house painters who know how to use primer the smart way. Whether it’s fresh drywall, tricky stain-blocking, or bold color changes, they’ll make sure your home gets the finish it truly deserves.
Don’t skip the step that sets the tone for the entire project, use primer wisely, and let the professionals bring your walls to life.
Smart use of primer makes walls last longer and look smoother. Learn why local house painters recommend it for flawless, durable, and beautiful interiors.
About the Creator
Robert Clark
Experienced house painter with 5+ years on the job. I've painted everything from small rooms to full houses. I know my way around brushes, rollers, and sprayers. Sharing tips on prep, paint types, and pro tricks.
Keep reading
More stories from Robert Clark and writers in Lifehack and other communities.
Why Exterior Paint Primer Matters for Lasting Results
Introduction We have watched plenty of homeowners pick out the perfect paint color, hire the ladders, and get ready to give their house a fresh new look, only to skip a simple step that costs them later: Primer.
By Robert Clark7 months ago in Lifehack


Comments
There are no comments for this story
Be the first to respond and start the conversation.