
Can You Remove Tile from a Countertop?
Countertops are one of the most heavily used surfaces in any kitchen or bathroom.

Countertops are one of the most heavily used surfaces in any kitchen or bathroom, so it's no surprise that many homeowners choose tile for their durability and style. However, over time, you may find that your once beautiful tile countertop is starting to show signs of wear and tear, or perhaps you're just ready for a new look. The good news is, YES, you can absolutely remove tile from a countertop, but it can be a challenging and labor-intensive project.
Why Remove Tile from a Countertop?
There are a variety of reasons why you might want to remove tile from your countertop:
- Damage: Over time, tiles can crack, chip, or discolor, detracting from the aesthetic appeal of your space.
- Outdated Style: Trends change, and once fashionable tiles might no longer fit your design preferences.
- Uneven Surface: The grout lines between tiles can sometimes create an uneven surface, making it harder to clean or giving the countertop a less-than-sleek appearance.
- Upgrading: If you're replacing the tile with granite, marble, or another modern material, tile removal is the first step in that upgrade.
Whatever your reason, removing tile from a countertop requires patience and the right techniques to ensure you don’t damage the underlying surface.
Tools You’ll Need to Remove Tile
Before you start removing tile from your countertop, it’s essential to gather the right tools. Having the proper equipment will make the job much easier and safer. Here’s what you’ll need:
- Hammer: A standard hammer will help you break the grout or loosen tiles from the countertop.
- Pry Bar or Chisel: A pry bar or chisel will be crucial for lifting tiles from the surface once they've been loosened.
- Utility Knife: You may need a utility knife to cut through any adhesive or grout that’s holding the tiles in place.
- Floor Scraper: A floor scraper or putty knife can help remove stubborn adhesive and grout that remain after the tiles are gone.
- Safety Gear: Don’t forget to protect yourself. Wear gloves, safety glasses, and a dust mask to prevent injury from flying debris or dust.
Plastic Sheeting or Drop Cloths: To contain the mess and protect surrounding areas, lay down plastic sheeting or drop cloths.
Bucket or Trash Bags: You’ll need these to collect debris and discarded tiles.
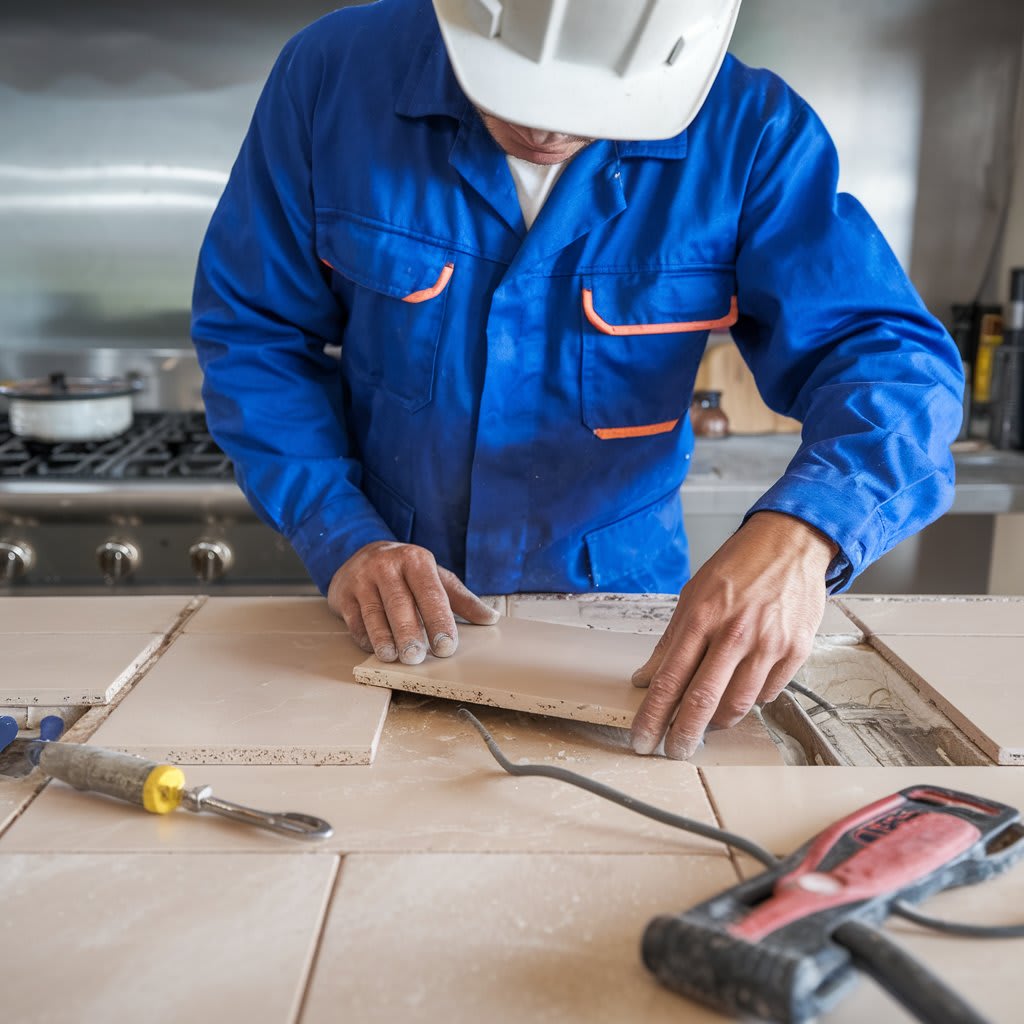
How to Remove Tile from a Countertop? Step-by-Step Guide
Once you have your tools and safety gear ready, it’s time to begin the tile removal process. Removing tile from a countertop can be a little trickier than removing tiles from a floor, as countertops often have an adhesive that is much harder to break through. But with the right approach, you’ll be able to remove the tiles without damaging the surface underneath.
Step 1: Prepare the Area
Before you begin, clear the countertop of any items, such as dishes, appliances, or utensils. Cover nearby surfaces with drop cloths or plastic sheeting to protect them from debris or dust. Make sure you wear your protective gear to minimize the risk of injury.
Step 2: Remove the Grout
Start by removing the grout around the edges of the tiles. Use a utility knife to carefully cut through the grout lines. Take your time to make sure you don’t accidentally scratch the countertop surface. Once the grout is removed, it will be easier to lift the tiles off the countertop.
Step 3: Loosen the Tiles
Next, use a hammer and chisel to gently tap along the edges of the tiles. Start at one corner or edge of the countertop and work your way across. The goal is to break the bond between the adhesive and the tiles. Some tiles may pop off easily, while others may require a bit more effort.
If the tiles are firmly stuck in place, you can also use a pry bar to gently lift the tiles off. Insert the pry bar under the tile and carefully apply pressure to lift the tile free from the countertop. Be patient if the tile doesn’t come off easily, try working on different spots to loosen it further.
Step 4: Remove Stubborn Adhesive
After you’ve removed most of the tiles, you will likely have leftover adhesive stuck to the countertop. Use a floor scraper or putty knife to remove the bulk of the adhesive. Depending on the type of adhesive used, you may need a chemical adhesive remover. Apply the remover according to the manufacturer’s instructions and let it sit for a while to soften the adhesive before scraping it off.
Be sure to clean up any excess adhesive before moving on to the next step.
Step 5: Clean the Surface
Once the tiles and adhesive have been removed, take time to clean the countertop thoroughly. Sweep up any debris, and use a damp cloth to wipe down the surface. If you plan to install a new countertop material, ensure that the surface is smooth and level. You may need to patch any areas that have been damaged during the process.
Challenges You May Encounter
Removing tiles from a countertop can be more difficult than removing floor tiles for a few reasons. Here are some common challenges:
- Tile Damage: If your tiles are cracked or brittle, they may break into smaller pieces, making them more difficult to remove.
- Stubborn Adhesive: Some adhesives, such as mastic, can be tough to remove. If the adhesive is too strong, it may take longer to clean the surface afterward.
- Countertop Material: Depending on the material of your countertop (e.g., laminate, granite, or concrete), you may run into issues with damaging the surface beneath the tile. Always take care when using your tools to avoid gouging or scratching the countertop.
Should You Hire a Professional for Tile Removal?
While tile removal can be a DIY project, there are instances when hiring a professional may be the better choice. If you’re dealing with extensive tile coverage, stubborn adhesives, or a high-end countertop material that you don’t want to risk damaging, a professional can handle the job with expertise.
Professionals also have the proper tools, such as floor scrapers and other machines, that can speed up the process and minimize damage. Additionally, they can dispose of the debris and take care of any cleanup, saving you time and effort.
Tips for a Successful Tile Removal Project
- Work Slowly and Carefully: Take your time, especially when using the hammer and chisel to avoid damaging the countertop underneath.
- Don’t Skip the Safety Gear: Removing tile can create dust and flying debris. Always wear gloves, goggles, and a dust mask.
- Take Breaks: Removing tile can be physically demanding. Take regular breaks to avoid fatigue, which can lead to mistakes or accidents.
- Test a Small Section First: If you’re unsure about the process, start with a small section of the countertop to see how easily the tiles come off and how much effort is required.
Wrapping Up
Are you ready to remove tile from your countertop, but don’t want to deal with the hassle yourself? Why not let the experts at “Tear It Up!” Floor Removal takes care of it for you? We specialize in fast, efficient, and safe tile removal services that will leave your surfaces clean and ready for your next project.
If you want to update your countertops or prepare for new flooring, our team has the tools and expertise to get the job done right. Get in touch with our representatives for a free consultation!
About the Creator
Jack Aurthor
I am a writer, crafting worlds with words and turning ideas into stories that resonate.
Keep reading
More stories from Jack Aurthor and writers in Lifehack and other communities.
Best Flower Pairings That Go Well with Forget Me Nots
The Delicate Charm of Forget Me Nots Forget Me Nots have a quiet charm that can brighten any garden or bouquet. Their small, sky-blue petals and gentle presence make them a favorite among gardeners and florists alike. While these lovely blooms can stand on their own, pairing them with other flowers can create even more stunning and harmonious displays. Knowing which flowers complement Forget Me Nots best can elevate your floral arrangements and garden designs.
By Jack Aurthor7 months ago in Lifehack
What to Expect From Mobile App Development Teams in Miami?
Miami’s tech ecosystem grew fast and unevenly. According to Statista, Florida’s digital economy expanded by over 17 percent between 2022 and 2025, pulling in agencies, freelancers, boutique firms, and offshore-linked teams at very different maturity levels.
By Mike Pichaia day ago in Lifehack
Wild Card Weekend Recap: What Happens Now?
I think I figured out why I love Wild Card Weekend so much. It's because it's the first playoff anything of the calendar year. The NFL season starts in the fall, and once upon a time, the champion was crowned either on or slightly before New Year's. The evolution of the NFL schedule has resulted in the playoffs starting just into the New Year, and currently, the final week of the season falls on the first weekend of the New Year, with Wild Card Weekend coming a week after that. So yes, chronologically, the NFL's Wild Card Weekend serves as the first playoff anything of the calendar year.
By Clyde E. Dawkins7 days ago in Unbalanced


Comments
There are no comments for this story
Be the first to respond and start the conversation.