
A Step-by-Step Guide to Installing Floorboards
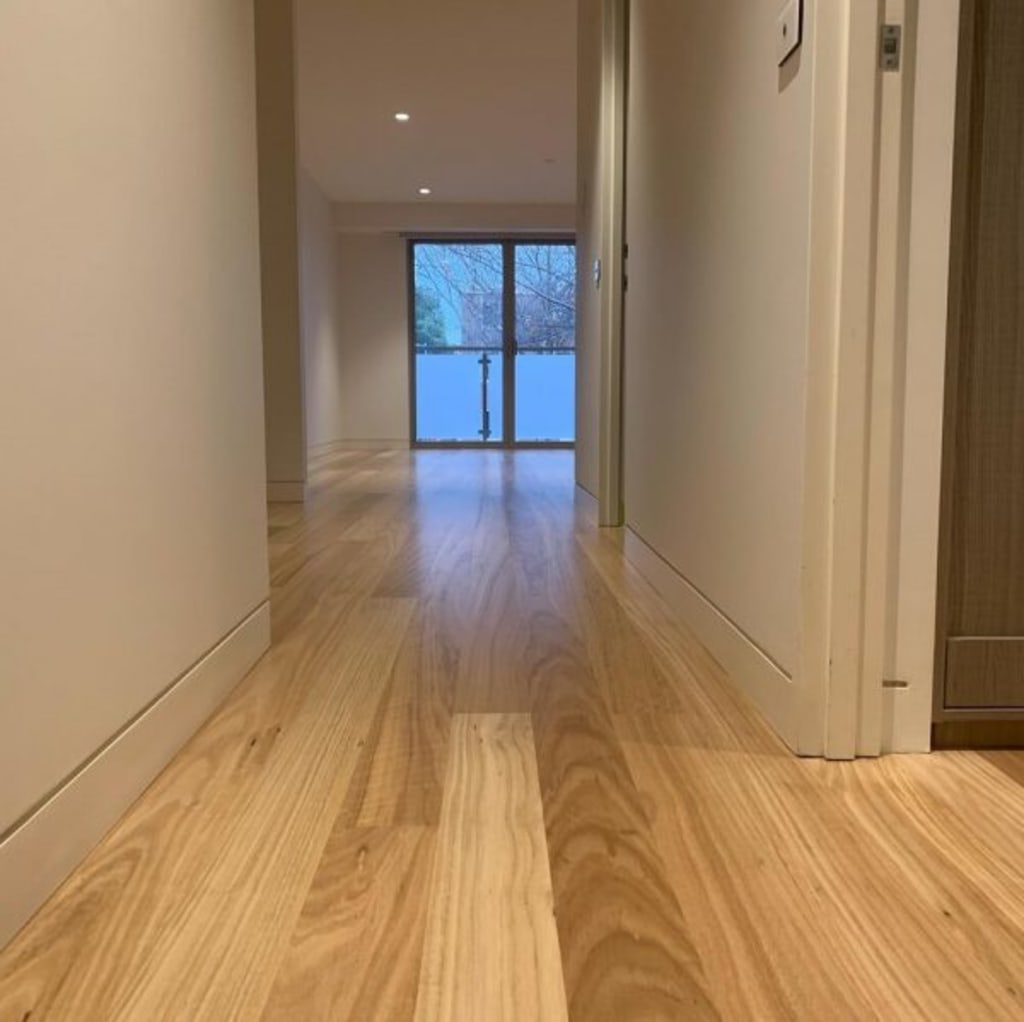
Floorboards Installation

Introduction
The process of installing floorboards is a transformative endeavor that can elevate the aesthetic and functionality of any space. Whether you're embarking on a home renovation project or constructing a new building, understanding how floorboards are installed is crucial. This article provides a comprehensive guide, walking you through the steps of floorboard installation, from preparation to finishing touches.
Step 1: Preparation
1.1. Choose the Right Floorboards:
Before you begin, select the type of floorboards that align with your design preferences, budget, and the requirements of the space. There are various options available, including solid hardwood, engineered wood, laminate, vinyl, and more.
1.2. Gather Materials and Tools:
Ensure you have all the necessary tools and materials on hand, including the chosen floorboards, underlayment (if required), adhesive, nails, spacers, measuring tape, saw, hammer, pry bar, utility knife, and safety equipment.
1.3. Prepare the Subfloor:
Inspect and prepare the subfloor. It should be clean, dry, level, and free from any debris, bumps, or irregularities. If necessary, use a leveling compound to correct any uneven areas.
Step 2: Underlayment Installation (If Required)
2.1. Assess Underlayment Needs:
Depending on the type of floorboards installation and the subfloor material, you might need an underlayment. Underlayments provide cushioning, moisture protection, and sound insulation. Follow the manufacturer's recommendations for the specific type of underlayment required.
2.2. Roll Out and Secure Underlayment:
Roll out the underlayment over the prepared subfloor, ensuring it covers the entire area. Secure the underlayment using tape or staples, following the manufacturer's guidelines.
Step 3: Floorboard Installation
3.1. Choose the Starting Point:
Begin installation from the longest wall in the room. This provides a clean and symmetrical appearance. Leave an expansion gap (usually around 1/4 inch) between the floorboards and the walls to allow for natural expansion and contraction.
3.2. Install the First Row:
Lay the first row of floorboards along the starting wall, with the groove side facing the wall. Use spacers to create a consistent gap between the wall and the floorboards. This gap will be covered by baseboards later.
3.3. Connect the Floorboards:
Fit the tongue of one floorboard into the groove of the previous one at a slight angle. Gently lower the board to lock it into place. Use a tapping block and a hammer to ensure a snug fit without damaging the boards.
3.4. Continue Installing Rows:
Continue installing rows of floorboards, using spacers between the wall and the boards. Stagger the joints between boards to create a natural and visually appealing pattern. Trim the last board in each row as needed.
3.5. Nail or Glue Down Boards (If Applicable):
Depending on the type of floorboards you're using, you might need to nail or glue them down. Follow the manufacturer's instructions for the appropriate method and spacing.
Step 4: Transition Pieces and Trim
4.1. Install Transition Pieces:
Transition pieces, such as thresholds, reducers, and T-moldings, are used to create smooth transitions between different flooring materials or between rooms. Install them according to the manufacturer's guidelines.
4.2. Install Baseboards and Quarter Round:
Install baseboards along the perimeter of the room to cover the expansion gap and provide a finished look. If necessary, install quarter-round molding at the baseboard-floor junction for a polished appearance.
Step 5: Finishing Touches
5.1. Fill Gaps and Holes:
Inspect the floor for any visible gaps or holes between the boards. Use wood filler or putty to fill these gaps, creating a seamless surface.
5.2. Sand and Finish (If Required):
If you're working with unfinished wood floorboards, sand the surface to ensure it's smooth and even. Apply the chosen finish, such as stain or varnish, following the manufacturer's instructions. Allow the finish to dry completely before moving furniture back into the room.
5.3. Clean Up:
After installation, clean the floor thoroughly to remove any dust, debris, or adhesive residue. This ensures the floor looks its best and maintains its longevity.
Conclusion
Installing floorboards is a rewarding endeavor that can significantly transform the look and feel of a space. By following these steps, you can ensure a successful installation that results in a beautiful and functional floor. Remember to choose the right floorboards for your needs, prepare the subfloor meticulously, and adhere to manufacturer guidelines for underlayment, installation methods, and finishing. With proper planning, attention to detail, and the right tools, your floorboard installation project can create a stunning foundation that enhances the overall aesthetics and value of your space.
About the Creator
Blackcat Timber Flooring
BlackCat Timber Flooring has over 10 years experiences in helping clients create the elegant and stylish look timber floors can add to any interior and out door design project.
Keep reading
More stories from writers in Lifehack and other communities.
Shungite
Shungite in Everyday Life Shungite is a unique carbon-rich mineraloid that has been used for centuries in Karelia, Russia. Its deep black color, high carbon content, and porous structure make it a fascinating stone for a variety of daily applications. People around the world are increasingly exploring how Shungite can be incorporated into everyday life—not just for decorative purposes, but also for personal wellness and mindful living.
By Andreas Krobath7 days ago in Lifehack
The Vanishing Street
Amina had walked the same route home from work for years, a quiet street lined with old buildings and small cafes. She knew every corner, every pothole, and every flickering streetlight. The familiarity was comforting, a sense of stability after long days of meetings and deadlines. One evening, after staying late at the office, she stepped onto the street and immediately felt something was off. The usual lamppost that marked the corner of her route was gone. In its place, there was a narrow alley she had never noticed before, dark and twisting. She frowned, thinking it must be exhaustion playing tricks on her eyes. Yet curiosity tugged at her, and she stepped closer to examine it.
By Sudais Zakwanabout 21 hours ago in Lifehack
I've Just Realized
The President doesn't understand music. There. It felt very good to write that; it's some thing I just realized today. Oh , yes; he plays it. He TRUMPets it in rallies and meetings, pumps it across the airwaves when he gathers up our minutes waiting for his late arrival.
By Judey Kalchik 3 days ago in Beat


Comments
There are no comments for this story
Be the first to respond and start the conversation.