
A step-by-step guide for the installation of vinyl siding in your home!
Professional Vinyl Siding Installation Long Island
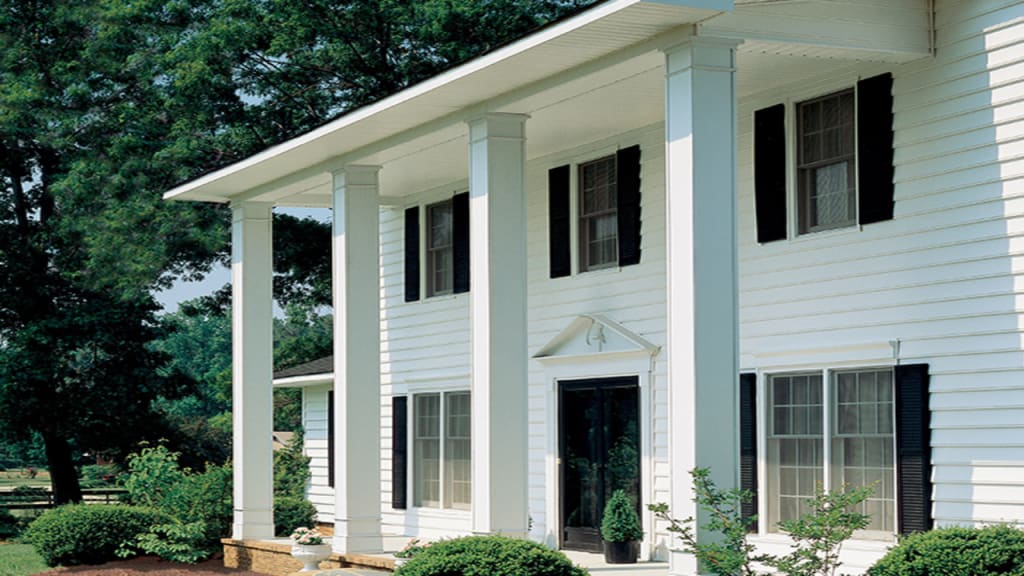
If you want to have robust and beautiful siding for your Long Island home that sustains the elements without any complaint and is easy on your budget, consider the installation of vinyl siding from professionals.
Vinyl siding is among the most common choices of various homeowners regarding changing exterior home materials. These are affordable and durable and come in various colors, textures, and sizes to provide a room with the best customizable look. Moreover, due to their affordability, these sidings ensure a high return on investment, and that’s why they are the hot-favorite of both homeowners and contractors.
This post will guide you on how professionals can help you with vinyl siding installation in Long Island, right from preparing the surface to adding the finishing touches.
Various steps for installation of the vinyl siding –
Installing vinyl siding is an ideal way to increase your home's overall look and worth. Here are some tips you need to follow for installing the vinyl siding in your home like a pro. These are –
Prepare your house exterior –
Before installation of the vinyl siding, it is recommended to clean the flat surface of your house and repair any damage. This can ensure the optimal adhesion for the vertical siding and is essential to check for moisture concerns. As existing siding can trap moisture and can cause serious damage to your home. So, try to fix any moisture issues immediately before starting the installation process.
Sheath the walls –
Next, you need to sheath your siding walls to create a moisture barrier. Vinyl siding needs to be installed without sheathing of the walls and a material with a range like half-inch plywood, or acquainted strand board as these can provide a clean, smooth surface for installation of the vinyl siding.
Installation of a moisture barrier –
Choose the proper moisture barrier for the vinyl siding according to the manufacturer’s instructions. There are two types of walls i.e.; self-sealing, and asphalt-saturated felt. It is seen that most of the vinyl siding may come with a self-sealing border. But if you use siding of a different kind, check the manufacturer’s instructions to see which type of barrier they recommend for the installation of the siding. Make sure that all the seams and perforations are in the moisture barrier to prevent the water from entering your home through the siding.
Install soffit and fascia siding –
After installation of the sheathing, you need to install the soffit and fascia siding. This will tie together your eaves and roofing with the siding and usually may come in the same color and design.
Measuring your wall length –
Before installation of the vinyl siding, make sure to measure the length of each wall accurately. This may help you determine how much siding you need to purchase and cut for each section to install the siding in your home. This is essential to consider as that ensures you have enough material for the entire project. Try to lessen the waste by buying what you need.
Installing the starter strip –
Start the installation of the vinyl siding from the bottom of a wall, working your way up. Start with a starter strip that can help the first row of siding adhere tight to the wall. Then, continue installing rows of the vinyl siding until you reach the top of the wall.
Setting up the corner posts –
Corner posts administer support for the vinyl siding on your home’s corners. Install them before adding the vinyl siding to ensure a secure fit of the siding in the corner of your home. It is highly recommended to check for the manufacturer’s instructions for a proper installation of the vinyl siding. As each type of corner post may require a different installation method.
Installing the flashing and J-channel around doors and windows –
Installing the flashing around the doors and windows can help you protect your home from moisture by creating a barrier around them. Install J-channel along the edges of the windows and the doors before hiring a professional for the vinyl siding installation in Long Island. These professionals can help you create a clean, finished look for the siding around these areas.
Installation of the siding panels –
Once the starter strips and corner posts are in place, begin installing the vinyl siding panel. It is essential to leave a small gap between each panel as this may allow the expansion and contraction of the vinyl siding with temperature change. Utilize a level to confirm the meetings are straight and secure, following the manufacturer’s instructions.
Finish the installation process with trim and accessories –
Once the installation of the vinyl siding panels is done, finish the project with the trim and accessories. Trimming along the roofline, windows, doors, and corners will help give your home an illuminative appearance. Apart from this, accessories like vents, light fixtures, and mailboxes can also be added along the roofline, windows, doors, and corners of your homes to complete the look of your new vinyl siding. Proper installation and maintenance allow your vinyl siding to safeguard your home for years.
So, aforementioned is some information regarding the installation of the vinyl siding. If you are looking for a trusted professional for vinyl siding installation in Long Island, then a specialist team at Quick Roof and Siding is here to help you out. Call (877) 524-2159 now to schedule an appointment with an expert to properly install your vinyl siding.
About the Creator
Keep reading
More stories from Quick Roof and writers in Lifehack and other communities.
Pro Tips to Consider Before Installing Garage Doors in Long Island
Your greatest achievement is owning a home. It provides you with a stable location to live comfortably and peacefully and build memories with your family, so you must keep it in the best condition possible.
By Quick Roof3 years ago in Lifehack
Finding the Best Movers in Boise, Idaho: What Really Matters
When people search for the best movers in Boise, Idaho, they are often looking for more than just availability or low prices. A successful move depends on preparation, local knowledge, and the ability to adapt to different situations. In a growing city like Boise, understanding what truly defines a reliable moving service can help residents make better decisions and avoid common relocation problems.
By House Doctor5 days ago in Lifehack
American Metal Buildings: What Recent U.S. Storms Reveal About Steel Building Design and Performance
What Recent U.S. Storms Are Teaching the Industry Over the past couple of years, the U.S. has seen a steady drumbeat of severe weather: long-track tornado outbreaks across the Plains and South, hurricane landfalls and inland wind events, lake-effect snow that loads roofs for days, and hailstorms that can turn a parking lot into a claims adjuster’s office. Every time one of these events hits, the news footage looks familiar—roofs peeled back, wall panels scattered, power lines down, a mix of buildings that made it through and buildings that didn’t.
By ammy watsona day ago in Lifehack


Comments
There are no comments for this story
Be the first to respond and start the conversation.