
Why the PICkit‑3 Programming & Debug Board is a Must for Embedded Development
epro.pk

Working with PIC microcontrollers is an exciting journey into the world of embedded systems, automation, and electronics design. One of the most essential tools to make this journey smoother and more efficient is a reliable programmer and debugger. That’s where the PICkit-3 Development Board Debugger comes in. Whether you're a student, a hobbyist, or a professional, this tool offers a simple and cost-effective way to program and debug a wide variety of Microchip’s PIC and dsPIC microcontrollers.
In this blog post, we’ll break down what the PICkit-3 is, its features, how it works, and why it’s such a popular choice among electronics enthusiasts and engineers alike.
What is the PICkit-3?
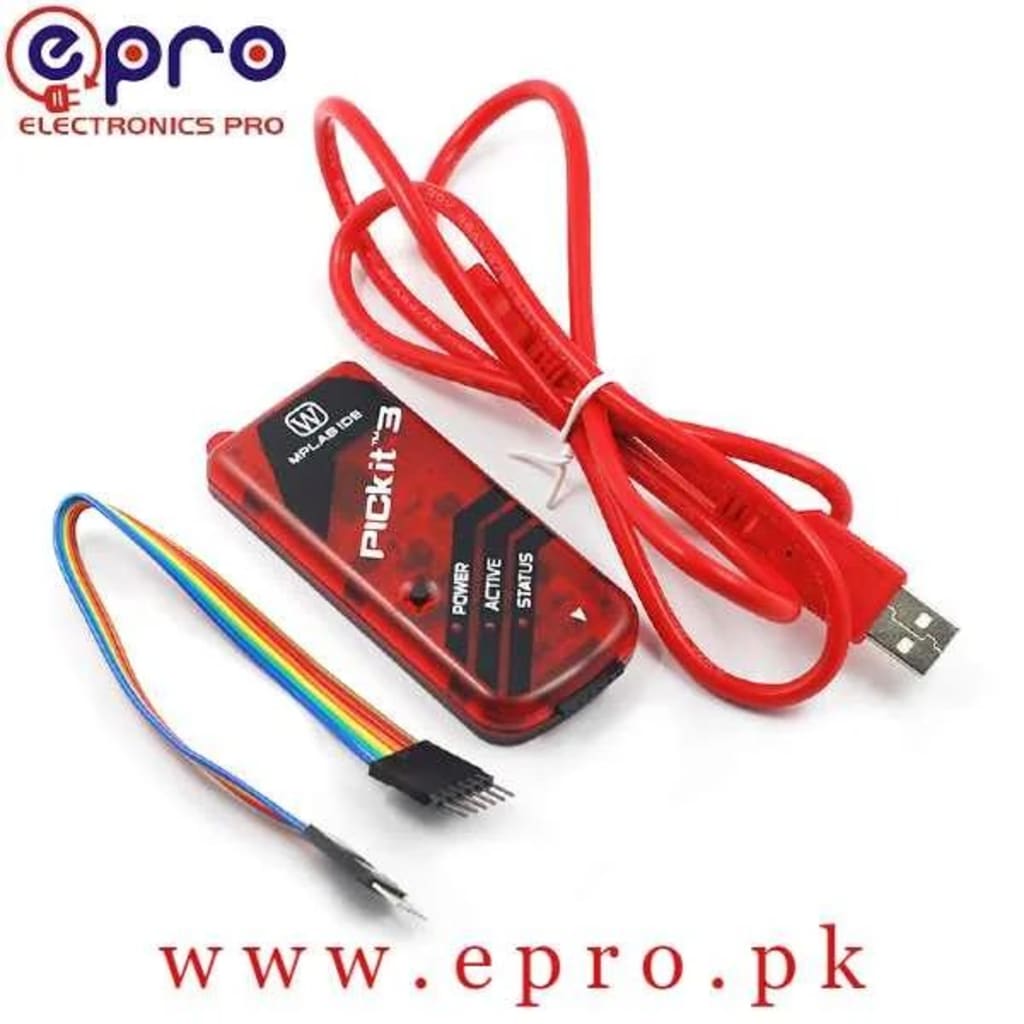
The PICkit-3 is a programmer and in-circuit debugger designed by Microchip Technology. It allows users to write code to, and debug, a wide range of PIC microcontrollers. The development board version of the PICkit-3 includes sockets that support multiple IC types, making it easier to test and switch between different microcontrollers without rewiring.
Unlike many standalone programmers, the PICkit-3 supports in-circuit debugging. This means you can pause your program, inspect variables, step through code, and troubleshoot issues—all while the microcontroller remains in your circuit.
Key Features
The PICkit-3 offers several features that make it stand out:
Device Compatibility: Supports a wide range of 8-bit and 16-bit PIC microcontrollers, including devices with 8, 14, 18, 20, 28, and 40 pins.
USB Connectivity: The PICkit-3 connects to a PC using a USB cable, which also supplies power to the board. No external power supply is typically needed for small projects.
On-Board Sockets: The development board version includes left-aligned sockets for various IC sizes, allowing you to quickly test different microcontrollers without setting up a breadboard each time.
Real-Time Debugging: You can set breakpoints, step through code line-by-line, view memory and registers, and debug your firmware in real-time.
LED Indicators: Power, activity, and error indicators help you quickly identify connection or programming issues.
Voltage Flexibility: Supports programming of devices operating at different voltages, typically between 1.8V to 5V.
How to Use the PICkit-3
Using the PICkit-3 is straightforward, especially when paired with Microchip's official development environment (such as MPLAB X IDE). Here’s a basic overview of how to use it:
Install the IDE: Begin by installing a suitable IDE like MPLAB X on your PC.
Connect the PICkit-3: Use a USB cable to connect the PICkit-3 to your computer. Ensure that the necessary drivers are installed automatically or manually if required.
Insert Your Microcontroller: If you're using the development board, place your PIC microcontroller into the appropriate socket, making sure to align the pins correctly.
Open Your Project: Launch the IDE, load or create a project for your target PIC microcontroller, and write your code.
Select the PICkit-3 as Programmer: In the IDE settings, choose the PICkit-3 as the programmer/debugger.
Program the Device: Compile your code and upload it to the microcontroller using the “Program” button in the IDE.
Debug as Needed: If your program doesn’t work as expected, set breakpoints and use the debug features to analyze what’s going wrong.
Advantages of Using the PICkit-3
Affordability: The PICkit-3 is a cost-effective tool for students and professionals, especially compared to industrial-grade programmers.
Ease of Use: Simple plug-and-play functionality with intuitive debugging features.
Multi-Device Support: The ability to program and debug a wide range of microcontrollers makes it versatile and future-proof.
Educational Value: A great tool for learning microcontroller programming and debugging at both basic and advanced levels.
Potential Limitations
While the PICkit-3 is a great tool, it's important to be aware of a few limitations:
Speed: Programming speed is sufficient for development purposes but may not be ideal for high-volume production environments.
Compatibility: Some newer or more advanced PIC devices may not be supported, or might require firmware updates.
Power Limitations: The USB port can only supply a limited amount of current. If your circuit requires more power, you may need to provide an external power source.
Physical Care: Frequent insertion and removal of ICs in the sockets can wear them out over time, so care should be taken to avoid damaging pins or sockets.
Tips for Beginners
Always double-check microcontroller orientation before inserting it into the socket.
Keep the firmware of the PICkit-3 updated for maximum compatibility.
Use a stable USB cable and port to avoid random disconnections.
Pay attention to the status LEDs for quick diagnostics.
Conclusion
The PICkit-3 Programmer Development Board or Debugger is a reliable and budget-friendly tool that plays a vital role in the development of embedded systems using PIC microcontrollers. With support for multiple device types, real-time debugging, and a simple setup, it’s no surprise that it has become a go-to solution for electronics developers worldwide.
If you're starting your journey into the world of embedded systems, or you're already working on PIC-based projects, adding the PICkit-3 to your toolkit will save you time, reduce frustration, and help you build better, smarter systems.
About the Creator
Keep reading
More stories from Alyssa Mammano and writers in Journal and other communities.
Off-Site & Off-Page SEO Services at Digigur: Boost Your Website Authority
In today’s digital-first business environment, having a beautifully designed and content-rich website is only half the battle. To truly stand out in search engine rankings and attract high-quality organic traffic, you must focus on off-site or off-page SEO—the often overlooked yet crucial part of your overall SEO strategy.
By Alyssa Mammano6 months ago in Journal
The goals I did not achieve
Every writing goal I made for the year is a wash. It has been this way for a while, but I think it's important to be open about my failures and the reality of how life can get in the way. This is especially true considering the several times I have posted on Vocal about my writing goals, how I was changing my approach, and where I was hoping to be for the upcoming year. I will probably do that again in a couple months, but for now, it is time to acknowledge where I am today.
By Kay Husnick25 days ago in Journal


Comments
There are no comments for this story
Be the first to respond and start the conversation.