
Top Flexo Prepress Techniques for Flexible Packaging
Master flexo prepress for flexible packaging! Know how prepress services handle typography, color, trapping, gradients, and barcode for quality prints.

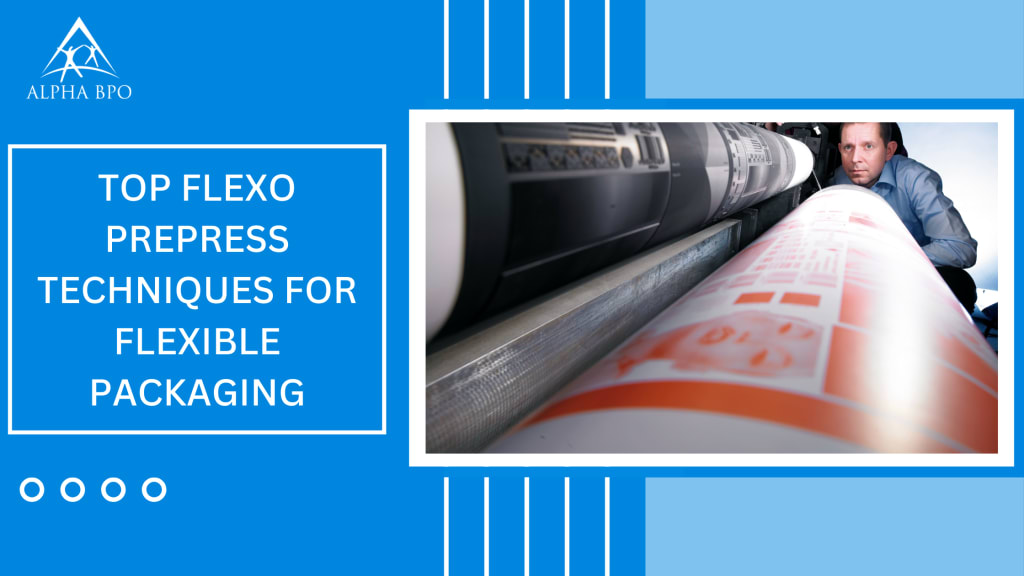
Flexographic printing is a leader in the packaging industry, known for its speed and ability to handle large volumes efficiently. Such a prepress printing method is very versatile as well as capable of printing on various materials like plastic, metal, and film which makes it ideal for everything from packaging to labels. While creative designs are exciting, they also have challenges like increased costs and delays if not appropriately managed.
Professionals in prepress services ensure that designs are optimized for printing, allowing a smooth transition from the digital to the press. In this blog post, we'll share the top flexo prepress solutions that help guarantee high-quality prints and easy production runs for flexible packaging, setting you up for success.
1. Typography: Knowing Print Limits for Text
For flexo prepress printing, knowing how text appears can change based on the printing process. Positive text often becomes thicker, while reversed text may lose fine details and appear filled in. Because of this, choosing the right fonts is crucial. To assure precise reproduction, prepress graphic designers always check with their print provider to confirm the minimum type size and rule width.
The general rule is that positive text must have a stroke size of at least 0.007 inches (0.5 pt), while reverse text needs a minimum stroke size of 0.01 inches (0.7 pt). Using sizes below these recommendations can lead to poor-quality prints, so confirming specifications with the printer is essential.
2. Color: The Key to Vibrant and Accurate Prints
Color is an essential aspect of flexo prepress printing, and achieving accuracy across various materials and print runs is critical. Flexographic printing can produce bright and consistent colors, which is one of its greatest strengths. For effective packaging, minimizing using multiple colors in designs is best. It helps meet design goals and improves the overall look.
Using trapping and holdback techniques can lead to better integration of colors. If your design has important colors, communicate this with your prepress service provider to guarantee they are printed perfectly. Remember that printed colors may differ from what you see on your screen.
3. Trapping: Ensuring Seamless Color Blends
Trapping is an essential technique in printing that helps achieve accurate color overlaps. When two colors meet, it is recommended to "spread" the lighter color beneath the dominant one to create a smooth transition. A trap size of 0.02 inches is typically used to enhance this effect.
You will be able to ensure the highest quality prints by following detailed trapping instructions for both vector and raster images. Proper trapping reduces the risk of gaps or misalignments, making your printed materials look polished and professional.
4. Gradients: Getting the Fading Effect Just Right
Gradients are a favored design feature but need special care for the best print quality. Unless a fade to zero is specifically required, it's best to set all gradients to a 1%-100% dot. It ensures a consistent fade effect across your design. When preparing your final artwork, specify how you want the gradients and blends to print, including any overprints or special effects.
Ensure that all images are placed separately in your layout and avoid embedding artwork. For optimal results, all PSD files should be at a resolution of 300 dpi, and fonts are either converted to outlines or included in the package. Preparing the prepress files helps guarantee that your gradients look attractive in the final print.
5. Barcode Basics: Ensuring Clear Scans
Clarity comes first when we say barcodes. Printing barcodes in 100% black on a white background is best to ensure they scan easily. If you decide to use colored ink, you might face scanning issues. Always leave a "quiet zone," or no-print area, of at least 1/8 inch on both sides of the barcode.
Barcodes should be sized between 85% and 120% of their standard dimensions. Right orientation is crucial so make sure the bars align correctly for proper scanning. Following these guidelines will help ensure that your barcodes are legible and practical for product identification.
6. Dieline: The Blueprint for Your Package
The dieline is an essential part of packaging design, guiding where the package will be cut. Generally shown in a pink or reddish color as it marks the boundary between the main design and the bleed area. To avoid any unwanted edges on the final product, make sure your artwork extends beyond this dieline.
Set the dieline to a spot color and label it "Dieline" to keep everything organized. Such attention to detail helps ensure that all elements of your design are placed correctly and look great once printed.
7. Bleeds: Perfecting Your Design Edges
Bleeds are necessary for achieving a polished look in printed materials. They should extend at least 0.125 inches beyond the dieline to ensure no white edges after cutting. There's no need to overextend the bleed, as a small extension is usually sufficient for a clean finish.
Make sure your bleeds are set to at least 1/16 inch from the trim line and maintain a 2mm bleed around the artboard. This careful preparation guarantees that your final product will be consistent and visually appealing.
8. Proofs: Your Final Check Before Printing
Before your design goes to print, reviewing a digital proof is necessary. Prepress proof gives you a preview of how your artwork will look, allowing you to catch any issues early. You can save time and money by confirming that everything is correct before printing.
Such a step ensures that the final printed product matches your vision, providing peace of mind. Always take the time to review the proof carefully, as it's your last chance to make any necessary changes before production begins.
Mastering Prepress Services for Flexible Packaging Success!
These artwork prepress guidelines are important for designers working in flexible packaging. To get expert assistance, outsource prepress services to designers who can tackle the challenges that arise during the flexo prepress process.
Focusing on typography, perfecting trapping and gradient techniques, and handling bleeds accurately are all important steps in crafting packaging that is visually striking as well as practical. With these strategies, packaging prepress service providers will be well-equipped to create packaging that looks great and performs better.
About the Creator
Alpha BPO
Alpha BPO offers IT solutions, business solutions, and outsourcing solutions to small, medium and large scale enterprises and organizations in the USA.
Visit our website: https://www.alphabpo.com/


Comments
There are no comments for this story
Be the first to respond and start the conversation.