
How to Use Microscope Slides
Uses of Microscope Slides
Microscope slides are indispensable tools in the realm of scientific exploration, enabling researchers and students alike to delve into the intricate world of microscopic organisms and structures. Whether you're examining cells, tissues, or small organisms, understanding how to prepare and use microscope slides effectively is essential for accurate observation and analysis.
This guide provides a detailed walkthrough of the methods involved in preparing and using microscope slides, including dry mounts, wet mounts, staining techniques, and making permanent slides.
Microscope Slides
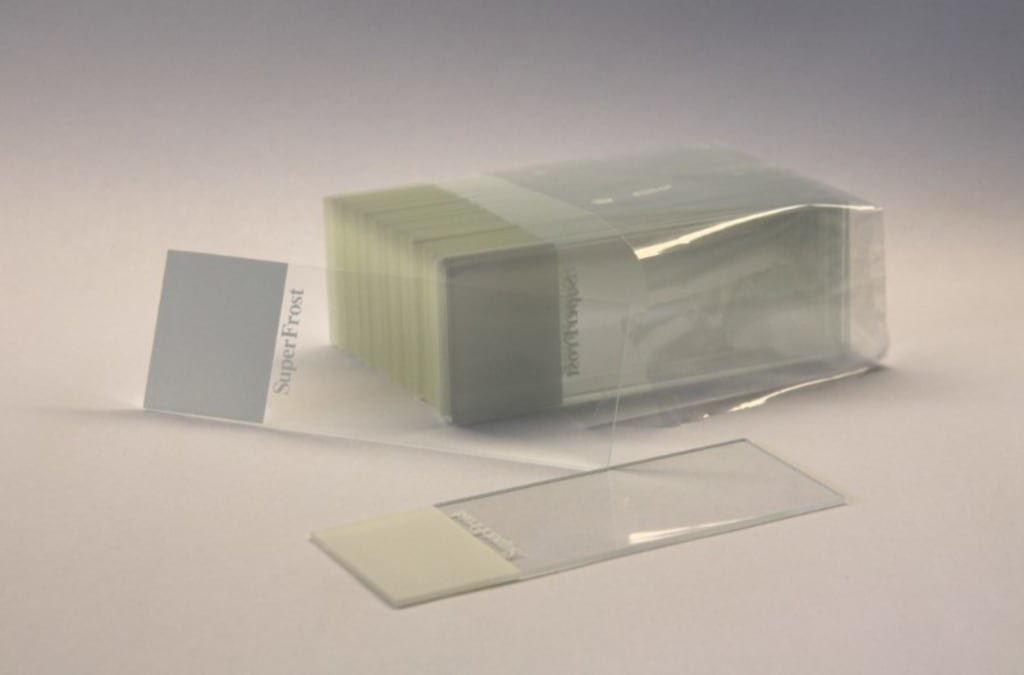
Microscope slides serve as platforms for mounting specimens that are then observed under a microscope. These slides are typically rectangular and made of clear glass or plastic, allowing light to pass through and illuminate the specimen. Proper preparation of microscope slides ensures clarity and enables detailed examination of biological samples.
1. Preparation of Your Sample
Before mounting a specimen on a microscope slide, it's crucial to select an appropriate sample and prepare it accordingly:
- Dry Mounts: Dry mounts are used for specimens that do not require hydration and are naturally thin and translucent. Here’s how to prepare a dry mount:
- Selecting a Slide: Begin by choosing a clean microscope slide free from smudges or debris. Inspect it against a light source to ensure clarity.
- Preparing the Specimen: If necessary, slice a thin, translucent section of the specimen using a razor blade. Suitable specimens for dry mounts include cork, insect parts, or thin plant materials like leaves.
- Mounting Process: Place the specimen carefully on the slide using forceps, ensuring it is positioned centrally. Cover the specimen with a thin, transparent coverslip to prevent it from shifting or falling off during observation.
- Wet Mounts: Wet mounts are used for specimens that require hydration to maintain their natural state. Follow these steps to prepare a wet mount:
- Adding Water: Place a small drop of water in the center of a clean microscope slide using an eyedropper. This water droplet keeps the specimen hydrated and prevents it from drying out.
- Preparing the Specimen: Collect a small section of the wet specimen using a razor blade or toothpick. Suitable specimens for wet mounts include living organisms like cheek cells or thin sections of plant stems.
- Mounting Process: Transfer the specimen into the water droplet on the slide, ensuring it is immersed in the liquid. Carefully lower a coverslip onto the specimen at a 45° angle to avoid trapping air bubbles.
2. Labeling and Organization
Proper labeling and organization of microscope slides are essential for easy identification and retrieval of specimens. Use a waterproof marker to label each slide with relevant information such as specimen type, date, and any other pertinent details. Organize slides in slide boxes or racks to protect them from damage and facilitate efficient retrieval during experiments or studies.
Cleaning and Maintenance
Maintaining clean microscope slides is crucial for achieving clear and accurate observations:
- Cleaning Slides: Before use, ensure slides and coverslips are clean and free from dust or debris. Clean slides with a gentle detergent and water solution, followed by rinsing with distilled water. Dry them using a lint-free cloth to prevent lint residue.
- Storage: Store cleaned slides in slide boxes or racks to protect them from dust and damage. Keep slides in a dry, cool environment to prevent mold or microbial growth
Making Permanent Slides
Permanent slides are prepared to preserve specimens for long-term study or reference. Follow these additional steps to create permanent slides:
- Using Mounting Medium: After preparing the specimen on a slide (dry or wet mount), replace the water with a mounting medium such as Canada balsam or synthetic resin.
- Sealing: Carefully seal the coverslip with the mounting medium to prevent air bubbles and preserve the specimen indefinitely.
- Drying: Allow the slide to dry thoroughly in a dust-free environment before storing it in a slide box for future use.
Using the Microscope
- Preparing the Microscope: Place the prepared slide on the microscope stage. Secure it in place using the stage clips or mechanical stage of the microscope.
- Adjusting the Illumination: Adjust the microscope’s light source (typically located under the stage) to provide sufficient illumination. Proper lighting enhances visibility and contrast of the specimen.
- Adjusting Magnification: Start with the lowest magnification objective lens (usually 4x or 10x) to locate and focus on the specimen. Use the coarse and fine focus knobs to bring the specimen into sharp focus.
- Increasing Magnification: Once focused, gradually increase the magnification by rotating the nosepiece to switch to higher-power objective lenses (e.g., 40x, 100x). Refocus using the fine focus knob after each magnification change for clear observation.
Observation and Analysis
- Move the Specimen: Use the mechanical stage controls (if available) to move the slide horizontally or vertically to explore different areas of the specimen.
- Note Details: Observe the specimen carefully, noting its structure, cellular details, and any anomalies or interesting features.
Staining (if applicable)
Enhance Contrast: If necessary for better visualization of cellular structures, apply a staining solution (e.g., iodine, methylene blue) carefully to the edge of the coverslip. Allow the stain to diffuse under the coverslip to enhance contrast.
Post-Use Care
After observation, it’s important to clean and store microscope slides properly:
Cleaning Slides: Clean used slides and coverslips with a gentle detergent and water solution. Dry them thoroughly before storing to prevent mold or bacterial growth.
Disposal: Properly dispose of biological specimens according to laboratory protocols and regulations to prevent contamination and ensure environmental safety.
Conclusion
Using microscope slides effectively requires attention to detail and adherence to proper techniques for specimen preparation, mounting, observation, and maintenance. By following these guidelines, researchers and students can enhance their understanding of microscopic structures and biological processes, contributing to advancements in various fields of science and medicine.
Microscope slides are not just tools; they are gateways to exploring the intricate world of the unseen, providing insights that shape our understanding of life at the cellular and molecular levels. Mastering the art of preparing and using microscope slides opens up endless possibilities for scientific discovery and exploration.
About the Creator
The goals I did not achieve
Every writing goal I made for the year is a wash. It has been this way for a while, but I think it's important to be open about my failures and the reality of how life can get in the way. This is especially true considering the several times I have posted on Vocal about my writing goals, how I was changing my approach, and where I was hoping to be for the upcoming year. I will probably do that again in a couple months, but for now, it is time to acknowledge where I am today.
By Kay Husnick24 days ago in Journal
Professional Expectations for Safeguarding PHI
Introduction Protecting patient information is essential. PHI includes sensitive health data. Trust depends on confidentiality. Privacy supports ethical healthcare delivery. Regulations require strict safeguards. Compliance is a professional obligation. Breaches cause serious harm. Financial penalties may follow. Reputational damage can occur. Patients expect protection. Professionals must remain vigilant. Every interaction carries responsibility. Digital records increase exposure risk. Paper records still matter. Strong safeguards reduce vulnerability. Consistent practices protect patients. PHI protection reflects professionalism. Accountability is not optional. Privacy failures damage credibility. Safeguarding PHI supports long-term organizational stability.
By Abdul Mueed3 days ago in Journal


Comments
There are no comments for this story
Be the first to respond and start the conversation.