
How to Flash B650 Pro Motherboard – Step-by-Step Guide
Learn how to flash B650 Pro motherboard safely and easily. This complete guide explains BIOS update methods, tools, and troubleshooting tips for MSI B650 Pro motherboards.

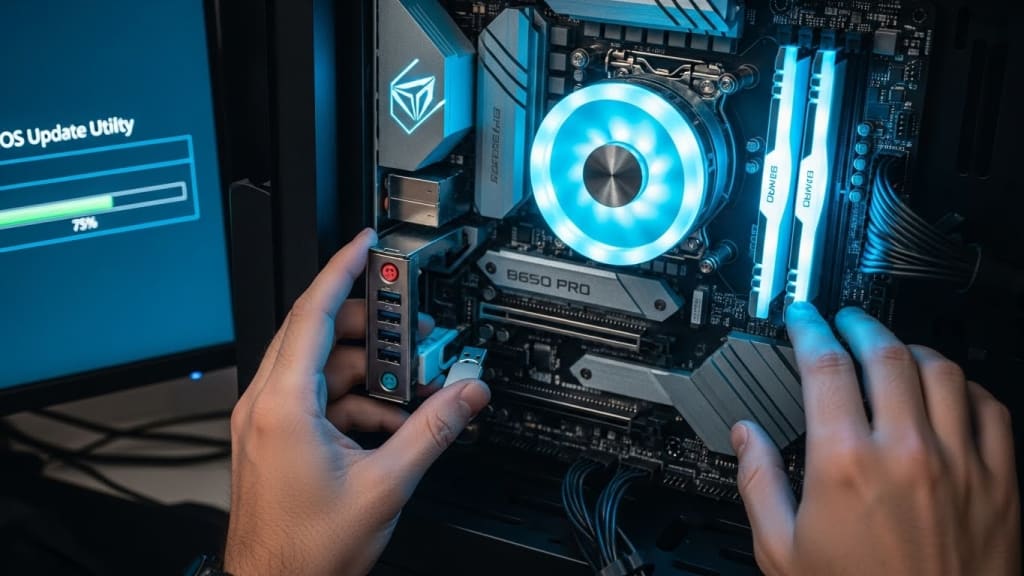
Quick Answer: To flash a B650 Pro motherboard, you need to download the latest BIOS file from MSI’s official website, prepare a USB drive formatted to FAT32, copy the BIOS file, and use either the Flash BIOS Button or the M-FLASH utility inside the BIOS menu.
How to flash B650 Pro motherboard is a question many PC builders ask when they want to update their BIOS. The BIOS is the basic software that helps your computer start and talk to its hardware. Updating it can fix bugs, improve performance, and add support for new CPUs. However, flashing a motherboard must be done carefully, because if something goes wrong, your PC may not boot.
In this guide, we will explain step-by-step how to flash the MSI B650 Pro motherboard, using both the Flash BIOS Button method and the M-FLASH utility. We will also cover preparation, troubleshooting, and FAQs to make sure you can follow along easily.
Why You Need to Flash the B650 Pro Motherboard
- CPU Support: New AMD Ryzen processors often require an updated BIOS.
- Bug Fixes: Manufacturers release BIOS updates to fix stability issues.
- Performance Improvements: Updates can improve memory compatibility and system speed.
- Security Patches: BIOS updates may include fixes for vulnerabilities.
Preparing to Flash B650 Pro Motherboard
Before you start, preparation is key.
- Download BIOS File: Go to the MSI official support page and search for your exact motherboard model (MSI B650 Pro WiFi). Download the latest BIOS version.
- Format USB Drive: Use FAT32 format. This is required for the motherboard to read the BIOS file.
- Rename File (if needed): Some MSI boards require the BIOS file to be renamed (often to MSI.ROM). Check instructions on MSI’s site.
- Backup Settings: Write down your BIOS settings, because flashing resets them.
Methods: How to Flash B650 Pro Motherboard
1. Flash BIOS Button Method
This method works even if you don’t have a CPU or RAM installed.
Steps:
- Plug in the 24-pin power cable and CPU power cable.
- Insert the USB drive with the BIOS file into the dedicated Flash BIOS USB port.
- Press the Flash BIOS Button on the motherboard.
- Wait until the LED stops blinking. This means the BIOS update is complete.
2. M-FLASH Utility Method
This method requires a CPU and RAM installed.
Steps:
- Boot into BIOS by pressing DEL during startup.
- Select M-FLASH from the BIOS menu.
- Choose the BIOS file from your USB drive.
- Confirm and start the update.
- The system will restart and update automatically.
Safety Tips While Flashing
- Do not power off your PC during the update.
- Use a reliable USB drive (avoid very old or damaged drives).
- Check compatibility before flashing.
- Clear CMOS if the system fails to boot after flashing.
Troubleshooting Common Issues
- PC won’t boot after update: Clear CMOS by removing the battery for 10 minutes.
- Flash BIOS Button not working: Ensure USB is FAT32 and BIOS file is correct.
- Update stuck: Try another USB port or drive.
📚 Extra Definitions & Concepts
- CMOS Reset: Clears saved BIOS settings to default.
- UEFI vs BIOS: UEFI is the modern version of BIOS with better graphics and features.
- Dual BIOS Protection: Some boards have two BIOS chips for recovery (B650 Pro uses single BIOS).
- Firmware: Software embedded into hardware, controlling its functions.
FAQ: How to Flash B650 Pro Motherboard
Q1: Can I flash without a CPU? Yes, if your motherboard has a Flash BIOS Button, you can flash without CPU or RAM.
Q2: How long does flashing take? Usually 5–10 minutes, depending on the method.
Q3: What happens if flashing fails? You may need to clear CMOS or retry with a different USB drive.
Q4: Do I need to flash every update? No, only update if you need new CPU support or fixes.
About the Creator
Perfect Tech Views
Welcome to Perfect Tech Views—your go-to source for clear, unbiased, and insightful tech knowledge. Whether you're a pro, a beginner, or just exploring gadgets, we've got you covered with expert guidance!
Keep reading
More stories from Perfect Tech Views and writers in Gamers and other communities.
What is the Motherboard on a Dell XPS 8930 – Full Specs & Guide
Quick Answer: The motherboard on a Dell XPS 8930 is based on the Intel Z370 chipset, supporting 8th-generation Intel Core processors, up to 64GB DDR4 memory, and multiple PCIe slots for expansion.
By Perfect Tech Views3 months ago in Gamers
Fallout 4 Will Drop You Into a Post-Apocalyptic World You Can’t Escape
Few post-apocalyptic games offer the depth, freedom, and immersive storytelling of Fallout 4. Developed by Bethesda Game Studios and available on Xbox, Fallout 4 combines role-playing, survival, and exploration into a vast world that constantly challenges players to adapt, strategize, and make meaningful choices.
By Lukáš Hrdlička4 days ago in Gamers
F1 23 Will Make You Feel Every Turn, Crash, and Victory Like a Real Driver
Few racing games capture the precision and intensity of modern motorsport like F1 23. Developed by Codemasters and published by EA Sports, the game brings the world of Formula 1 to life on Xbox with stunning realism and refined gameplay mechanics. It is not just about speed, but about control, strategy, and consistency.
By Lukáš Hrdlička4 days ago in Gamers


Comments