
When to Replace Your Shower Head?
Easy to replace your shower head
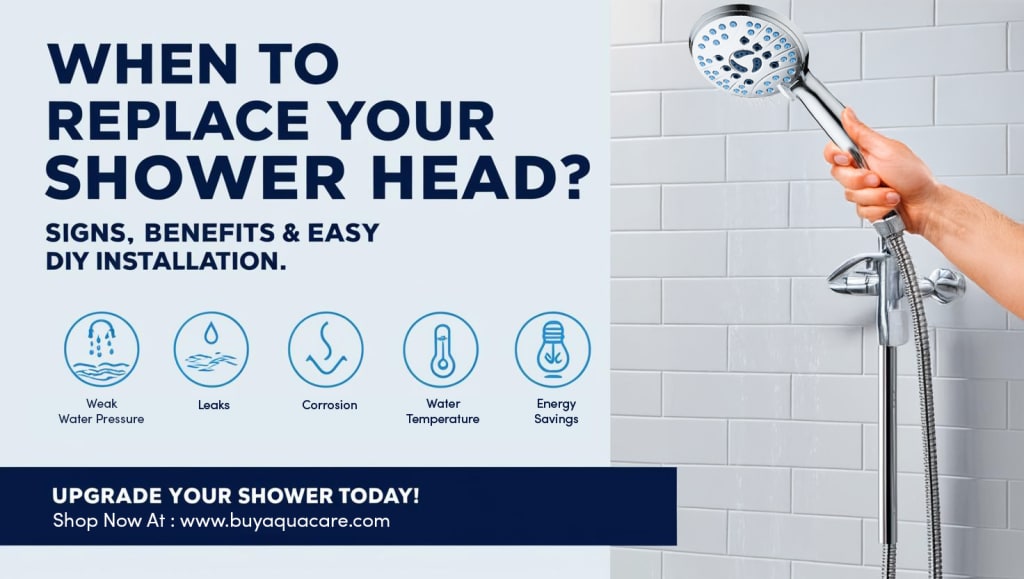
Your shower head is an essential part of your daily routine, but like any fixture, it doesn't last forever. Experts recommend replacing your shower head every 5 to 8 years, or sooner if you experience certain issues. Keeping your shower head in good condition ensures optimal water pressure, efficiency, and hygiene.
Signs That Your Shower Head Needs Replacing
If you notice any of the following issues, it may be time to replace your shower head:
Weak or inconsistent water pressure: If your shower no longer delivers a strong, steady stream, mineral buildup or wear and tear could be to blame.
Leaks: Water dripping from the shower head even when the faucet is turned off can indicate damage or worn-out seals.
Sudden changes in water temperature: If your water temperature fluctuates unexpectedly, the shower head may not be regulating water flow properly.
Strange noises: Unusual sounds like whistling or rattling could signal internal damage or clogging.
Corrosion and buildup: Over time, mineral deposits and rust can affect performance and water quality.
Why You Should Replace Your Shower Head
Upgrading your shower head comes with several benefits:
Water conservation: Modern shower heads are designed to be more water-efficient, reducing your overall water usage.
Energy savings: By using less hot water, energy-efficient shower heads can lower your utility bills.
Improved aesthetics and functionality: New models offer sleek designs, multiple spray settings, and better durability.
How to Replace Your Shower Head
The good news is that replacing a shower head is a simple DIY task. If you opt for an easy-to-install model like the AquaCare Shower Head, you’ll have everything you need in the installation kit, including a manual and plumber’s tape.

How to Install the AquaCare Shower Head
Tools & Materials Needed:
Adjustable wrench (optional)
Teflon tape (included in the kit)
Mesh washers (included)
Steel wool (if necessary)
Step-by-Step Installation Guide
Step 1: Remove the Old Shower Head
Turn the existing shower head counterclockwise to unscrew it from the shower arm. Remove any debris from the threads. If necessary, use steel wool to clean the threads.
Step 2: Prepare the Shower Arm
Wrap Teflon tape around the shower arm threads 2-3 times in a clockwise direction to create a watertight seal.
Step 3: Attach the Hose Connection
Insert a mesh washer inside the hose connector. Attach the hose to the shower arm by turning it clockwise until secure.
Step 4: Connect the Hose to the Shower Head
Wrap Teflon tape around the shower head’s threaded connection. Insert another mesh washer into the hose end and twist the hose onto the shower head securely.
Step 5: Attach the Shower Head to the Holder
Place the shower head into its designated holder or mount. Ensure it is properly tightened without over-tightening.
Step 6: Test for Leaks
Turn on the water and check for leaks at all connection points. If you notice any leaks, tighten the connections slightly or add another layer of Teflon tape.
Enjoy your AquaCare Shower Experience with improved water flow, efficiency, and style! 🚿✨
Replacing your shower head is an easy and cost-effective way to enhance your bathroom experience. Keep an eye out for signs of wear and upgrade when necessary to enjoy the benefits of modern shower technology.
Upgrade Your Shower Today! 🚿 Shop now at www.buyaquacare.com for the best in shower innovation!
About the Creator
A Failed Artist, A Disillusioned Poet, An Underpaid Game Show Host
I took my son and niece to Gori, a small town in Georgia where Joseph Stalin was born. They talked me into visiting the Stalin's Museum, the largest in the post-Soviet space. I had resisted going there because I just can't stand the monster and know enough about him, or so I thought.
By Lana V Lynx17 days ago in FYI


Comments
There are no comments for this story
Be the first to respond and start the conversation.