
Galaxy in a Jar with Kid-cut Label
Children LOVE Making These as Gifts

If you ask my grandchildren what their favorite family craft project was, they will unanimously shout, "Making a 'Galaxy in a Jar'!" After all, they got to use all the fun stuff—scissors, markers, paint, and glitter... They got to do all of these enjoyable things: cutting, printing, stretching, stuffing, mixing, pouring, sprinkling, gluing, tying... They also relished the association, because this was a group project all of our grandkids did together. You should have heard the conversation and compliments they gave each other, as they noticed the different color and design choices others were making. (I haven't heard them talk to each other that much in a long time!)

Just like every child, no Galaxy in a Jar is the same... You won't find two alike. What a great way for each child to express their own unique creativity! There are many different designs in the galaxy, so there is no right or wrong in how each child's design turns out. They are all beautiful in their own way—just like each precious, unique child is one-of-a-kind.
But the thing that all the grandchildren seemed to enjoy the most, was the thought of giving their completed craft away. Children have such loving, generous spirits; they wish they could give you the whole world... Well, how about an entire galaxy? As one of my older grandchildren put it, "It seems like everything I can make or afford to buy as a gift is always so lame... But, this is so cool!"
Now, let the fun begin! Don't worry; first I've included a how-to video to give you the general idea. Below this video, there are step-by-step instructions so you can see how simple this craft project actually is to do in just seven simple steps. We had a whole lot of fun doing this as a family, and I'm sure you will, too. NOTE: You don't have to watch this entire video... just enough to get the gist:
STEP ONE: Show several interesting images of the galaxy off the internet (in different designs and featuring different colors) to inspire them with some ideas and get their imaginations rolling. Here's just one I used, for instance:

STEP TWO: NOTE: The reason to have the child make the gift labels first, is because deciding who they want to give their Galaxy in a Jar to will motivate them while they're making it, as they dream of how happy their gift will make their chosen loved one! Option 1 (for smaller children—Draw shapes free-hand for the children to cut out OR use the largest toy blocks you have of different shapes for the child (or adult) to trace a design (in the shape of the child's choice) on construction paper (in the color of their choice). Cut the gift labels (using safety scissors), then print a message on them (with the marker color of their choice), such as: "To Mom and Dad; Love, Name of Child". Set labels aside for later application. NOTE: Grownups should assist little ones as-needed.

Option 2 (for older children and adults)—If you prefer, watch this clever instructional video on how to make stars out of the construction paper, using just one cut; for those who wish to make a star gift label, to go along with the galaxy theme:

STEP THREE: Have child stretch out a few cotton balls, then drop them into an opened Mason (canning) jar. Use a spoon to tamp down, as-needed.

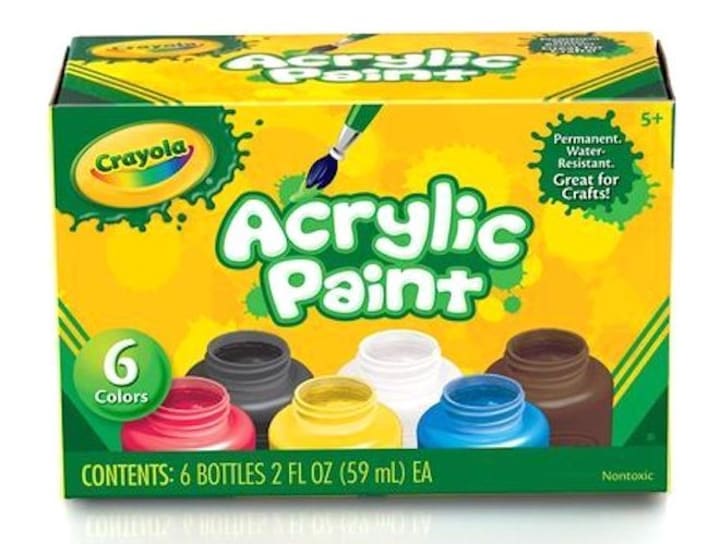
STEP FOUR: As shown in the first instructional video (up above), have the child stir some acrylic paints (in the color of the child's choice) into four different cups of water. Choose a different color for each cup of water. NOTE: If they want the color to be darker, they should stir in some more paint.
Then, carefully pour a little bit of the paint-water into the canning jar, over the first set of stretched cotton balls. Finally, sprinkle with some glitter in the glitter color of the child's choice. (I suggest three or four colors of glitter to choose from; perhaps gold, silver, red or blue.)

STEP FIVE: Keep repeating this process to make more layers; first stretching out and adding some more cotton balls, then using different colors of paint-water and glitter, as desired for each layer. When jar is full, attach and tighten lid. NOTE: Keep encouraging the children that it's wonderful if each jar looks different; because all the parts of our galaxy look different, too!

STEP SIX: Glue their gift label (that they previously set aside) onto jar, using a glue stick. They should be sure to smooth it out onto the jar. NOTE: Adult should help smaller children position the label correctly onto the jar and make sure they glue the side with no writing on it.

STEP SEVEN: Child should choose the ribbon of their choice to make a bow around the lid. NOTE: I suggest a selection of lace and burlap ribbon spools for adults, and a selection of different bright-colored ribbon spools to choose from for children, if possible. Child should cut the ribbon, after adult helps them determine the length needed to make bow. Finally, the ribbon should be tied around the lid of the jar. Voila! Their gift of a Galaxy in a Jar is now ready for them to give away—and what a special gift it is! NOTE: Some children may want to make another Galaxy in a Jar for themselves, as well as one to give away.

Wasn't that a lot of fun? What a special memory both you and the children will treasure, of the day they made an amazing Galaxy in a Jar! (When we did this family craft, the grownups were supposed to supervise and assist; but some of us couldn't resist also joining in on the fun and making our own Galaxy in a Jar.) May you have many more precious memories of family craft projects before your children are grown up and gone. Perhaps one day, they will continue this enjoyable tradition with their own children and, like me, you will get to enjoy helping your grandchildren to also make a Galaxy in a Jar.

SUPPLIES: To make the above Galaxy in a Jar, you will need the following items: -Some different images of the galaxy off the internet to give the children some ideas... I got mine from searching Hubbel Telescope images, -Old newspapers to cover table, -Mason (canning) clear jars with lids (quart or pint-sized), -Scissors (safety scissors for the younger ones), -Construction paper (in a variety of colors), -Pencils (sharpened), -Blocks (toy ones in different shapes) to trace around, -Markers (in a variety of colors), -Cotton balls, -Spoons, -Acrylic Paints in a variety of colors, -Water, -Short mixing glasses/cups—four per child, -Glitter in several colors, -Glue sticks, -Spools of ribbons in several designs/colors, -and Wet washcloths for cleanup. (For smaller children, don't forget their crafting aprons to protect their clothes from the paint, glitter, and glue.)
FINAL NOTE: Preparing in advance with wet washcloths handy will ensure any possible spill is no big deal. IMPORTANT: It won't ruin the fun for the children when they see the adult is still being cheerful and not losing their temper. You want this memory to be a pleasant one for the child—and for you! Isn't that the most important goal for doing a craft project with your children?
About the Creator
Karla Bowen Herman
I've always wanted to be an author, ever since I was a little girl. Time has a way of flying by when you're raising a family. But, I've discovered you're never too old to start! May something I write someday, lift someone's heart.
Keep reading
More stories from Karla Bowen Herman and writers in Families and other communities.
The Chaperones
“They were made for each other,” John said, as he looked in the bedroom mirror to straighten his tie. “It’s like they’re both out of a former century; neither one of them has a clue how to romance someone in modern times. They’re both so nerdy and hopeless.”
By Karla Bowen Herman5 years ago in Families
healthy and unhealthy relationships The Year I Stopped Telling the Truth About My Marriage
There is a specific silence that happens in a car when you realize you're editing your own thoughts before they become words. I remember it precisely. We were driving somewhere,
By Understandshe.com5 days ago in Families
The Future of Family Living: Building Tech That Solves Everyday Challenges
Family life is evolving faster than ever as modern households juggle demanding schedules, remote work, digital learning, and an increasing number of daily responsibilities. As these shifts accelerate, the future of family living will depend on technology designed to simplify routines, reduce stress, and create smoother, more connected home environments.
By Adam Adler7 days ago in Families


Comments
There are no comments for this story
Be the first to respond and start the conversation.