
How I Created the Simplest Chatbot with a Sleek Interface Using Python
It's Simpler Than You Imagine!

Hey everyone!
Recently, I decided to take a leap and build something I’ve always been curious about: a chatbot. You know, those bots that try to converse like humans (or at least give it a shot).
I wanted to see if I could create something simple yet functional.
Why Did I Want to Build a Chatbot?
Well, I was curious if I could create a chatbot without making it a huge headache. I’m pretty comfortable with coding, but when it comes to chatbots, that’s a whole different world. I thought, “Why not give it a try and see where it goes?”
Instead of diving into complex documentation, I kept things simple by choosing Python, OpenAI, and Streamlit for the user interface. Simple, right? Here's how it all turned out.
The Two Simple Steps
Step 1: Making OpenAI Talk
The first thing I needed was for OpenAI’s GPT to respond to whatever I typed. So, I set up the API. OpenAI gives you an API key (which isn’t free), and you just need to plug it into your code.
Here’s the code I put together to make OpenAI work:
import openai
OPENAI_API_KEY = 'YOUR_OPENAI_API_KEY'
def get_openai_response(prompt):
openai.api_key = OPENAI_API_KEY
response = openai.ChatCompletion.create(
model="text-davinci-003",
messages=[{"role": "user", "content": prompt}],
max_tokens=150,
n=1,
stop=None,
temperature=0.7
)
return response.choices[0].message["content"].strip()
I did hit a small roadblock at first (classic API mishap). I forgot to fill in the API key and wondered why the bot wasn’t responding. After fixing that little mistake, everything started working fine.
The get_openai_response function sends the prompt to OpenAI’s “text-davinci-003” model and gets back the response.
The temperature setting is how creative or casual the chatbot gets. I left it at 0.7 to make the bot conversational but not too wild (though that could be fun to try later).
Step 2: Building the Chat Interface with Streamlit
Once I had OpenAI chatting back, I needed a way for users to interact with the bot. Enter Streamlit.
I used Streamlit to create a simple chat window where you can type your messages and get responses from the bot. Here’s the code for the interface:
import streamlit as st
from ai_setup import get_openai_response
st.title("ChatBot")
# For message history
if "messages" not in st.session_state:
st.session_state.messages = []
# Display messages
for message in st.session_state.messages:
with st.chat_message(message["role"]):
st.markdown(message["content"])
# User input
if prompt := st.chat_input("What is up?"):
st.chat_message("user").markdown(prompt)
st.session_state.messages.append({"role": "user", "content": prompt})
# Get the response from OpenAI’s GPT
response = get_openai_response(prompt)
with st.chat_message("assistant"):
st.markdown(response)
st.session_state.messages.append({"role": "assistant", "content": response})
Let me break this down simply:
The response variable calls the get_openai_response function, which fetches the response from OpenAI’s GPT model. The rest of the code is just used to display the chat history and the messages in the interface.
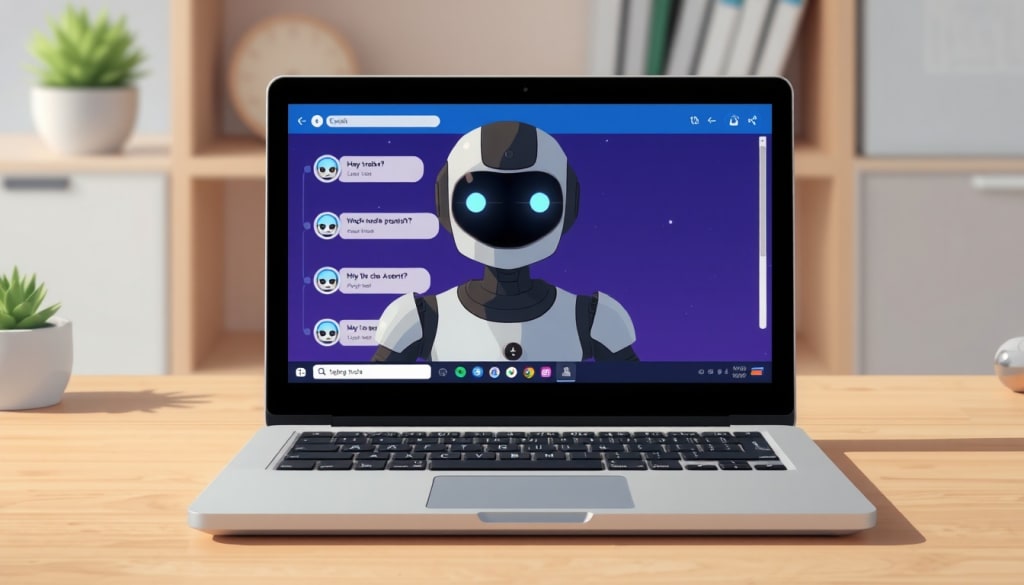
The Fun Part: Testing It Out
Once everything was set up, I ran the app with Streamlit. If you’ve never used Streamlit before, it’s super easy. You just run the script from the terminal, and Streamlit will automatically generate a web app for you.
To start it, simply type this in the terminal:
streamlit run your_script.py
When it worked, I felt like a wizard. The chatbot was finally responding!
It was surprisingly polite and pretty sharp (thanks to GPT). Though, sometimes, the bot would give overly detailed answers. But hey, that's just how chatbots are — they’re great, but they’re not perfect.
Final Thoughts
I know what you're thinking: “This chatbot is really simple.”
And you’re right! But that’s the point. I intentionally kept it as basic as possible because I wanted anyone, even a beginner, to be able to build it without getting overwhelmed.
A lot of times, chatbot tutorials are full of confusing AI terms and advanced concepts that can make you feel like it's out of your reach. But not this one. It’s just Python, Streamlit, and a few lines of code to interact with OpenAI.
And the best part is that you can keep improving it.
Once you have this simple chatbot working, you can start adding cool features. Want it to remember previous conversations? Go for it! The key is to start small. Once you're comfortable, you can keep expanding and making it as advanced as you like.
About the Creator
Keep reading
More stories from writers in Education and other communities.
Built to Last: How Smart Leaders Design Businesses for Long-Term Sustainability
This understanding also encourages leaders to examine the relationship between profitability, responsibility, and long-term value creation. As they study emerging trends, they identify risks linked to resource depletion, regulatory changes, and shifting societal priorities. This recognition prompts them to act early and make decisions that balance economic performance with sustainable impact. As leaders adapt their vision to reflect these realities, they position their companies for steady growth in an unpredictable world.
By Alexander Schifter4 days ago in Education
How Modern Eyewear Helps People Maintain Healthy Vision in Everyday Life
Eyewear has become far more than a simple tool to correct eyesight. Today, it represents a blend of health, comfort, technology, and personal expression. From classic spectacles to advanced contact lenses and protective vision solutions, eyewear plays a central role in how people see the world and how the world sees them. As lifestyles evolve and visual demands increase, eyewear continues to adapt, offering smarter designs, improved materials, and enhanced user experiences.
By Bobby Yadav5 days ago in Education
Book Review: Atmosphere by Taylor Jenkins Reid
I flipped the book over in my hands in the centre of the small airport book shop. Although I had heard promising reviews of Atmosphere by Taylor Jenkins Reid, I hesitated. The synopsis didn’t compel me - I wasn’t much of a space girly. In high school it made me cringe when my peers would talk about the stars.
By sleepy drafts3 days ago in BookClub


Comments
There are no comments for this story
Be the first to respond and start the conversation.