
Step-by-Step Guide to Creating a Mobile App Prototype
Essential Techniques and Tools for Building an Effective and User-Friendly Prototype

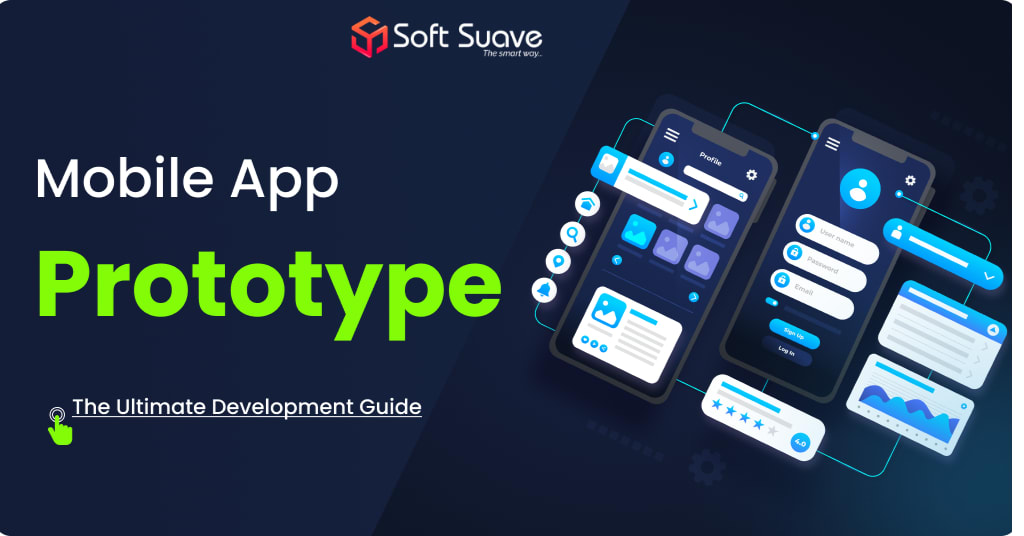
Creating a mobile app prototype is a crucial step in app development. It helps in visualizing the design and functionality before the actual development begins. This guide will take you through the process of creating a mobile app prototype, using various app prototyping tools, and understanding the basics of mobile app design.
What is a Mobile App Prototype?
A mobile app prototype is a preliminary version of a mobile application. It shows the app's layout, structure, and navigation without involving any actual coding. Prototyping is essential as it allows you to test and refine your ideas before moving to the development phase.
Why is Mobile App Prototyping Important?
Visualize Ideas: Prototyping helps in turning your ideas into a visual format. It gives a clear picture of how the app will look and function.
Feedback: You can gather feedback from users and stakeholders early in the process. This helps in making necessary changes before development.
Cost-Effective: Identifying issues in the prototyping stage is cheaper than fixing them after development has started.
Improves Communication: Prototypes make it easier to communicate your vision to designers, developers, and investors.
Step-by-Step Guide to Creating a Mobile App Prototype
Step 1: Define the Purpose and Goals
Before you start prototyping, define the purpose and goals of your app. What problem does it solve? Who is your target audience? What are the key features? Clear answers to these questions will guide you throughout the prototyping process.
Step 2: Conduct Market Research
Research similar apps in the market. Analyze their strengths and weaknesses. This will give you insights into what works and what doesn’t. Understanding your competitors helps in creating a unique and effective app.
Step 3: Create User Personas
User personas are fictional characters representing your target audience. They help in understanding the needs, behaviors, and goals of your users. Create detailed personas to guide your design decisions.
Step 4: Sketch Your Ideas
Start with rough sketches of your app. Use pen and paper or digital tools. Focus on the layout and structure. Sketching helps in quickly visualizing different ideas and concepts.
Step 5: Wireframing
Wireframing is the process of creating a blueprint of your app. It involves designing the layout and navigation flow without any design elements. Use wireframing tools like Balsamiq, Sketch, or Figma. Wireframes provide a clear structure of your app’s screens and their interactions.
Step 6: Design the User Interface
After wireframing, move on to designing the user interface (UI). Focus on the look and feel of your app. Choose a color scheme, typography, and design elements that align with your brand. Tools like Adobe XD, Sketch, and Figma are popular for UI design.
Step 7: Create Interactive Prototypes
Use app prototyping tools to create interactive prototypes. These prototypes simulate the user experience by allowing interactions like clicking, swiping, and navigating through screens. Popular tools include InVision, Marvel, and Axure. Interactive prototypes provide a realistic view of the app’s functionality.
Step 8: Test and Gather Feedback
Test your prototype with real users. Observe their interactions and gather feedback. Look for usability issues and areas of improvement. User testing is crucial for identifying problems that might not be obvious during design.
Step 9: Refine and Iterate
Based on the feedback, make necessary changes to your prototype. Prototyping is an iterative process. You may need to create multiple versions before finalizing the design. Continuously refine your prototype until you achieve the desired user experience.
Step 10: Prepare for Development
Once your prototype is finalized, prepare for the development phase. Create detailed documentation and handoff materials for your developers. This includes design specifications, user flows, and any other relevant information.
Best Tools to Create Mobile App Prototypes
Sketch: A popular tool for UI design and wireframing.
Figma: A collaborative design tool for creating prototypes.
Adobe XD: A versatile tool for UI/UX design and prototyping.
InVision: Ideal for creating interactive prototypes.
Marvel: A user-friendly tool for wireframing and prototyping.
Axure: Advanced prototyping tool for complex projects.
Mobile App Wireframing Techniques
Low-Fidelity Wireframes: Simple sketches focusing on layout and structure.
High-Fidelity Wireframes: Detailed wireframes including design elements.
User Flows: Diagrams showing the path users take through the app.
User Interface Design for Mobile Apps
Consistency: Maintain a consistent design language throughout the app.
Simplicity: Keep the interface clean and easy to navigate.
Accessibility: Ensure the app is accessible to all users, including those with disabilities.
Feedback: Provide visual feedback for user actions, such as button presses and form submissions.
Conclusion
Creating a mobile app prototype is a vital step in the app development process. It helps in visualizing the app, gathering feedback, and refining the design before development. By following this step-by-step guide, you can create an effective and user-friendly mobile app prototype. Use the best tools and techniques to ensure your prototype meets the needs of your users and stands out in the market. For more in-depth insights and tips on creating mobile app prototypes, read more on Soft Suave blog.
About the Creator
NicolaBelliardi
Nicola Belliardi is the head of the business development team at Soft Suave, a leading mobile app development company that makes app ideas into reality by providing unique mobile app development across iOS, Android & Cross platforms.
Keep reading
More stories from NicolaBelliardi and writers in Chapters and other communities.
The Ultimate Guide to Choosing the Right iOS App Development Company
So, you have a fantastic idea for an iPhone or iPad app. It could be the next revolutionary game, a productivity booster, or a social media game-changer. But bringing your app idea to life requires the expertise of a skilled iOS app development company. With so many companies offering iOS development services, choosing the right one can feel overwhelming. Don't worry, this guide will equip you with the knowledge to make an informed decision.
By NicolaBelliardi2 years ago in Journal
Manchineel - OBE
That evening, when I enter my room, Dr Cho is already there. She jumps slightly as she turns and sees me. “I’ve just bought you some fresh water.” She pours a glass, then places the carafe by the bed. She covers her initial shock well, but I’m left with a niggling feeling like I’m 15 and she’s been reading my diary.
By N J Delmas3 days ago in Chapters


Comments
There are no comments for this story
Be the first to respond and start the conversation.