
How To Make Paper Toy Bee Step By Step
Learn How To Make Paper Toy Bee Step By Step | Moving Paper Crafts Bee | Easy And Simple Paper Toys


Are you looking for a fun and creative craft project to engage your kids or simply want to indulge in some relaxing DIY time yourself? Look no further! Making a paper toy bee is an excellent choice. This step-by-step guide will walk you through the process of creating an adorable and buzzing paper bee that will bring joy to all who encounter it. With just a few simple materials and some patience, you'll have a delightful paper toy bee buzzing in no time!
Materials Needed
- Before we dive into the tutorial, gather these basic materials:
- Yellow construction paper
- Black construction paper
- White construction paper
- Scissors
- Pencil
- Glue stick or craft glue
- Black marker or pen
- Ruler
Optional: Googly eyes or small white paper circles (for the bee's eyes)
Step 1: Prepare the Paper Strips
To start, take the yellow construction paper and cut it into strips of equal width. The size of the strips will determine the size of your bee, so choose according to your preference. For reference, you'll need at least three strips measuring approximately 1 inch wide and 8 inches long.
Step 2: Folding the Strips
Now, take one of the yellow paper strips and begin folding it back and forth, accordion-style. Keep the folds neat and even, maintaining the same width for the entire strip. Repeat the process for the remaining strips as well.
Step 3: Creating the Bee's Body
Once you have all your folded strips, take two or three of them and glue them together at one end. These will form the body of your paper bee. Ensure that the folds are aligned, so the body remains uniform and sturdy.
Step 4: Forming the Bee's Wings
For the wings, take the remaining folded strip and cut it in half. Glue each half on either side of the body, making sure they are evenly positioned. These wings will add a touch of realism to your paper bee and make it look like it's ready to take flight!
Step 5: Making the Bee's Head
Now it's time to create the bee's head. Take the black construction paper and cut a small circle. This will serve as the head. Use a black marker or pen to draw the bee's eyes on the head. If you have googly eyes or white paper circles, glue them onto the head for a more animated look.
Step 6: Assembling the Bee
To complete the bee's body, glue the head onto the front end of the folded strips. Make sure it's secure and sits nicely on top of the body. Your paper bee is starting to take shape!
Step 7: Adding the Bee's Stripes
A bee isn't complete without its iconic stripes. Cut thin strips of black construction paper and glue them across the body of the bee. Ensure they are evenly spaced and straight, just like the real bee's stripes.
Step 8: Crafting the Bee's Antennae
For the bee's antennae, take a thin strip of black construction paper and curl it at both ends using a pencil. Glue the curled ends onto the bee's head, right above its eyes.
Step 9: Bringing Your Bee to Life
Now, let's add some personality to your paper toy bee! Cut a tiny white oval shape and glue it underneath the bee's head to create its mouth. You can also draw a smile or a cute expression with the black marker.
Step 10: Display and Share
Congratulations! You have successfully crafted your paper toy bee. Give it some time to dry and then display it proudly. Place it on your desk, hang it from the ceiling, or share it with friends and family. They'll be impressed by your crafting skills and love the buzzing addition to their spaces!
Conclusion
Creating a paper toy bee is an enjoyable and rewarding experience, perfect for both kids and adults alike. By following this step-by-step guide, you've learned how to make an adorable bee that's bound to put a smile on anyone's face. Feel free to experiment with different colors, sizes, and designs to personalize your bee further.
Now, gather your materials, set aside some creative time, and let your imagination fly as you craft your own buzzing paper toy bee! Happy crafting!
About the Creator
Keep reading
More stories from MD Hashibur Rahaman and writers in Blush and other communities.
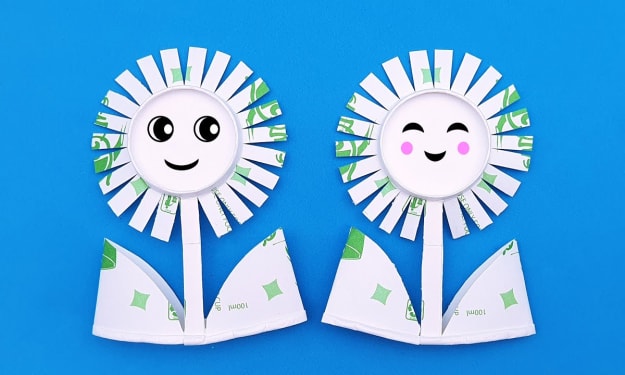
DIY How To Make Paper Cup Flowers
Do you want to add a touch of natural beauty to your home without the hassle of real flowers? Look no further than DIY paper cup flowers! This crafty and eco-friendly project allows you to create stunning, everlasting floral arrangements using simple materials. In this step-by-step guide, we'll walk you through various techniques to make exquisite paper cup flowers that will brighten up any space and last for years to come.
By MD Hashibur Rahaman3 years ago in Blush
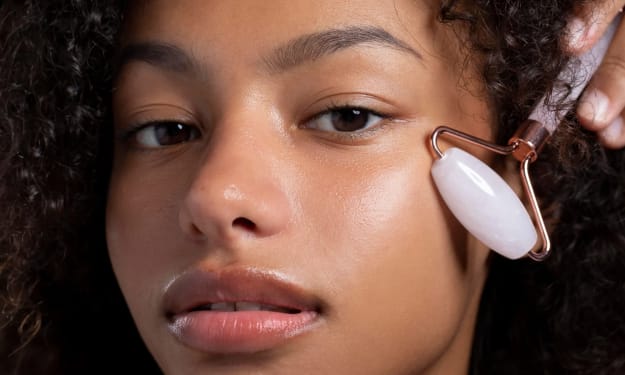
Korean Skincare Secrets: The Best Serums to Repair and Restore your Glow
You know that moment when your skin just looks tired, dull, uneven or not quite as radiant as it used to be? Trust me, we’ve all been there. Life happens, and our skin feels it in more ways than none. That effortless glow starts to fade, and suddenly your usual routine just isn’t doing enough.
By Good health to everyoneabout 9 hours ago in Blush


Comments
There are no comments for this story
Be the first to respond and start the conversation.