
Contour Like a Pro: Sculpt Your Face in Minutes
Unlock the secrets to quick, natural contouring with pro-level tips, even on busy mornings

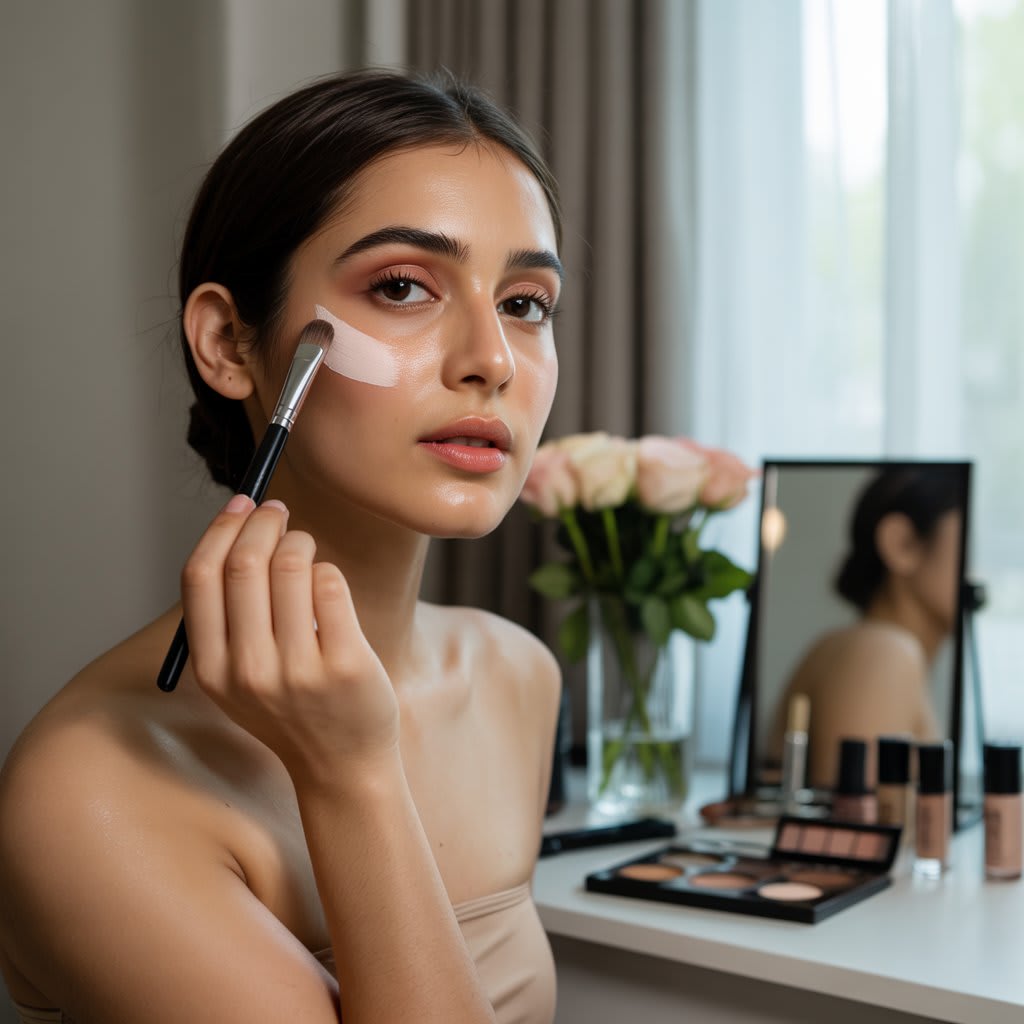
Contouring has long been seen as a red carpet trick reserved for celebrities, makeup artists, and professional models. But the truth is, anyone can learn to contour—and you don’t need an hour or a glam squad to do it. With the right technique, tools, and products, you can sculpt your cheekbones, define your jawline, and enhance your features in just a few minutes. Contouring isn’t about changing your face—it’s about bringing dimension and structure where flat lighting or foundation may leave you looking washed out. Done right, it’s subtle and powerful at the same time. So whether you're heading to work, a coffee date, or even a quick selfie session, here's how to contour like a pro—even on your busiest days.
Step 1: Understand Your Face Shape
Before picking up your contour stick or brush, take a minute to identify your face shape. Are you round, oval, square, heart-shaped, or diamond? Knowing this helps you place shadows and highlights where they naturally enhance your structure. For example, round faces benefit from contouring under the cheekbones and along the temples to create angles. Square faces can soften the jawline, while heart-shaped faces can balance the width of the forehead with the narrowness of the chin.
Step 2: Choose the Right Products
Cream or powder? Matte or satin? Stick or palette? Your choice depends on your skin type and how much control you want. Creams are perfect for beginners—they blend easily and look more natural. Powders are great for oily skin and precise application. Choose a contour shade that’s about two shades darker than your skin tone. Avoid anything too warm or too gray—it should mimic a natural shadow, not a stripe of bronzer. For highlighting, pick a shade that’s one or two tones lighter than your skin, with a satin—not glitter—finish.
Step 3: Map Out Your Contour Zones
Start by sucking in your cheeks and finding the natural hollow below your cheekbones. This is where your contour should go. Then lightly draw or dust contour along the perimeter of your forehead (close to the hairline), under your jawline, and on the sides of your nose if desired. Don’t forget to contour under the chin if you want to slim or define your neck area. For highlighter, apply it to the tops of the cheekbones, center of the forehead, bridge of the nose, cupid’s bow, and chin.
Step 4: Blend Like Your Life Depends on It
Blending is the difference between a flawless sculpt and a muddy mess. Use a damp beauty sponge, fluffy brush, or dense kabuki brush depending on your product. Always blend upward to lift the face and create a natural finish. Avoid dragging your contour down—it can make your face appear droopy. Use circular motions and take your time, especially around the cheekbones and jawline. For cream products, tapping rather than rubbing will prevent moving your foundation underneath.
Step 5: Set It for All-Day Sculpting
Once everything is blended, lock it in with a translucent setting powder or a contour powder in the same areas to intensify the look. You can also layer a powder contour lightly over cream for longer wear and better definition. Use a setting spray to melt everything together and remove any powdery texture. This also helps your makeup last through humidity, sweat, or a long day at work.
Pro Tips for Quick and Natural Results
1. Use a foundation stick a few shades darker instead of buying a separate contour product.
2. Blend with your fingers when in a rush—body warmth helps creams melt into skin naturally.
3. Apply blush right above your contour to blend the two and avoid harsh lines.
4. If you accidentally go too heavy, use a bit of foundation or concealer to tone it down—don’t wipe it off.
5. For extra lift, extend your contour slightly upward at a diagonal angle rather than following your natural bone structure downwards.
Best Tools for Effortless Contouring
Beauty Sponge: Perfect for seamless blending, especially with cream formulas
Angled Brush: Great for cheekbones and jawline
Small Precision Brush: Ideal for nose contour or detailed areas
Contour Stick or Wand: Easy-to-use, travel-friendly, and buildable
Duo-ended Contour Pen: One side for shadow, one side for highlight—a quick fix in your makeup bag
When to Contour and When to Skip It
Contouring isn’t necessary every day. If you’re going for a bare-skin or dewy-fresh look, skip the sculpting and focus on blush and highlight. But if you want extra definition for events, selfies, videos, or professional settings, contouring can enhance your natural features subtly and powerfully. It’s about intention, not pressure.
Why Contouring Still Matters in 2025
In a world filled with beauty filters, real-life contouring remains a valuable technique. It brings shape to flat lighting, adds polish to your look, and helps you understand your unique face better. Plus, learning how to contour gives you control over your beauty—not to hide, but to celebrate what’s already there. With just five minutes, the right tools, and a gentle touch, you can enhance your natural shape and glow like the pro you are.
Note:
This article was created with the assistance of AI (ChatGPT), then manually edited for originality, accuracy, and alignment with Vocal Media’s guidelines.
✨Have you tried contouring yet? What’s your biggest challenge—or your favorite trick—for sculpting like a pro? Let’s chat in the comments below!
About the Creator
The Blush Diary
Blending romantic tales with beauty secrets—each story a soft whisper of love, each tip a gentle glow. Step into the enchanting world of The Blush Diary and don’t forget to subscribe for more! 🌹
Keep reading
More stories from The Blush Diary and writers in Blush and other communities.
Bold Lips & Winged Liner: Classic Beauty Never Fades
There’s something undeniably magnetic about the combination of a bold lip and a perfectly executed winged liner. It’s timeless. It’s daring. And it instantly transforms your look from simple to iconic. While trends may come and go—from graphic neon liners to glassy nude lips—the power of a red lip paired with a wing never truly fades. These classic beauty elements have stood the test of time because they celebrate confidence, structure, and effortless glamour. When Audrey Hepburn fluttered her lashes over a subtle wing, and Marilyn Monroe smiled with her signature red pout, they weren’t just creating beauty looks—they were crafting history. And today, we still channel their energy every time we swipe on ruby red or flick our liquid liner with precision. The magic lies in the balance between structure and spontaneity. The winged liner brings sharpness and focus to the eyes, while the bold lip adds softness, emotion, and punch. This look can be romantic, fierce, playful, or formal—depending on your mood, color choice, and outfit. But no matter how you style it, it remains eternally relevant.
By The Blush Diary8 months ago in Blush
Bomb Scare
It was 2027, and the world never thought it would happen. A missle hit the United States, but it wasn't where they had anticipated. A little town in the northeast was hit by a missile strike, they didn't know why, and they didn't know exactly where it hit, but they did know it was a coastal community, somewhere between Maine and Delaware.
By Gregory Payton7 days ago in Fiction


Comments
There are no comments for this story
Be the first to respond and start the conversation.