
The Day I Discovered the Secret to Sparkling Stone Floors
Floor Cleaning

When we first moved into our home, the stone floors were one of the features that immediately caught my eye. The natural beauty, the timeless appeal—they added an elegant touch to every room. But over the years, that initial sparkle began to fade. The floors started looking dull, almost lifeless, no matter how often I cleaned them.
I found myself wondering if I had made a mistake by choosing stone. Little did I know, I was about to discover the secret to bringing them back to life.
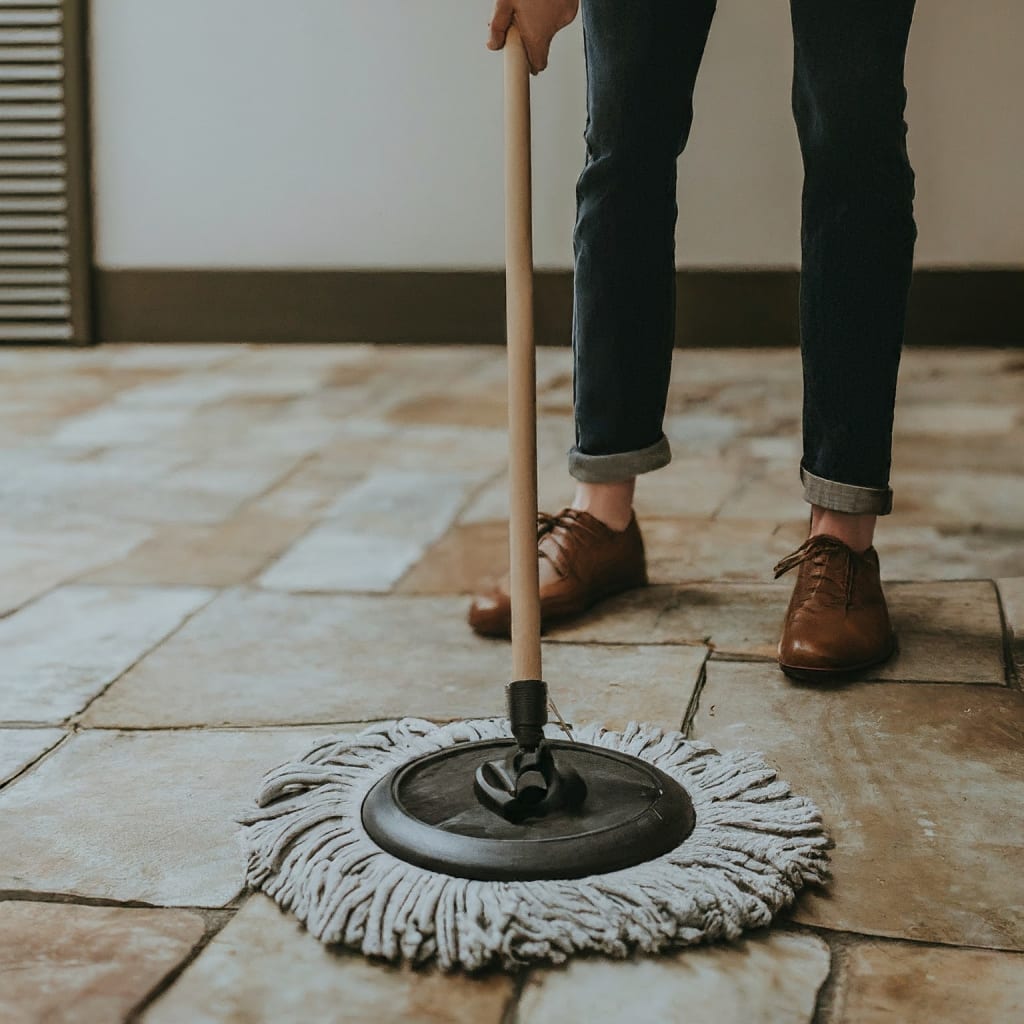
It all started on a quiet Saturday morning. I had finally decided that enough was enough. I couldn’t stand to see my once-beautiful stone floors looking so lackluster. So, armed with a bucket, a mop, and my usual floor cleaner, I set out to tackle the job once again.
But this time, as I stood there staring at the floor, something inside me snapped. I knew I needed to try something different if I wanted to see real results.
I remembered a conversation I had with a friend a few weeks earlier. She mentioned that she had gone through a similar struggle with her stone floors, and it wasn’t until she found the right cleaning method that she finally saw the shine return.
Inspired by her story, I decided to do a little research before diving into the floor cleaning process again.
The First Missteps: What I Was Doing Wrong
My first mistake, I realized, was assuming that any old cleaner would work on stone floors. As I read through various articles and watched videos from cleaning experts, I quickly learned that stone is a natural material that requires specific care.
Using harsh chemicals can actually damage the stone, stripping away its natural oils and leaving it vulnerable to stains and scratches. And here I was, using a standard, all-purpose cleaner, thinking it would do the trick.
My second mistake was over-wetting the floors. I had always assumed that more water meant a cleaner floor, but in reality, too much moisture can seep into the stone and cause discoloration or even cracks over time. It was a rookie error, but one I was determined to correct.
Armed with this new knowledge, I decided to embark on a new cleaning journey, one that would hopefully restore my stone floors to their former glory.
Finding the Right Tools and Products
The first step in my new cleaning routine was finding the right products. I ditched the all-purpose cleaner and opted for a pH-neutral stone cleaner specifically designed for natural stone surfaces. These cleaners are gentle enough to protect the stone’s integrity but effective enough to remove dirt and grime.
I also invested in a high-quality microfiber mop, which is much softer on stone floors than the traditional cotton mop I had been using.
Another game-changer was the discovery of a stone sealer. I hadn’t realized that sealing the stone was essential to maintaining its shine and protecting it from stains.
The sealer creates a barrier on the surface of the stone, making it easier to clean and preventing dirt and liquids from penetrating the material.
The Cleaning Process: Step by Step
With my new products and tools in hand, I was ready to tackle the cleaning process. I started by sweeping the floors thoroughly to remove any loose dirt and debris. This step is crucial because dirt particles can scratch the stone if they get caught under the mop during cleaning.
Next, I diluted the stone cleaner in a bucket of warm water, following the instructions on the label. Using the microfiber mop, I began cleaning the floors, working in small sections to ensure I didn’t miss any spots.
The key here was to avoid soaking the floors; instead, I used just enough liquid to clean the surface without leaving puddles behind.
As I worked my way through the house, I could already see a difference. The floors were starting to look cleaner, brighter, and more vibrant. But the real magic happened after the floors were completely dry. That’s when I applied the stone sealer.
Following the manufacturer’s instructions, I applied a thin, even layer of sealer to the floors using a clean, dry microfiber cloth. I allowed the sealer to sit for the recommended time, then buffed the floors with another clean cloth to remove any excess product.
The transformation was astonishing. The dull, tired-looking stone now had a beautiful, glossy finish that reflected the light and brought out the natural colors and patterns in the stone.
The Results: A Floor That Sparkles
When I stepped back to admire my work, I could hardly believe the difference. My stone floors, which had once looked so dull and lifeless, were now sparkling like new. The rich tones of the stone were more vibrant, the patterns more defined, and the overall appearance was nothing short of stunning.
But it wasn’t just about the aesthetics. Knowing that I had finally found the right method to care for my stone floors gave me a sense of accomplishment and satisfaction. I felt proud of my home again, and I knew that with regular maintenance, I could keep the floors looking beautiful for years to come.
The Secret Revealed
So, what’s the secret to sparkling stone floors? It’s all about using the right products, applying the correct techniques, and taking the time to understand the unique needs of natural stone.
It’s a lesson I learned the hard way, but one that has made all the difference in how I care for my home.
Now, every time I walk across those gleaming floors, I’m reminded of that Saturday morning when I decided to take matters into my own hands. It wasn’t an easy process, but the results speak for themselves.
My stone floors are no longer a source of frustration—they’re a source of pride. And that, to me, is the real secret to a sparkling home.
About the Creator
Real Estate Asset Tokenization as a Strategic Growth Model for Property Developers
Property development has long been associated with high capital requirements, long project cycles, and complex financing structures. Developers often depend on banks, private equity firms, or institutional investors to fund projects. These traditional funding methods can limit flexibility and slow project timelines. In recent years, blockchain-based financial models have introduced new ways for property developers to raise capital and manage investments.
By Ethan hunt3 days ago in 01


Comments
There are no comments for this story
Be the first to respond and start the conversation.