
How to Write Native Modules for Flutter
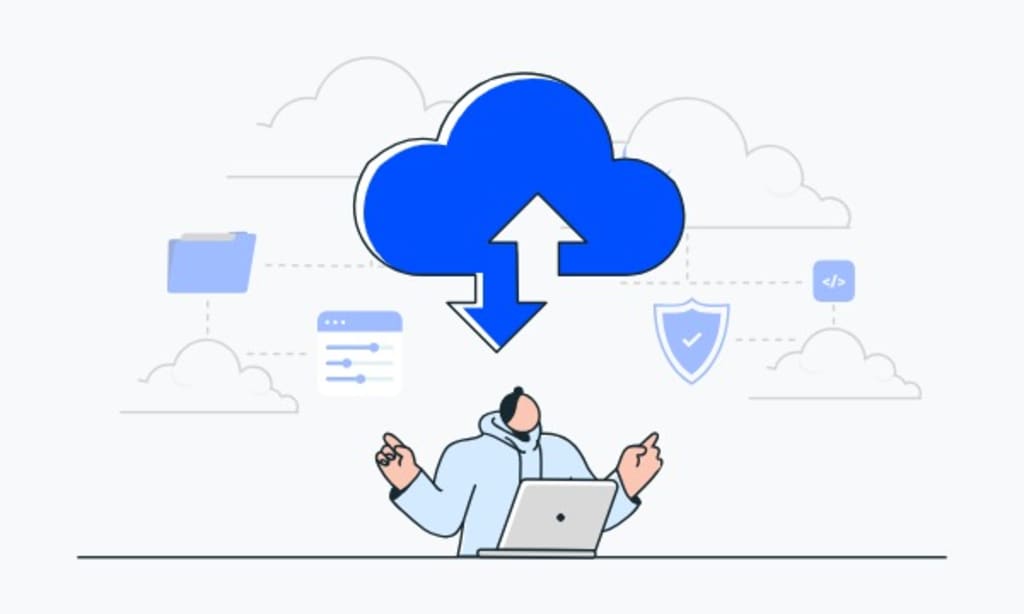
Bridging the Gap
Flutter has earned its reputation as a powerful framework for building beautiful, high-performance applications from a single codebase. Its rich widget library and declarative UI model are capable of creating stunning user interfaces with a rapid development cycle. However, the true power of a cross-platform framework is its ability to seamlessly integrate with the underlying native platform when needed. There are times when a Flutter app must go beyond its standard capabilities to access platform-specific features, a custom hardware API, or a legacy library.
At Bitswits, a premier mobile app development company in Dallas, we know that being a Flutter expert isn't just about mastering Dart and widgets. It’s about knowing how to leverage the full power of the native ecosystem. The solution to this challenge is a native module, and the bridge that makes it all possible is the Platform Channel.
This comprehensive guide will demystify the process of writing a native module for Flutter. We will explore the reasons why you would need one, break down the core concepts of the Platform Channel, and provide a step-by-step walkthrough of building a simple native module for both Android and iOS.
The "Why": Reasons for Writing a Native Module
While the Flutter ecosystem is vast, there are still a handful of scenarios where you'll need to write a custom native module. These situations often require direct interaction with the host platform's APIs, which are not accessible from Dart.
Accessing Platform-Specific APIs: Flutter provides plugins for common features like the camera and geolocation, but what about a more niche API? This could include a device's battery level, a specific biometric sensor from a device manufacturer, or advanced haptic feedback engines. A native module is your escape hatch for these features.
Performance-Critical Code: For computationally intensive tasks, a native module can offer a significant performance advantage. Tasks like advanced image processing, video encoding, complex mathematical algorithms, or real-time audio processing are often best handled by the platform's native languages (Swift, Kotlin) or low-level languages like C++.
Integrating Existing Native Libraries: If your business has a large, pre-existing native library that's critical to your application's functionality—for example, a custom data encryption library or a proprietary payment SDK—it’s far more efficient to wrap it in a native module than to rewrite it in Dart.
Hardware Interaction: A native module is essential for interacting with specialized hardware, such as a custom Bluetooth-enabled IoT device, a proprietary barcode scanner, or a medical sensor. This level of hardware communication is typically only available through native SDKs.
The Core of the Solution: The Platform Channel
The Platform Channel is Flutter's mechanism for facilitating communication between your Dart code and the host platform's native code (Android or iOS). It's a simple yet powerful system that ensures messages are passed safely and asynchronously, without blocking the UI thread.
There are three main types of channels, each with a specific purpose:
MethodChannel: This is the most common and versatile channel. It's used for invoking a native method from Dart and receiving a result. Think of it like making an asynchronous function call. You send a method name and optional arguments, the native side executes the code, and sends a result back. This is perfect for one-off requests like "get the device's battery level" or "open the share dialog."
EventChannel: While MethodChannel is for single, one-time requests, EventChannel is for a continuous stream of events. It allows the native side to continuously send data back to the Dart side. This is ideal for scenarios like listening to sensor data (accelerometer, gyroscope), a device's connectivity status, or progress updates for a long-running native task.
BasicMessageChannel: This is a lower-level, two-way channel for passing raw, unstructured data. It is less commonly used than the other two but provides a foundation for more complex communication needs.
For the purpose of this guide, we will focus on the MethodChannel as it is the most fundamental and widely used type of channel.
A Practical, Step-by-Step Guide to Building a Native Module
Let’s walk through the process of building a simple native module that can get the device's battery level, a classic "Hello World" example for platform channels.
Step 1: Project Setup
To create a new Flutter plugin, you use a special flutter create command. This creates a project with the correct file structure for your plugin and a separate example app to test it.
Bash
flutter create --template=plugin --platforms=android,ios battery_level_plugin
This command creates a battery_level_plugin/ directory with the following key files and folders:
lib/battery_level_plugin.dart: This is where you'll write the public Dart API for your plugin.
android/: Contains the Android-specific code.
ios/: Contains the iOS-specific code.
Step 2: The Dart Side (The Public API)
Open lib/battery_level_plugin.dart. This is where you'll define the public-facing API that your Flutter app will use. You'll create a MethodChannel and a public method to invoke the native call.
Dart
import 'dart:async';
import 'package:flutter/services.dart';
class BatteryLevelPlugin {
// Define the MethodChannel with a unique name.
// This name must be the same on the native side!
static const MethodChannel _channel = MethodChannel('com.bitswits.battery_level_plugin');
Future<int?> getBatteryLevel() async {
try {
// Invoke the native method 'getBatteryLevel'
final int? batteryLevel = await _channel.invokeMethod('getBatteryLevel');
return batteryLevel;
} on PlatformException catch (e) {
// Handle errors gracefully if the native call fails.
print("Failed to get battery level: '${e.message}'.");
return null;
}
}
}
This code sets up a MethodChannel with a unique name to prevent conflicts with other plugins. The getBatteryLevel method is asynchronous and returns a Future containing the battery level.
Step 3: The Native Side (Android)
Now, we'll write the Android-specific code in Kotlin. You need to register the MethodChannel and listen for calls from the Dart side.
Open android/src/main/kotlin/com/bitswits/battery_level_plugin/BatteryLevelPlugin.kt.
Inside the onMethodCall method, you check for the method name and perform the corresponding action.
Kotlin
package com.bitswits.battery_level_plugin
import io.flutter.embedding.engine.plugins.FlutterPlugin
import io.flutter.plugin.common.MethodCall
import io.flutter.plugin.common.MethodChannel
import io.flutter.plugin.common.MethodChannel.MethodCallHandler
import android.content.Context
import android.content.ContextWrapper
import android.content.Intent
import android.content.IntentFilter
import android.os.BatteryManager
import android.os.Build
class BatteryLevelPlugin: FlutterPlugin, MethodCallHandler {
private lateinit var channel : MethodChannel
private lateinit var context: Context
override fun onAttachedToEngine(flutterPluginBinding: FlutterPlugin.FlutterPluginBinding) {
context = flutterPluginBinding.applicationContext
channel = MethodChannel(flutterPluginBinding.binaryMessenger, "com.bitswits.battery_level_plugin")
channel.setMethodCallHandler(this)
}
override fun onMethodCall(call: MethodCall, result: MethodChannel.Result) {
if (call.method == "getBatteryLevel") {
val batteryLevel = getBatteryLevel()
if (batteryLevel != -1) {
result.success(batteryLevel)
} else {
result.error("UNAVAILABLE", "Battery level not available.", null)
}
} else {
result.notImplemented()
}
}
private fun getBatteryLevel(): Int {
val batteryManager = context.getSystemService(Context.BATTERY_SERVICE) as BatteryManager
return batteryManager.getIntProperty(BatteryManager.BATTERY_PROPERTY_CAPACITY)
}
override fun onDetachedFromEngine(binding: FlutterPlugin.FlutterPluginBinding) {
channel.setMethodCallHandler(null)
}
}
This code snippet shows how to:
Set up the MethodChannel with the same name.
Listen for a method call named "getBatteryLevel".
Execute the native Android code to get the battery level.
Use result.success() to send the value back to Flutter or result.error() if the action fails.
Step 4: The Native Side (iOS)
The process is very similar on iOS using Swift.
Open ios/Classes/SwiftBatteryLevelPlugin.swift.
Implement the FlutterPlugin protocol and handle the method call in the handle function.
Swift
import Flutter
import UIKit
public class SwiftBatteryLevelPlugin: NSObject, FlutterPlugin {
public static func register(with registrar: FlutterPluginRegistrar) {
let channel = FlutterMethodChannel(name: "com.bitswits.battery_level_plugin", binaryMessenger: registrar.messenger())
let instance = SwiftBatteryLevelPlugin()
registrar.addMethodCallDelegate(instance, channel: channel)
}
public func handle(_ call: FlutterMethodCall, result: @escaping FlutterResult) {
if call.method == "getBatteryLevel" {
getBatteryLevel(result: result)
} else {
result(FlutterMethodNotImplemented)
}
}
private func getBatteryLevel(result: FlutterResult) {
let device = UIDevice.current
device.isBatteryMonitoringEnabled = true
if device.batteryState == .unknown {
result(FlutterError(code: "UNAVAILABLE", message: "Battery level not available.", details: nil))
} else {
result(Int(device.batteryLevel * 100))
}
}
}
The Swift code mirrors the Kotlin code: it sets up the MethodChannel, listens for the getBatteryLevel call, executes the native code, and uses result() to send the response back to Flutter.
Step 5: Putting It All Together
Now, you can use your new plugin in the example app or in any other Flutter project. Just add it to your pubspec.yaml file. Then, in a StatefulWidget, you can call your new method and display the result.
Dart
import 'package:flutter/material.dart';
import 'package:battery_level_plugin/battery_level_plugin.dart';
class MyBatteryScreen extends StatefulWidget {
@override
_MyBatteryScreenState createState() => _MyBatteryScreenState();
}
class _MyBatteryScreenState extends State<MyBatteryScreen> {
int? _batteryLevel;
@override
void initState() {
super.initState();
_getBatteryLevel();
}
Future<void> _getBatteryLevel() async {
final int? level = await BatteryLevelPlugin().getBatteryLevel();
setState(() {
_batteryLevel = level;
});
}
@override
Widget build(BuildContext context) {
return Scaffold(
appBar: AppBar(title: Text('Battery Level')),
body: Center(
child: Text(_batteryLevel != null ? 'Battery Level: $_batteryLevel%' : 'Getting battery level...'),
),
);
}
}
This completes the full cycle: from calling a Dart method to executing native code and receiving the result back in Flutter.
Advanced Topics and Best Practices
Asynchronous Communication: Always treat platform channel calls as asynchronous. Blocking the UI thread can lead to jank and a poor user experience.
Error Handling: Proper error handling is crucial. The native side should always return a FlutterError (iOS) or result.error() (Android) with a clear error code and message when a call fails. This allows the Dart side to gracefully handle exceptions with a try-catch block.
Code Generation with Pigeon: For complex plugins with many methods and data types, manually managing the MethodChannel boilerplate is tedious and error-prone. Tools like Pigeon can generate the necessary code for you, ensuring type-safe communication and reducing the chance of runtime errors.
Conclusion: A Skill That Bridges All Gaps
Flutter is an incredibly powerful framework, but the ability to write native modules is what truly unlocks its full potential. It's the skill that allows you to break out of the Dart sandbox and integrate with the rich, diverse native ecosystems of iOS and Android. This makes it possible to build applications that are not only beautiful and fast but also deeply integrated with the platform and capable of features that are simply not possible with a pure-Dart approach.
At Bitswits, we have the expertise to build these advanced, custom solutions for our clients. As a leading app development company in Dallas, we believe that true mastery of a technology means understanding not just its strengths but also its limitations and how to overcome them. Our team of skilled Flutter and native developers can build the custom native modules your application needs, ensuring it is feature-rich, high-performing, and ready for any challenge.
If you are a business looking for a mobile app development company in Dallas that can build an application that stands out from the competition, contact Bitswits today. Let us help you bridge the gap between cross-platform efficiency and native power.
About the Creator
Keep reading
More stories from Anna Blackwell and writers in 01 and other communities.
Local SEO vs. Nationwide SEO for Houston Businesses
In this dynamic environment, a strong online presence is no longer a luxury, but a necessity. The question then shifts from *if* you need Search Engine Optimization (SEO) to *what kind* of SEO is right for your Houston business.
By Anna Blackwell6 months ago in 01
How to Choose the Best Mobile App Development Company 2026
Google has fundamentally transitioned. It is now an Authority Validation layer. This change occurred in early 2026. Selecting a development partner now requires a new process. You must audit their footprint within the Trust Graph. Do not just review static portfolios. Static images are easy to fake now.
By Devin Rosario5 days ago in 01


Comments
There are no comments for this story
Be the first to respond and start the conversation.