
A Step-by-Step Guide to Setting Up Your BigCommerce Store Like a Pro
Sign Up for BigCommerce

Launching an online store is an exciting endeavor, but choosing the right platform and setting it up effectively can make all the difference. BigCommerce is one of the most powerful e-commerce platforms available, offering flexibility, scalability, and a range of tools to help businesses thrive online. Follow this step-by-step guide to set up your BigCommerce store like a pro.
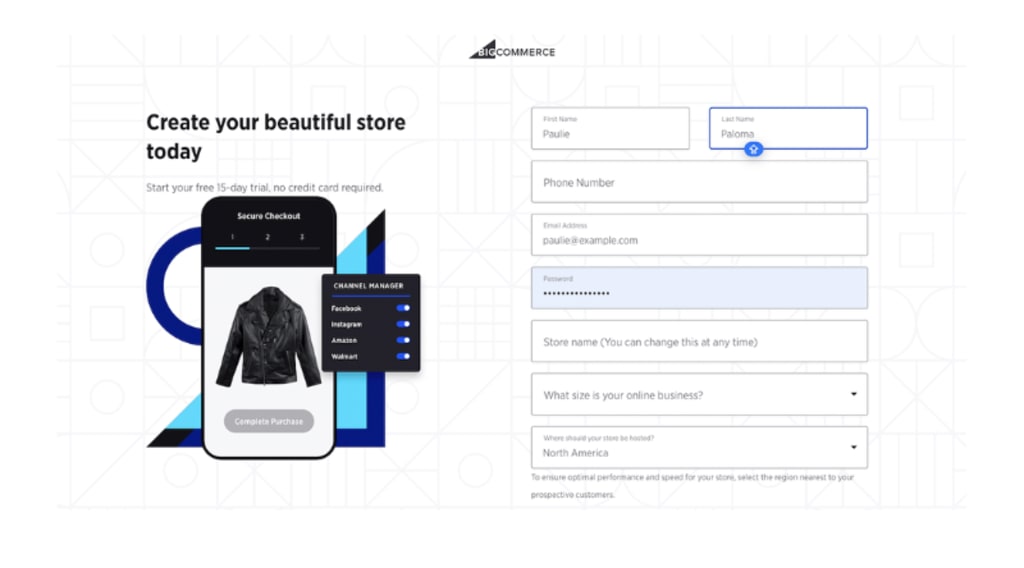
Step 1: Sign Up for BigCommerce
Start by visiting the BigCommerce website and signing up for a free trial or selecting a plan that fits your business needs. During the signup process, you'll provide basic information about your store, such as your business name and industry.
Pro Tip:
Choose a plan that aligns with your goals. For example, if you anticipate rapid growth, opt for a plan that supports scalability and advanced features.
Step 2: Customize Your Store’s Theme
BigCommerce offers a variety of professionally designed themes to suit different industries. To select and customize a theme:
Go to the "Storefront" section in your BigCommerce dashboard.
Browse free and premium themes.
Choose a theme that matches your brand identity.
Use the "Theme Editor" to adjust colors, fonts, and layouts to reflect your branding.
Pro Tip:
Ensure your chosen theme is responsive, providing a seamless shopping experience on both desktop and mobile devices.
Step 3: Add Products
Your products are the heart of your store. To add them:
Navigate to the "Products" section.
Click "Add Product."
Enter product details, including name, description, price, and SKU.
Upload high-quality images and videos to showcase your products.
Organize your products into categories to improve navigation.
Pro Tip:
Write detailed and engaging product descriptions that highlight features and benefits. Use relevant keywords to improve SEO.
Step 4: Configure Payment and Shipping Settings
BigCommerce supports multiple payment gateways, including PayPal, Stripe, and Square. To set up payments:
Go to the "Settings" tab and select "Payments."
Choose your preferred payment methods and follow the setup instructions.
For shipping:
Navigate to "Settings" > "Shipping."
Configure shipping zones, methods, and rates based on your target audience.
Pro Tip:
Offer free shipping or flat-rate shipping options to attract more customers.
Step 5: Set Up SEO and Analytics
Optimizing your store for search engines is crucial for driving traffic. BigCommerce provides built-in SEO tools:
Go to the "Storefront" section and edit your site’s metadata (title tags, meta descriptions, and URLs).
Add alt text to images to improve accessibility and SEO.
Enable Google Analytics and Facebook Pixel to track user behavior and refine your marketing strategies.
Pro Tip:
Create an XML sitemap and submit it to Google Search Console for faster indexing.
Step 6: Test Your Store
Before going live, test your store thoroughly:
Place test orders to ensure the checkout process works seamlessly.
Check the responsiveness of your site on different devices.
Verify that all links, buttons, and forms are functioning correctly.
Pro Tip:
Ask friends or colleagues to review your store for a fresh perspective on usability and design.
Step 7: Launch Your Store
Once you’re satisfied with your setup, it’s time to launch! Switch your store from "Maintenance Mode" to live status in the BigCommerce dashboard. Promote your store through social media, email campaigns, and paid ads to drive traffic.
Pro Tip:
Run a launch promotion or giveaway to attract your first customers and build momentum.
About the Creator
Elite Saas Programs
Elite SaaS Programs offers expert resources for entrepreneurs looking to build and scale successful software-as-a-service businesses.
Keep reading
More stories from Elite Saas Programs and writers in 01 and other communities.
The Ultimate List of E-Commerce Management Tools to Dominate Your Market
Managing an e-commerce business in a fast-paced digital landscape requires more than just a great product and a sleek website. From fast-paced digital landscape, managing an e-commerce business requires more than just a great product and a sleek website. From inventory management to customer relationship tools, the right technology can set your business apart and drive unparalleled growth. Here, we’ve curated the ultimate list of e-commerce management tools to help you streamline your operations, optimize customer experiences, and dominate your market.
By Elite Saas Programsabout a year ago in 01


Comments
There are no comments for this story
Be the first to respond and start the conversation.